Posted on August 9th, 2011 by Sharon
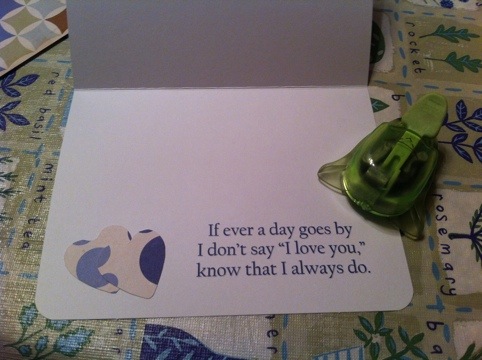
Today’s card is dedicated to all the family and friends I’ve been able to visit with these last few weeks. It goes out to one girl friend in particular (you know who you are!). I was able to create the inside first. I printed the quote, “If ever a day goes by I don’t say ‘I love you,’ know that I always do,” directly on the cardstock. I already had a couple of hearts cut out from a previous project so I glued them next to the quote. Last, I rounded the corners.
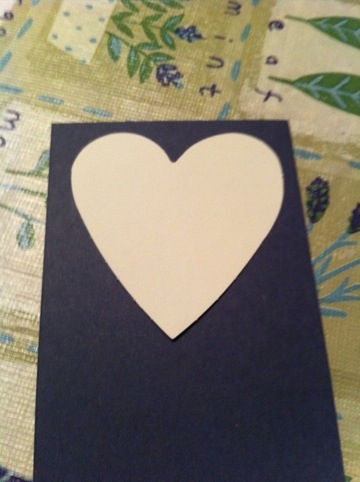
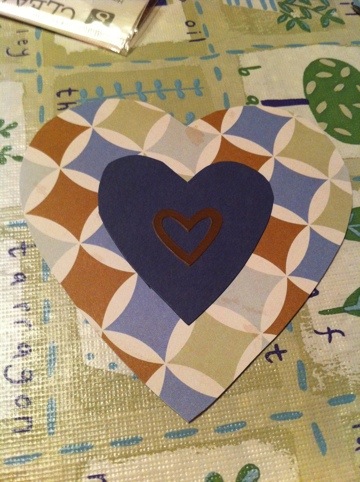
For the outside, I created a multi-layered heart in coordinating colors.
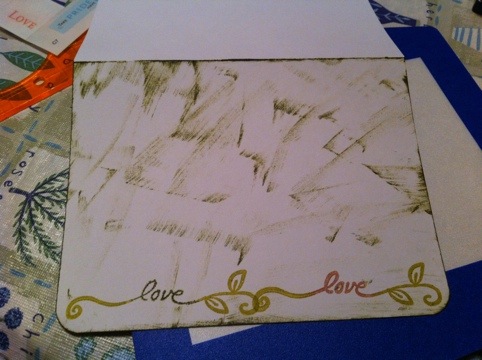
After centering the heart on the front of the card, I decided it needed something in the bottom corners. I used a stamp with the word “love” written in cursive with little swirls and leaves on the end. I still wasn’t satisfied so I inked the entire outside of the card with my vandyke brown ink pad.
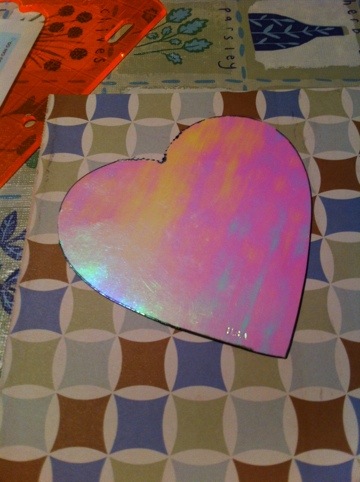
At this point, I realized my original heart was too blue and didn’t match at all. I took a different heart template and patterned paper to create a better matching heart. I inked the edges in a darker brown to make sure it stood out. Here’s the finished product.
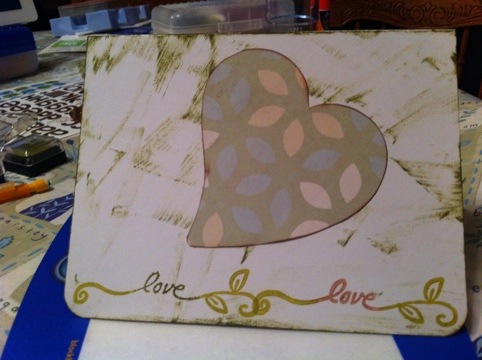
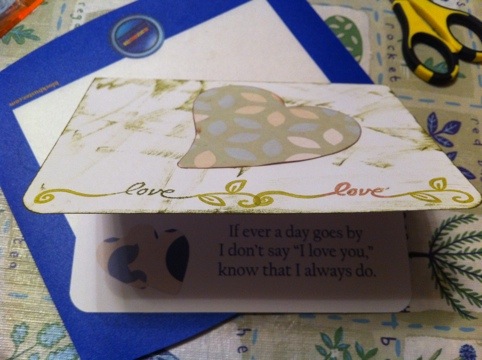
Click the link to purchase Always Love You Greeting Card.
Posted on August 8th, 2011 by Sharon
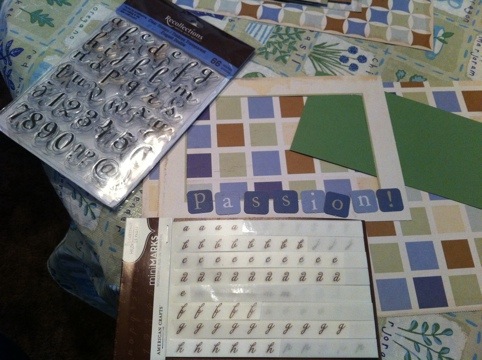
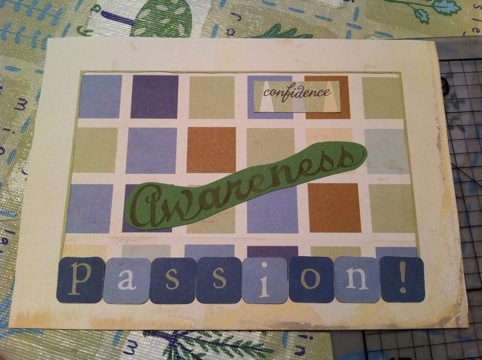
This is the third mantra card in my mini series. I decided to use stamps, rub ons, and small die cuts because the words used are long.
Posted on August 5th, 2011 by Sharon
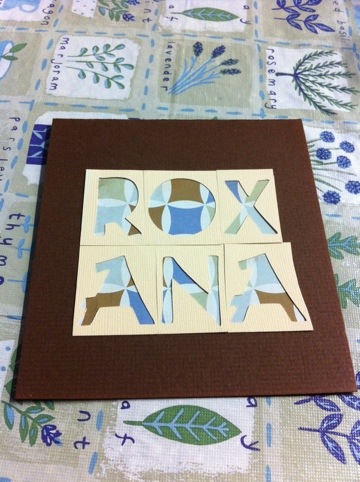
Today’s mantra card was made for my mom, Roxana. I’ve made stuff for her in the past so I already had her name cut out of a cream-colored cardstock. I put a fun patterned paper behind it and cut it down to size. I then cut between all the letters before realizing the best way to mount it on the square piece of cardstock. Here’s the finished front.
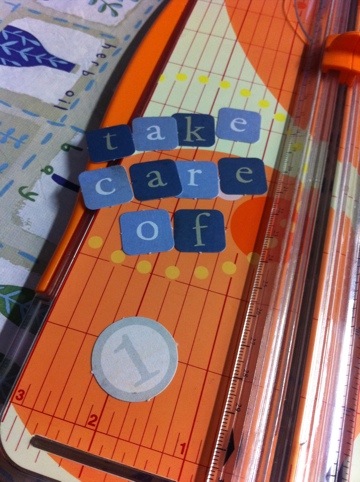
I punched out “take care of” from the smaller letter die cuts and filed all the edges. Then I punched out a number 1 from the round die cuts. I took a sharpie to the one and added the number (#) sign. I didn’t get a picture of the finished inside but here’s close to how it looked.
Posted on August 4th, 2011 by Sharon
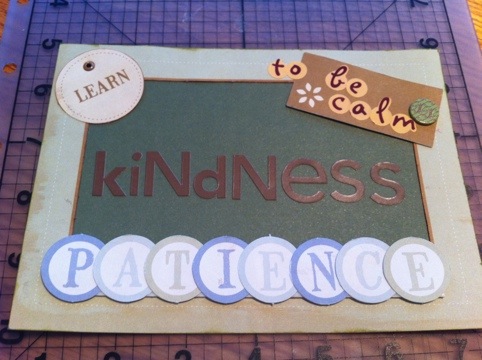
Today’s design is the first in a short series of mantra cards. It’s single sided made to be propped up on the dresser, stuck in a mirror, or framed. I started with a frame from the scrap pack I’m still working from and a solid green cardstock.
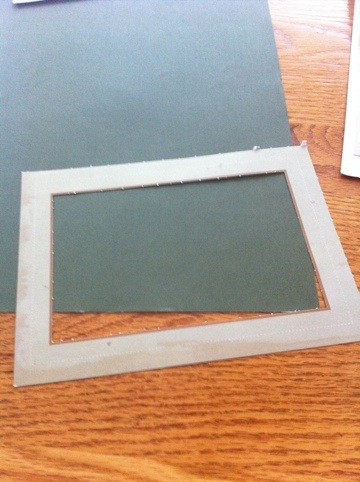
Next, I looked through coordinating die cuts, tags, and stickers for the messages.
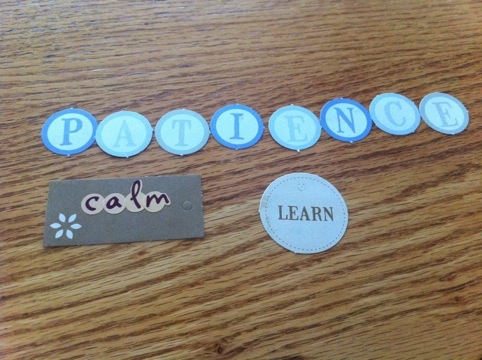
I used an eyelet to attach the learn tag, a strip of double sided foam for the patience letters, stickers for kindness, and a brad to attach the calm tag.
Posted on August 3rd, 2011 by Sharon
Here’s the inspiration for today’s card.
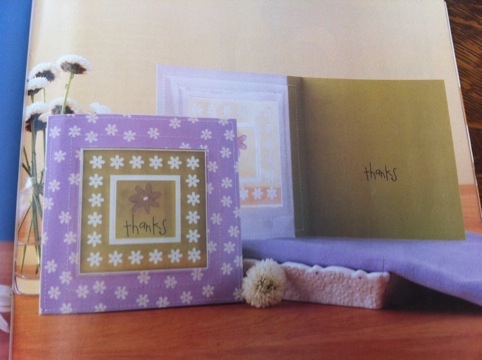
I started with the square floral die cut and grabbed the green floral cardstock. I knew we’d be seeing the inside so I cut the card out of a blue cardstock.
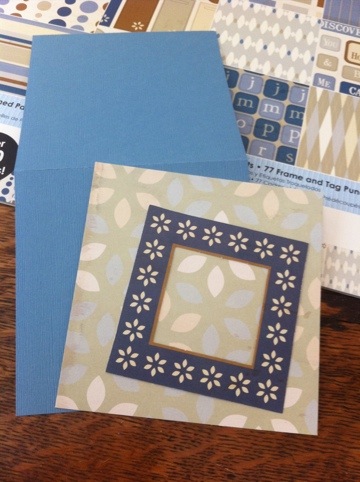
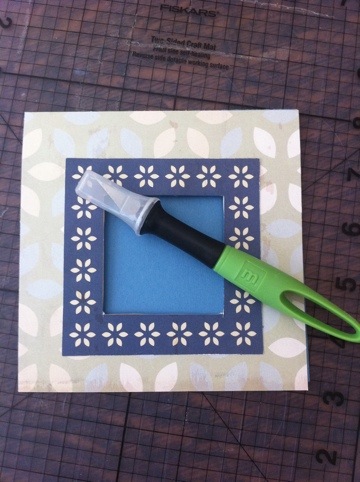
My next step was to cut out the center of the front to create the window.
Before attaching the vellum, I lined up the white thank-you rub on that goes on the inside. Then, I attached the vellum with a few glue dots as well as the small flower die cut. Here’s the final product held closed.
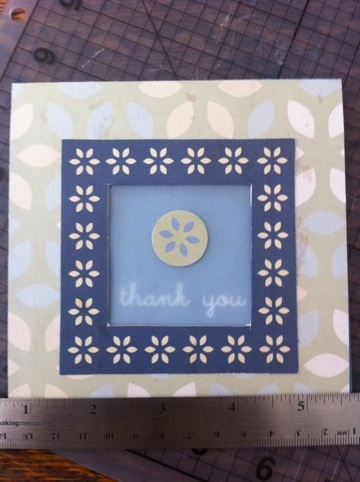
To purchase Window Thank-you Card and others, visit my Etsy shop.
Posted on August 2nd, 2011 by Sharon
The inspiration for today’s card should look familiar. I made a father’s day card from this same design. Here’s my stab at a birthday version.
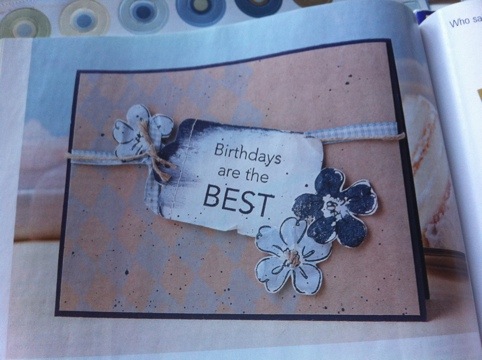
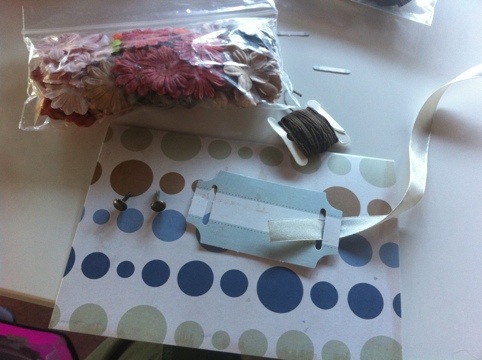
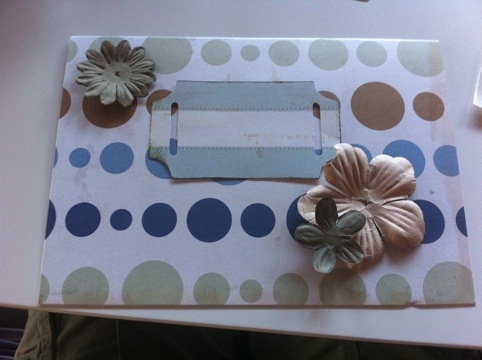
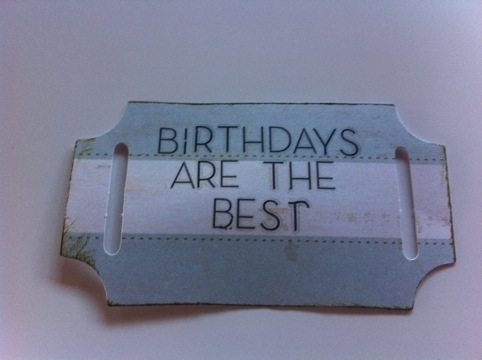
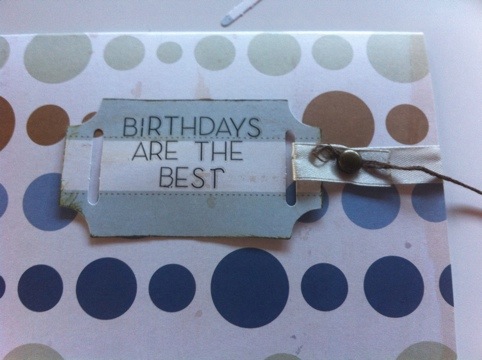
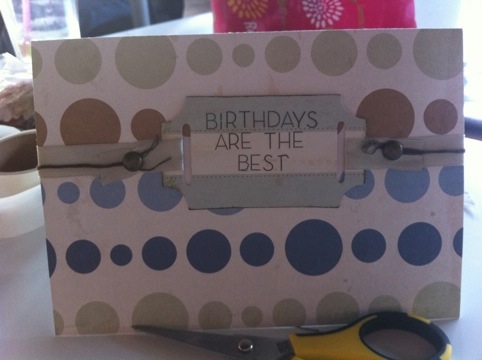
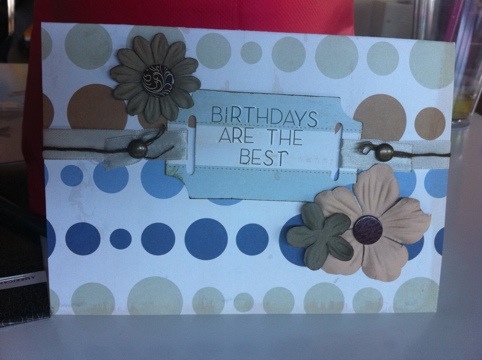
To buy Birthday’s are the Best Greeting Card or other birthday cards, visit my Etsy store.
Posted on July 18th, 2011 by Sharon
Good Monday, everyone! Today’s card was inspired by one in a magazine but ended up quite different. It’s also missing a quote on the inside, but I plan on printing it in as soon as I can. The card is made of brown cardstock with a frame die cut from the scrap pad I’ve been using. I rounded the corners and inked the edges for a little variety. The inside of the frame is a natural cardboard-like paper stamped with “friend.”
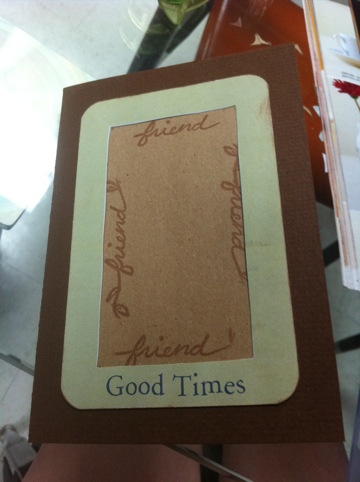
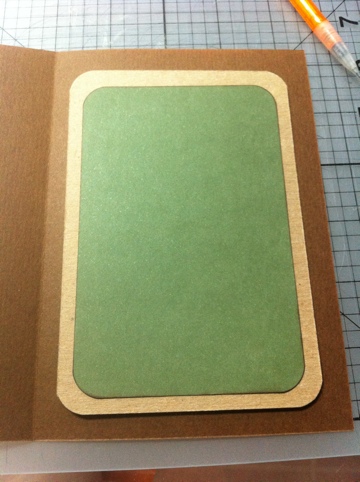
The inside of the card is a thin piece of a dark green paper where I’ll print the quote. It is matted on another piece of the natural cardstock. Again, the corners are rounded.
If you’d like to purchase my Good Times Greeting Card, click the link.
Posted on July 11th, 2011 by Sharon
Today’s card took two pieces of cardstock before I got the fold right. Here’s the inspiration and card base.
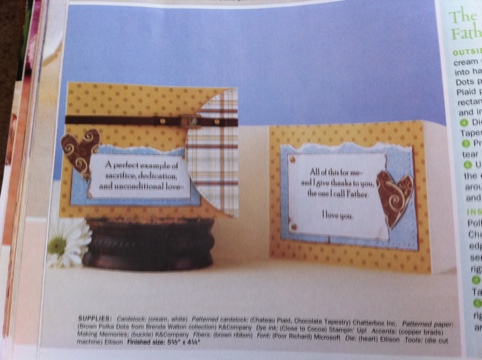
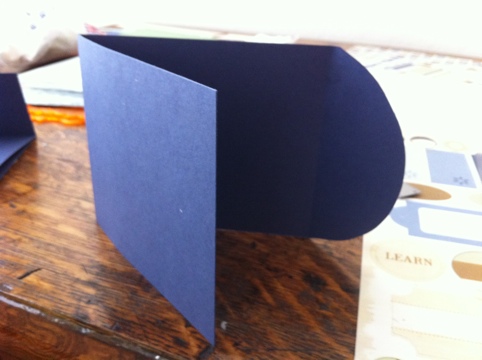
I decided to copy the paper patterns as closely as I could.
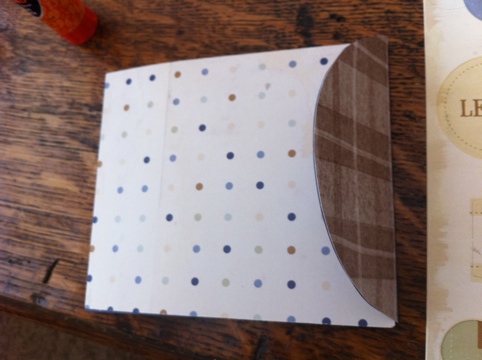
I didn’t have enough of the dotted paper for the inside so I used a flowery paper instead featuring the same colors. I decided to cut the hearts next. At first, I used a stencil and large dotted paper. I didn’t like how it turned out so I used striped paper and hand drawn hearts. Since I’m down to scraps, I also didn’t have enough of the same color solid paper. I used a hunter green on the outside and brown on the inside. I added brads and punched holes for decoration.
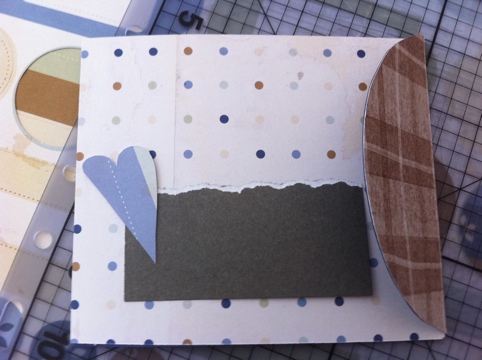
My next step was to choose a quote. Luckily I had a great quote with just the right colors in a rub on stack.
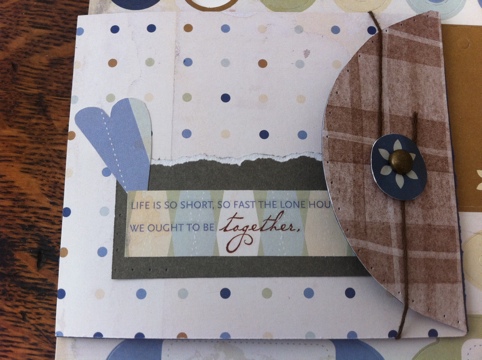
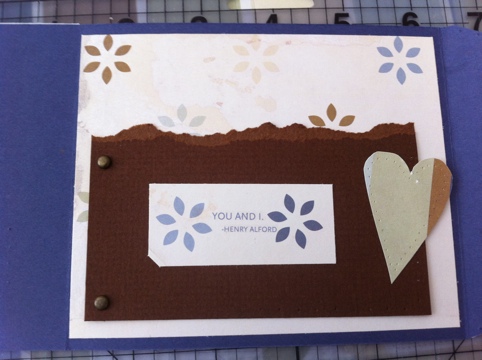
My last step was a little bit tricky and doesn’t match the example at all. I didn’t have a buckle to secure the card so I decided to try something else. I punched a brad through a round flower die cut and tied one end of string to the back. I dotted a but of glue then punched everything through the rounded flap. After that I wrapped the string vertically around the card then wrapped it a couple of times around the flower before trimming. It’s not the most secure fastener, but it does look good. If you like this card, purchase Tri-fold “Together” Greeting Card in my Etsy store.
Posted on July 8th, 2011 by Sharon
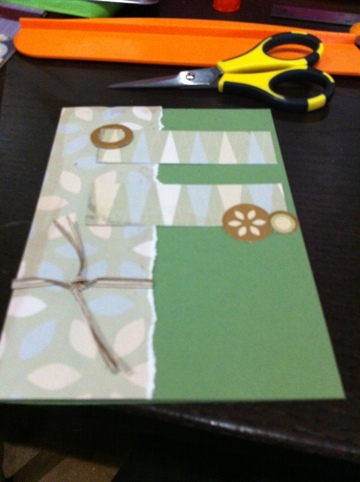
Here’s the inspiration for today’s card.
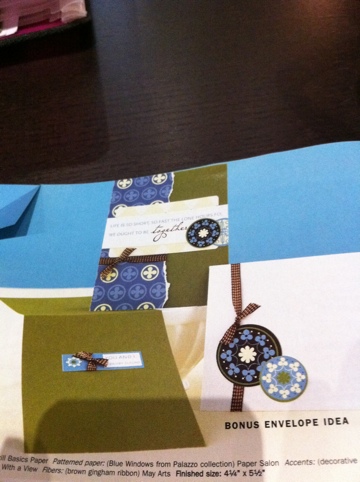
Here are my starting supplies.
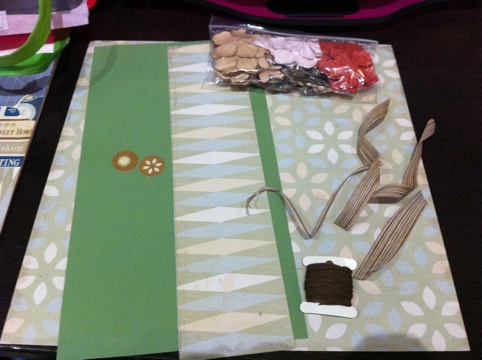
Step 1
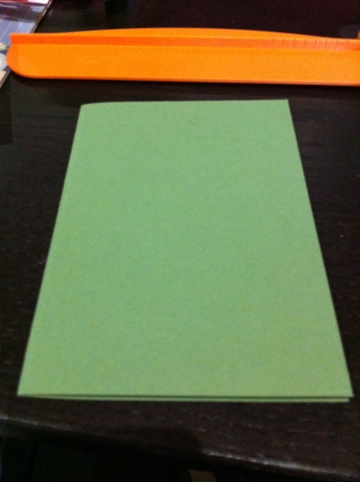
Steps 2 & 3
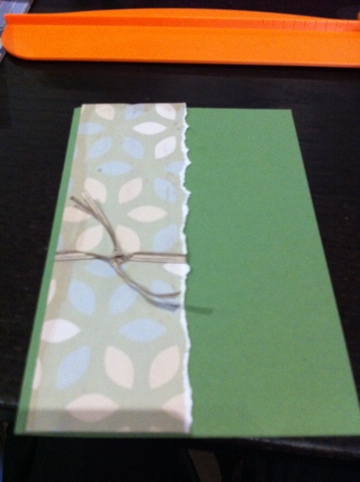
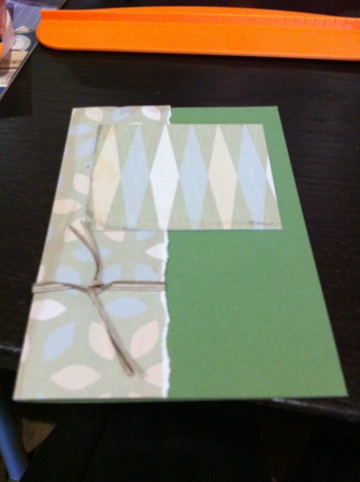
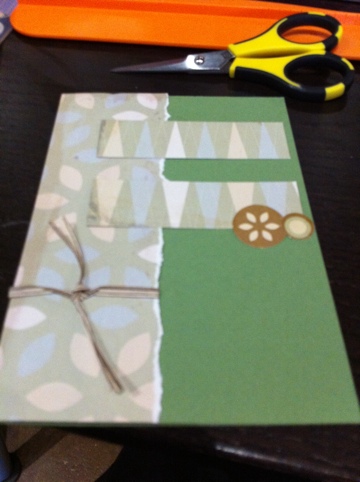
This is where the card cannot be finished. For one, I don’t have my corner rounder in my “to go” bag of supplies. For two, I don’t have a way of printing the message. For three, the argyle paper I have is too close in color to the flower paper. Here are some ideas to differentiate before adding the quote. I’d love to hear any opinions!
Posted on July 6th, 2011 by Sharon
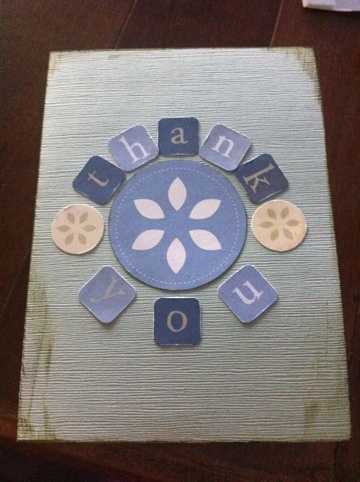
Today’s card is a great big thank-you to all my friends and well wishers. I had a low key birthday but a fun one with some dear friends. I started with the small blue letters I had punched out for an earlier card but did not use. I thought of using blue cardstock as well but decided on Bazzil Basics’ River Reed cardstock.
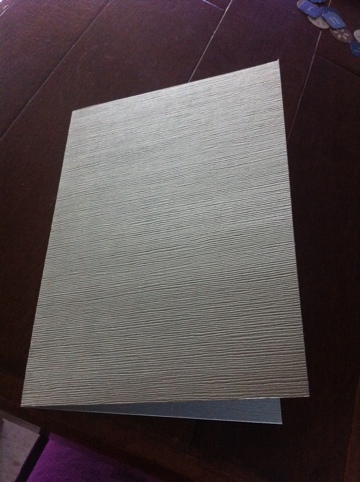
This scrap pack has flower die cuts so I decided to punch out a few of those since I like flowers. Here are a couple of layout ideas.
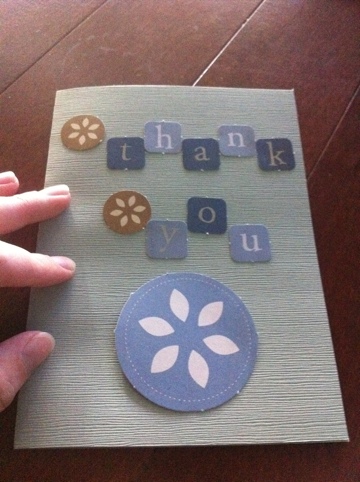
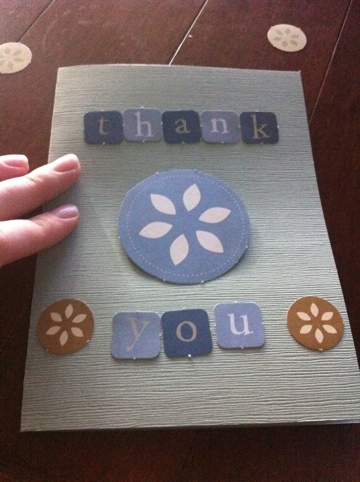
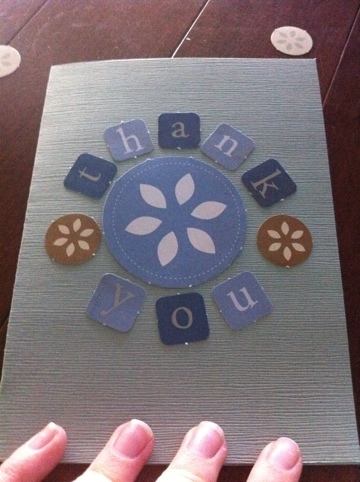
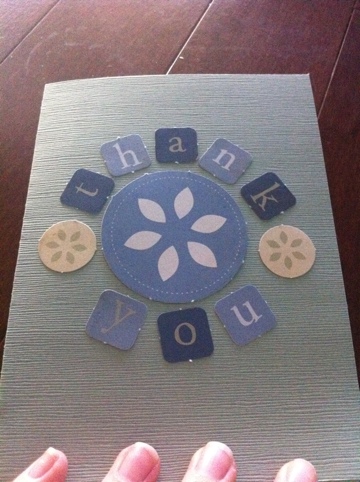
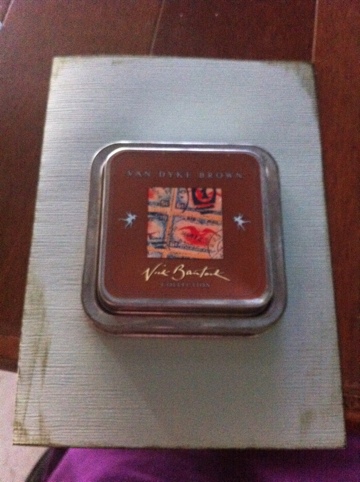
After filing the edges of the die cuts, I realized the cardstock was a little too neat. I filed the edges first with little effect so I inked the edges as well.
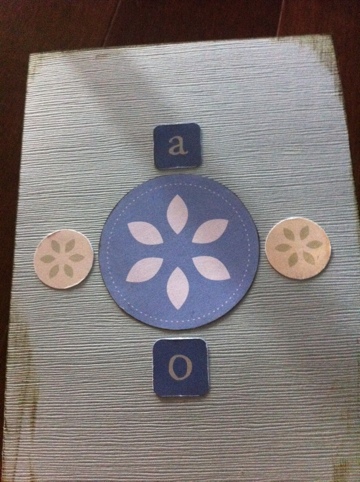
I took another vote and agreed on the rounded message with the cream flowers. I glued down the center flower first and set up the middles for spacing.
Here’s the final product. Feel free to purchase Flowered Thank-you Card today.
