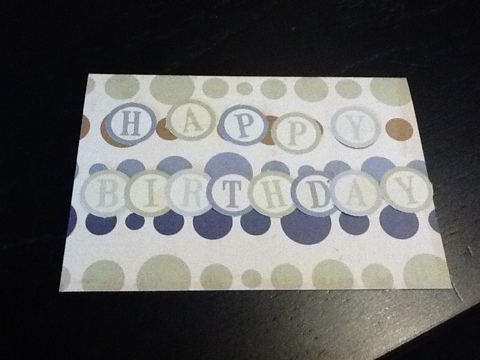
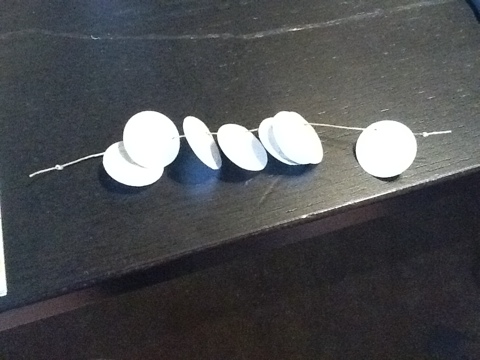
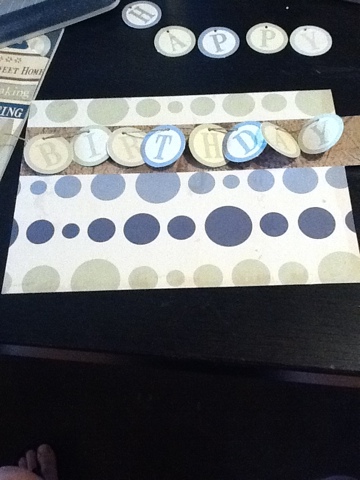
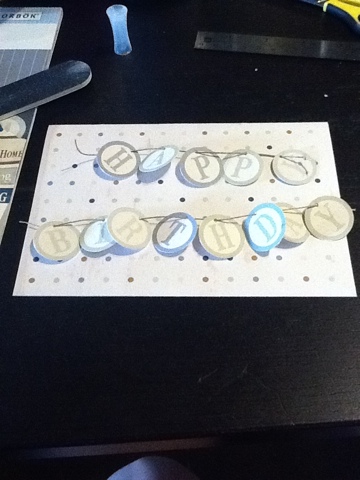
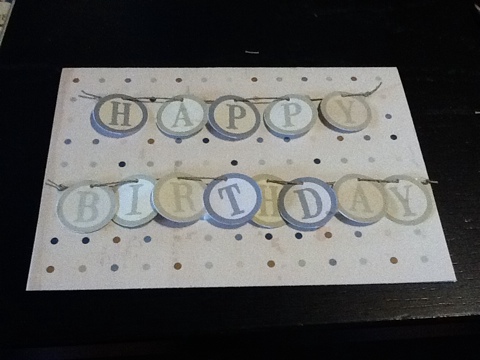
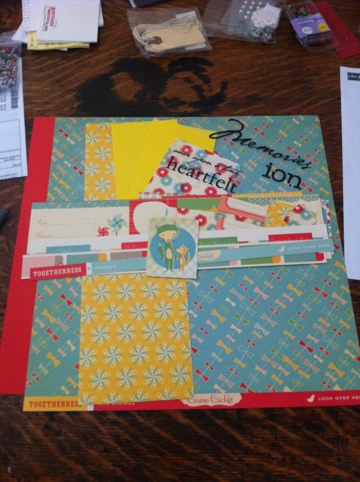
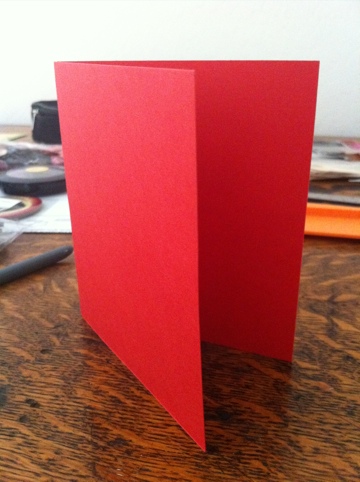
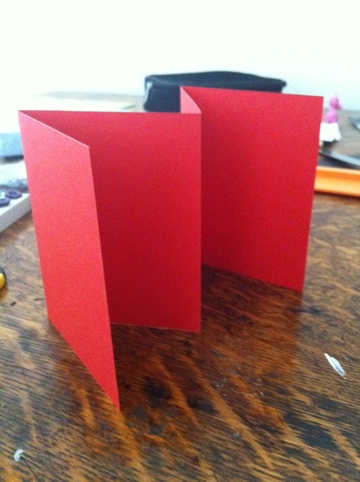
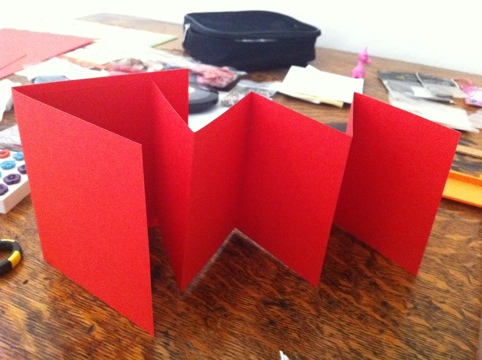
I had what I thought would be a simple idea for my birthday card. It turned out to be a bit more tedious, but I like the result. At first, I couldn’t find the polka-dotted paper I was looking for so I grabbed a paper with larger dots, cut it, and folded it. I punched out the die cuts for the “happy birthday” message and filed the edges. I laid out the message and card but didn’t like how it looked. I kept experimenting and tweaking until I finally found the cardstock I really wanted. I poked holes through the die cuts and threaded them on a piece of string woven-like. I knotted each end and stuck them down. I wanted to leave them loose, but I knew the message would get messed up as soon as it went into the envelope. I used a few small foam dots to keep it together but still dimensional. Visit my Etsy shop to purchase Dotted Birthday Card.
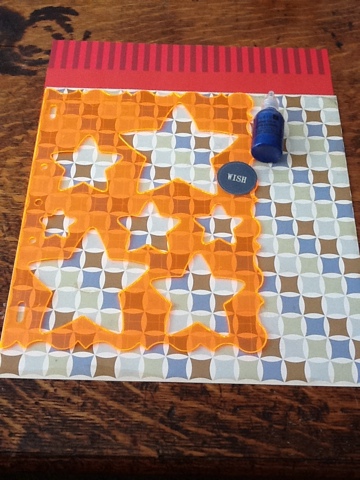
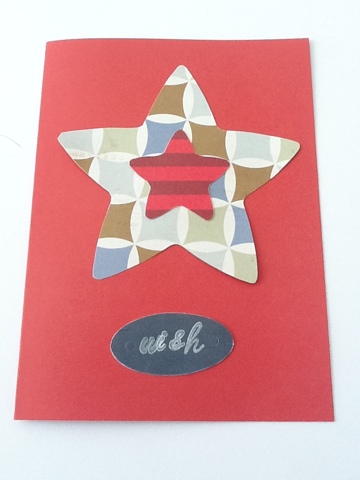
Happy Independence Day! In honor of the holiday, I decided to make a patriotic card. I’m still keeping with my goal of using up this scrap pad so the colors aren’t strict red, white, and blue. I knew what I wanted to use so I pulled out those supplies.
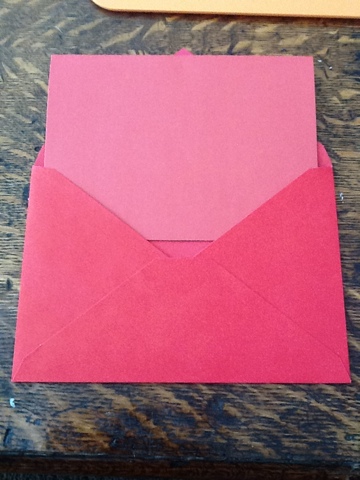
Of course, step one was to cut the card.
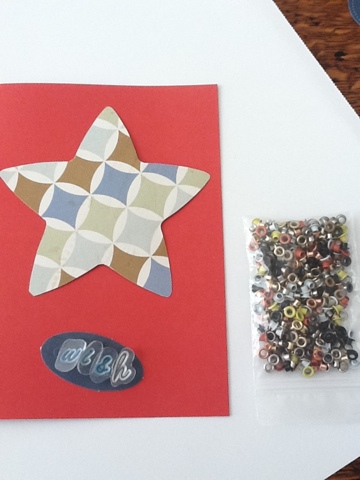
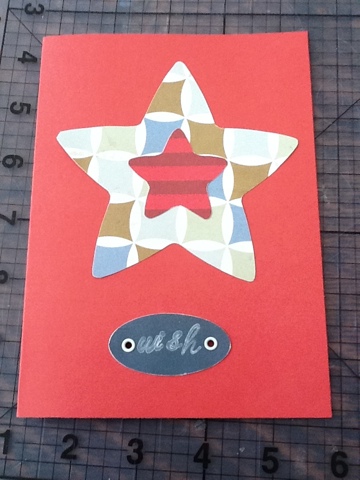
Next, I decided what size star would fit best, traced it onto the patterned paper I wanted to use, and cut it out by hand. I realized then that the tag I pulled out didn’t balance quite right with the star. I punched out a die cut that’s the same dark blue and stamped “wish” on it in white. I decided then to use white eyelets to accent it.
I needed to add the stripes to the card so I chose a smaller size star, traced, cut, and glued it to the larger star.
My final step was to punch the holes and set the eyelets. I left the card blank on the inside. If you like Patriotic Wish Greeting Card as much as I do, click the link to purchase.
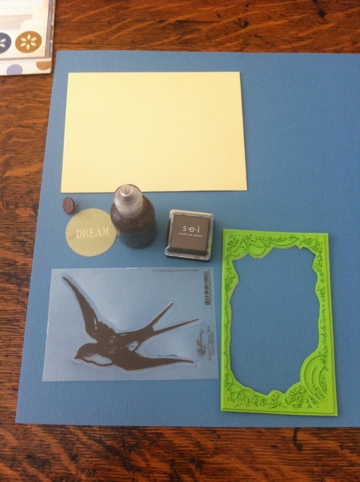
I decided on today’s card very quickly. It doesn’t use a ton of supplies from the scrap stack I’m trying to finish off, but it does use one piece and is in the same color tones. Here’s what I started with.
Step one was to measure and cut down the cardstock.
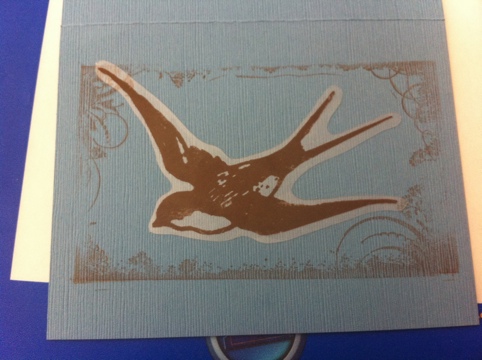
Next, I stamped a border onto the front and glued down my sparrow transparency. The border didn’t stamp that great because my acrylic block isn’t big enough, but it looks ok.
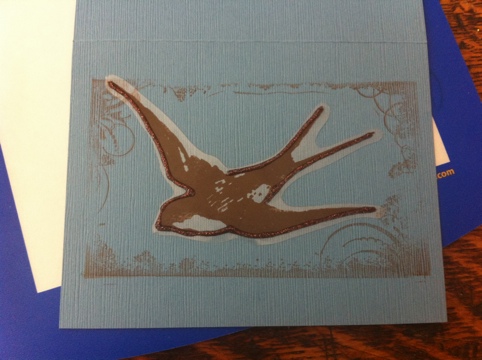
I should have waited to do this step until after I did the inside, but I managed. I outlined parts of the sparrow in brown glitter glue. It’s a subtle change.
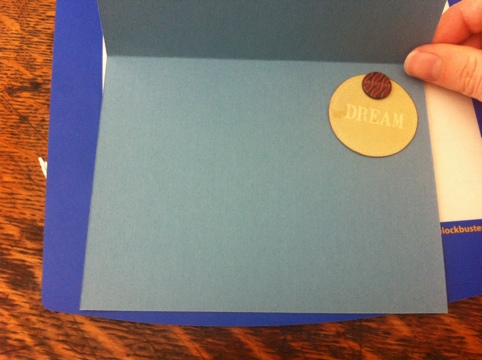
On the inside of the card, I attached the “dream” die cut with a decorative brad.
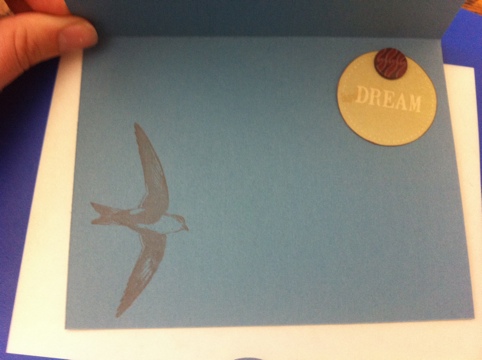
I didn’t really like the balance so I added another sparrow – this one stamped – to the opposite side.
Click Dream Greeting Card to purchase.
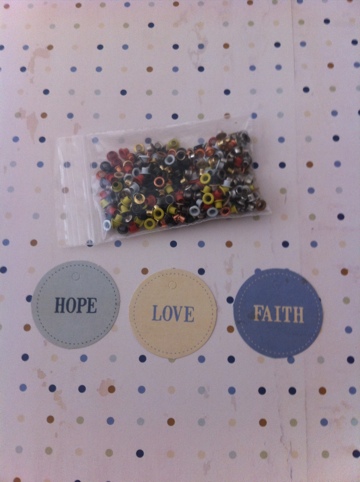
I decided to keep today’s card nice and simple.
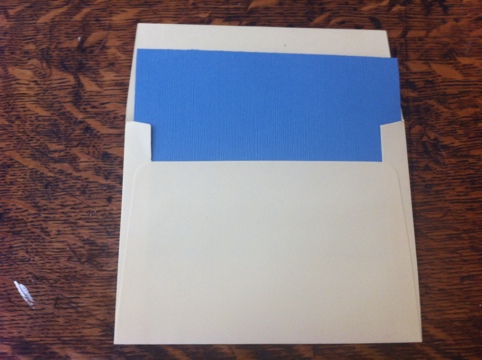
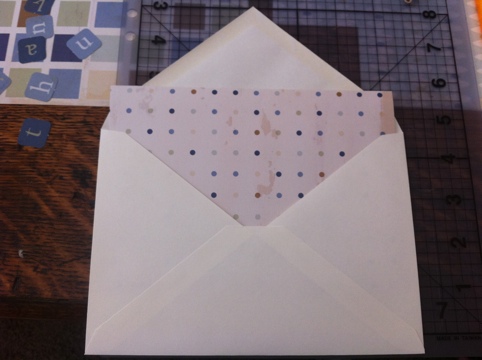
I initially cut the polka dot paper to fit the size of the envelope.
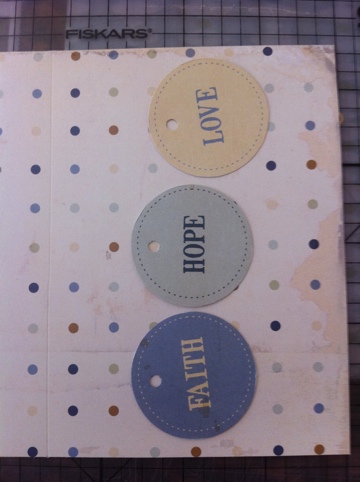
I realized pretty quickly that the size was a little big so I measured and scored the other piece of polka dot cardstock.
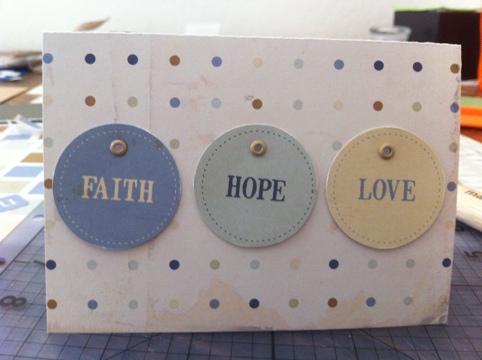
The last step was to punch holes and set the eyelets.
Purchase Faith, Hope, Love Greeting Card in my Etsy shop.
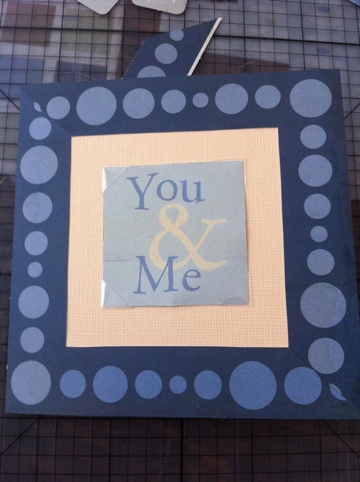
Today’s greeting card started out with something different in mind and evolved to a reversible picture frame card.
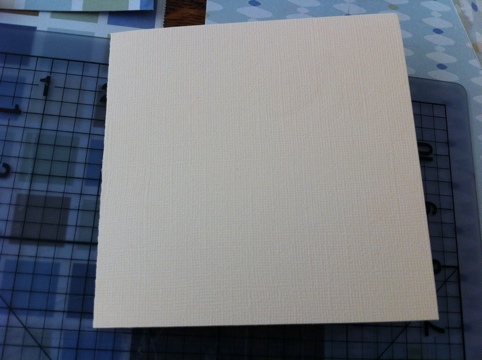
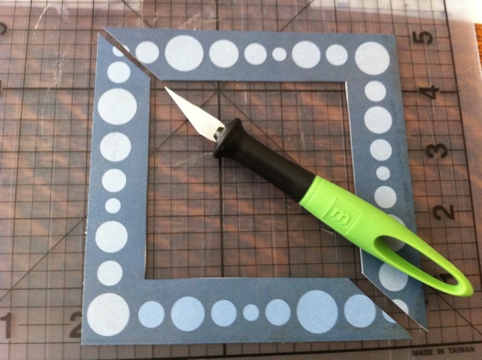
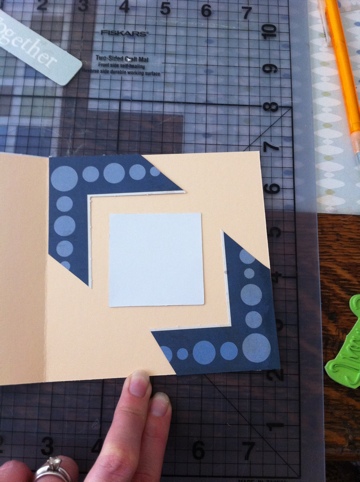
I needed to cut down the square frame to fit the card so the card could fit my envelopes.
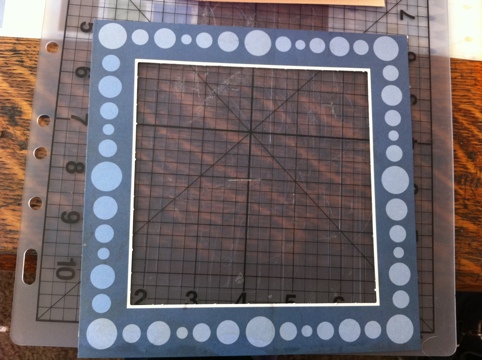
Once I realized the original die cuts I pulled out weren’t going to work, I pulled these.
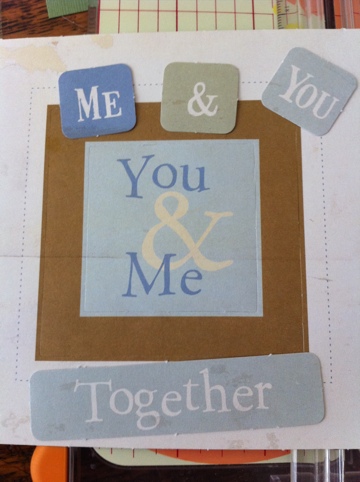
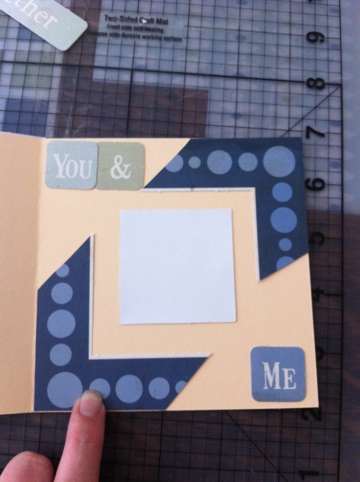
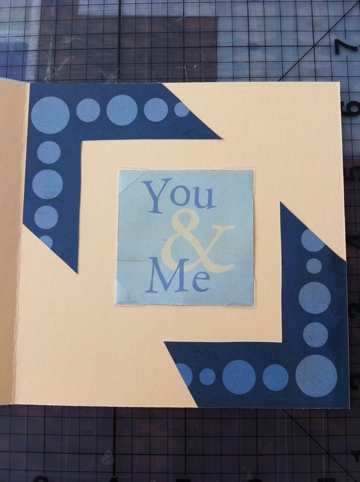
I attached the square “you & me” die cut to the front of the card using clear photo corners. That is when I decided this card would be perfect as a photo frame card.
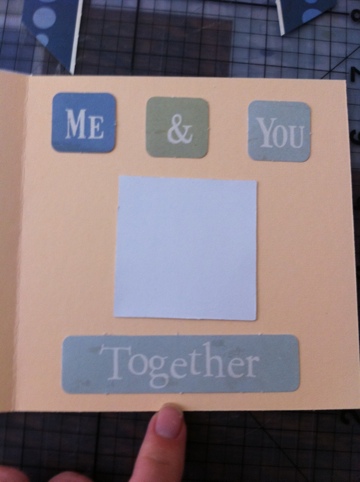
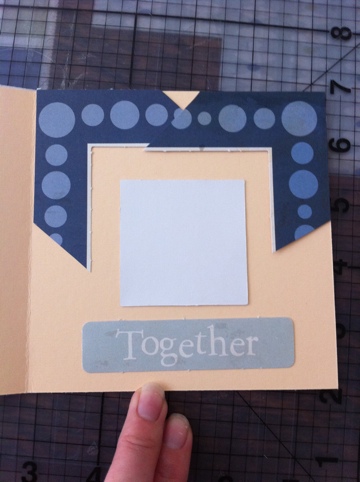
I had a hard time deciding what the inside should look like. Here are the options I considered and asked my hubby to vote on.
When I told him that the message and picture were to be interchangeable, he thought simple was best. Here’s the rest of the frame cut down and glued down along with the mounted photo corners.
I moved the you & me die cut back to the front and stamped the back. Click You & Me Greeting Card to purchase this picture frame card.
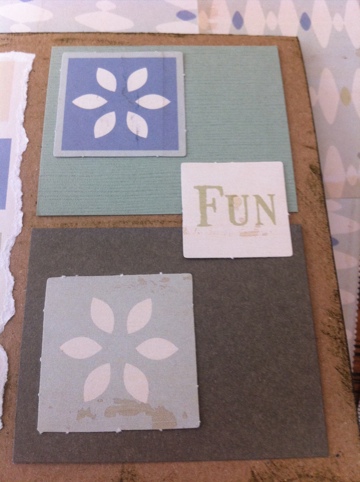
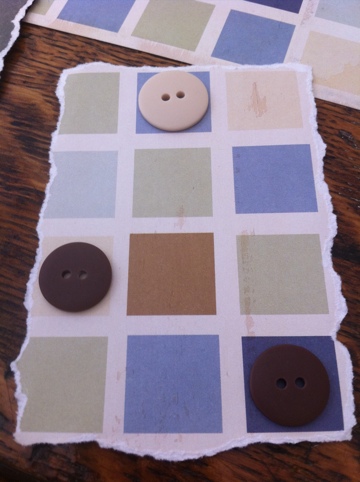
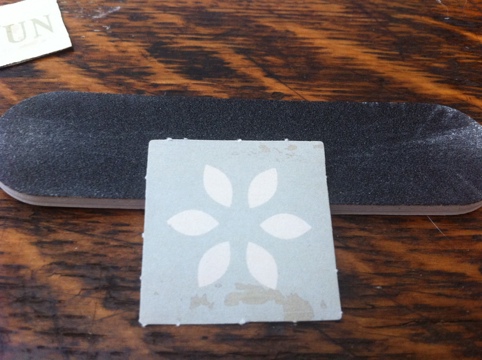
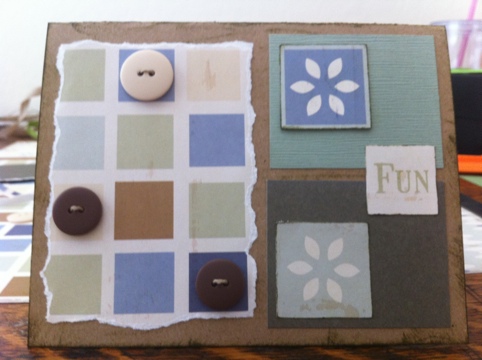
Here’s today’s card in pictures from inspiration to final version. Click Blank Earth-toned Fun Greeting Card to purchase.
Today’s card is dedicated to my husband whose birthday is tomorrow (6/25). Happy birthday, babe!
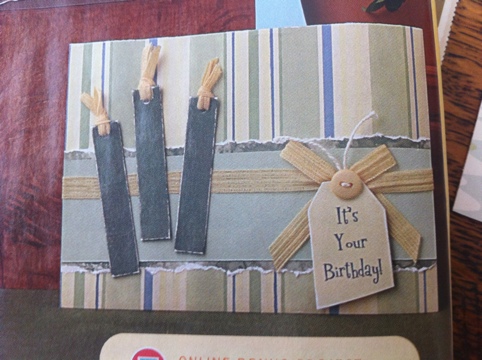
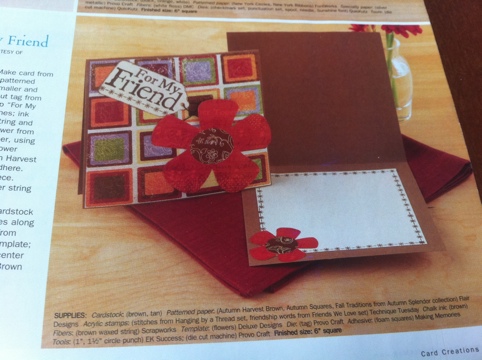
I’m continuing to use the Earthtones scrap pack. I spent my time yesterday going through my stash and pulling out everything that coordinates. It made today’s card go quickly. Here’s my inspiration:
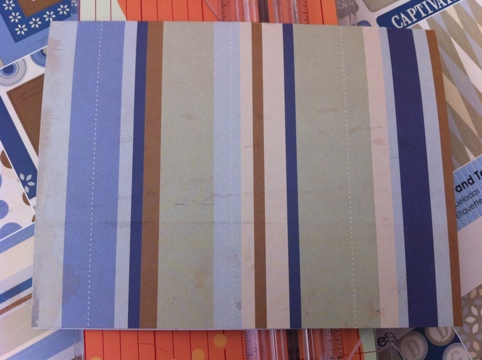
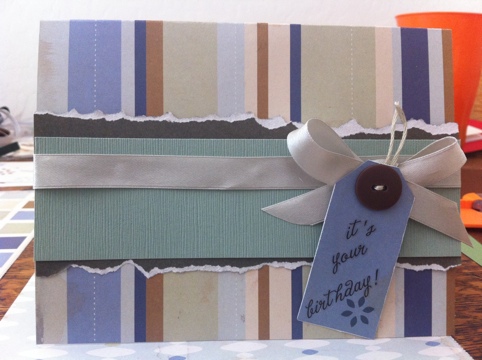
The striped paper looks surprisingly similar.
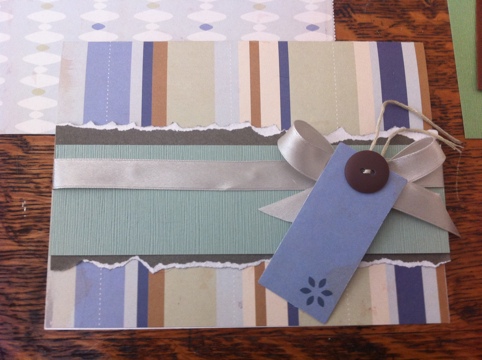
The magazine provides dimensions so this next piece was easy to put together except for the ribbon bow which didn’t want to stay tied tightly.
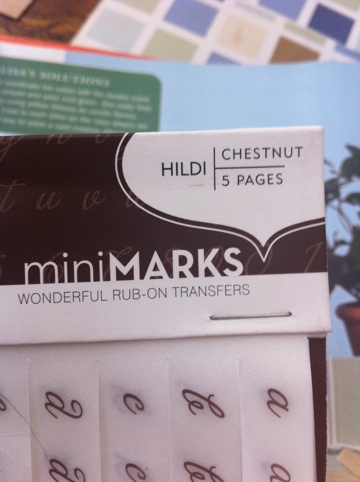
I used these rub ons for the birthday message.
You can buy the final product in my Etsy store.
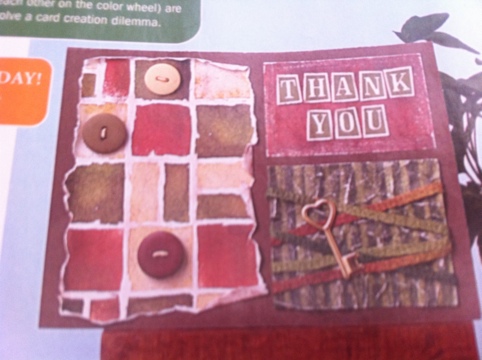
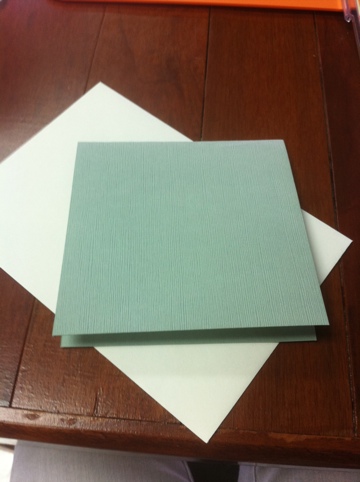
I started out this week not feeling too great. Sorry for the delay in new craftiness. I started out today thinking about what product to use up next. I thought it might be time to get rid of some alphabet stickers but my idea didn’t pan out. I needed some new inspiration so I went to my magazines for inspiration and came across this greeting card.
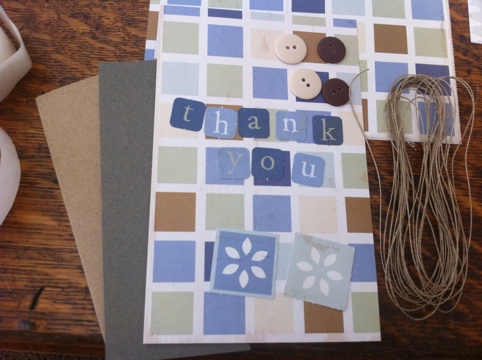
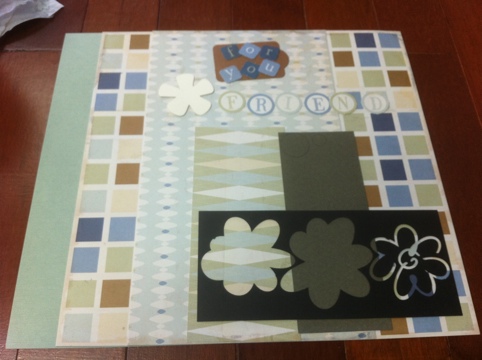
I knew which product to use to recreate this card. It matches the patterns and is quite old. It’s a colorblok scrap pack in earth tones. Here are the supplies I pulled out to mimic the card. The solid cardstock is Bazzil Basics Reed Grass.
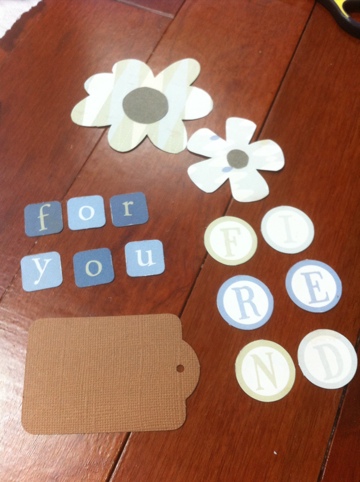
I used a couple of flower stencils to trace and hand cut the flowers for the card. I also punched out a tag and the necessary letters. Here are my supplies cut and sanded, ready for glueing.
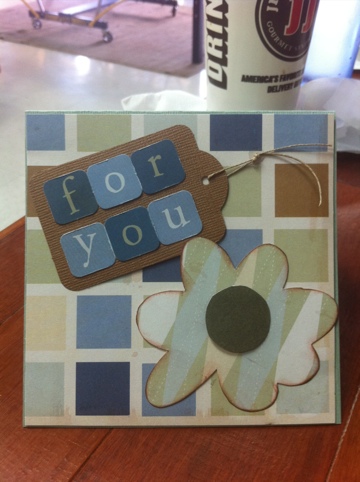
Because the colors in the flower were so similar, I needed to ink the edges to make it stand out. I added a bit of string to the tag and stuck everything down.
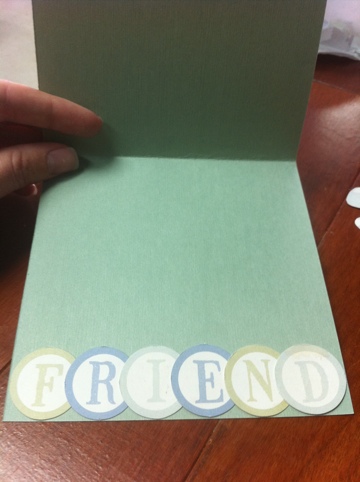
The word friend took up the entire inside so I decided not to use the smaller flower. Overall, I’m pretty happy with how the card turned out.
Purchase For You, Friend Greeting Card on Etsy.
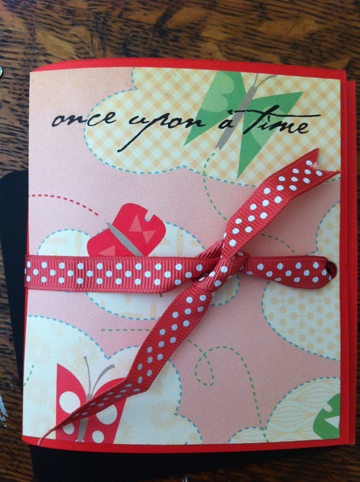
I’m continuing my goal of using all of this particular sheet of rub ons so I can slowly empty my stash of older items. One of the phrases left — once upon a time — just begged for something more than a card. I pulled out an old direction sheet of how to make a mini album from scraps. I think it turned out great, especially because of the Cosmo Cricket set of papers and stickers I have. I even made enough pages to create a second album and be done with those rub ons.
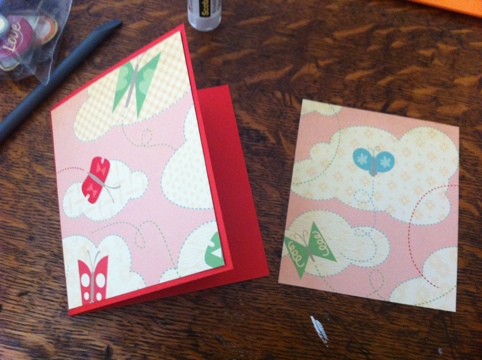
Album cover:
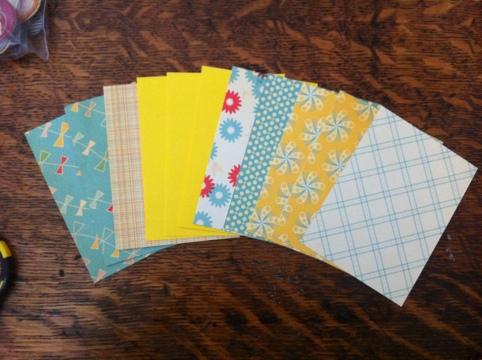
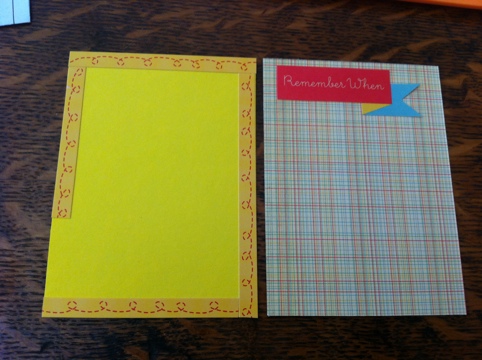
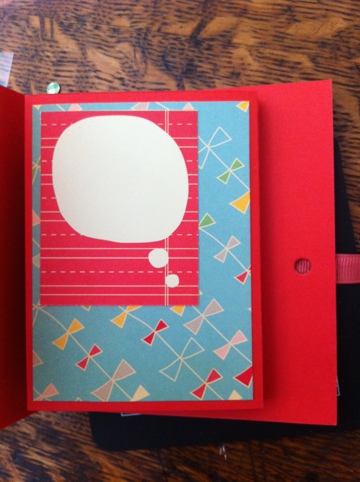
Inside pages base:
Album ready to be decorated:
Butterfly album covers:
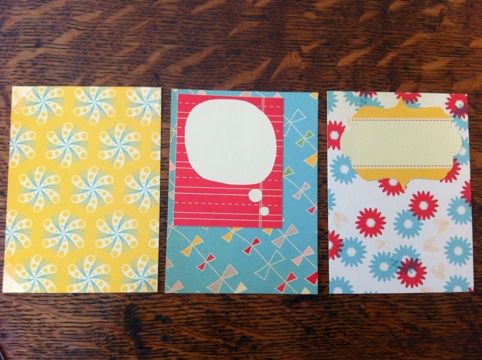
Potential inside pages:
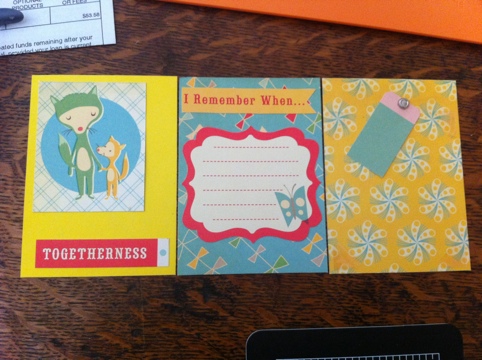
First set of three decorated pages:
Second set:
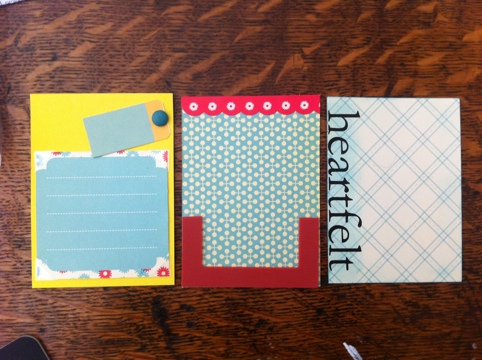
Third set:
Last set:
I realized I was one page short to cover all the album pages front and back so I made one more page.
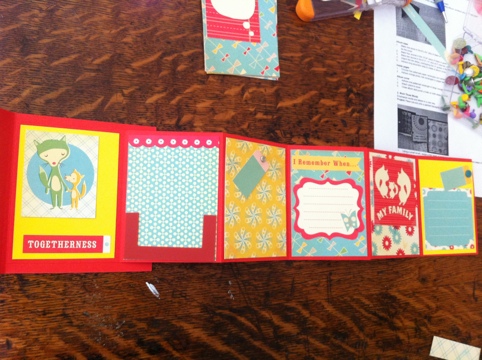
On quite a few of the pages, I used photo corners so messages could be traded out for pictures or written on easily then put back. Here are the inside pages all glued down.
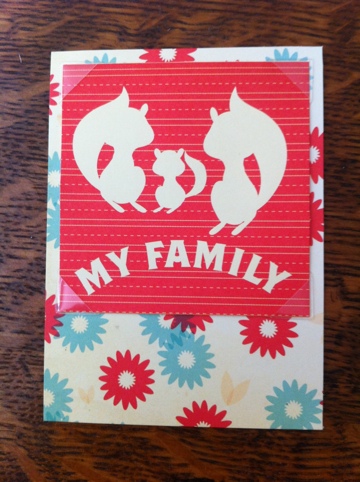
Once I got all these pages glued, I realized the album would be too thick if I did decorated pages on both sides. It works out because it’ll make the next album go a bit faster. Here’s the finished front cover.
This is the first page you see before pulling out the accordion folded inside.
Purcahse this album here: Once Upon a Time Mini Album.
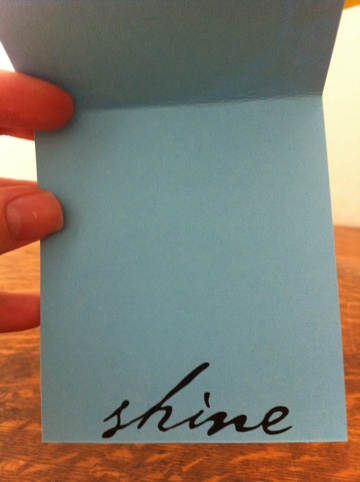
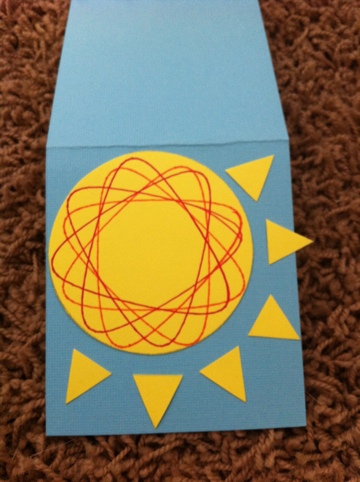
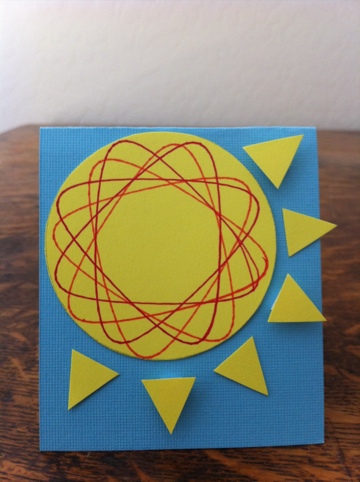
The rub on featured today is the word “shine.” I decided to make the card small. It seems like something good for a gift tag whether it be a birthday or going away to college gift. Shine is really like a command or encouragement.
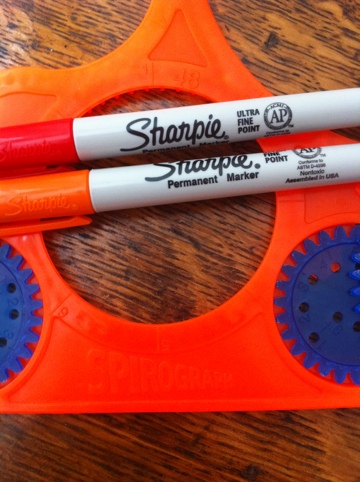
On the front of the card, I feature a bright yellow cardstock sun with an orange and red spirograph detail. The sun and beams are hand cut.
I decided to add a little depth by using a foam dot on every other sun beam.
To purchase this card, go here: Shine Greeting Card.
