Posted on June 15th, 2011 by Sharon
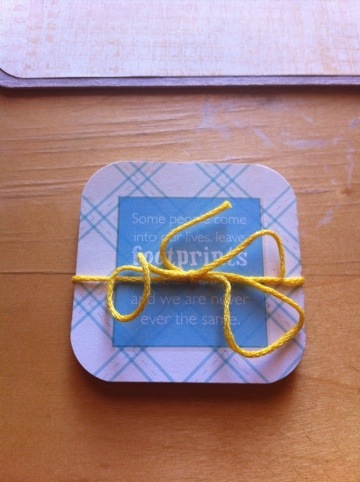
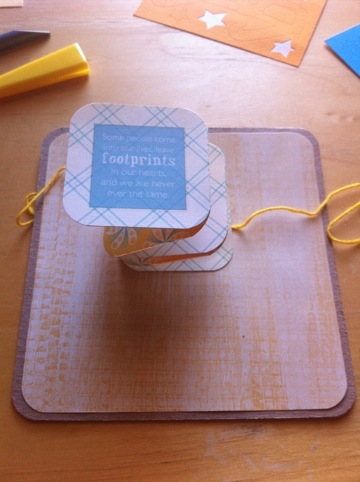
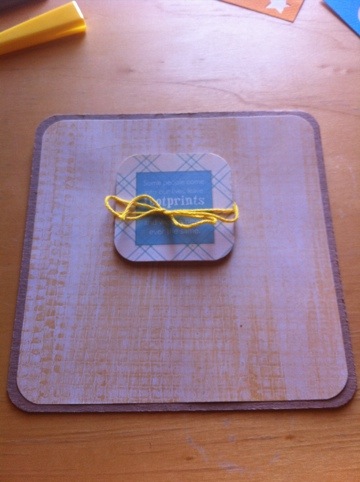
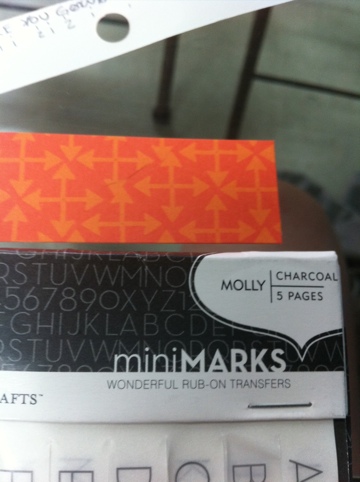
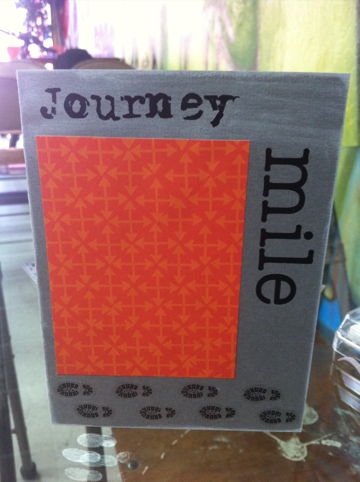
I decided today that I want to start whittling down my collection of supplies to make room for new stuff. Yesterday, I used a rub on for the word imagination so I decided to pull out that same sheet and create the card around those. I plan on doing this until that particular sheet is gone. I think I’ll continue the trend for a while, using the oldest supplies first.
For some reason, I can’t upload the pictures from my ipad today. I count this among the few times I wish I had a real computer. I hope to get the pictures up as soon as possible. In the meantime, you can see the pictures in my Etsy store.
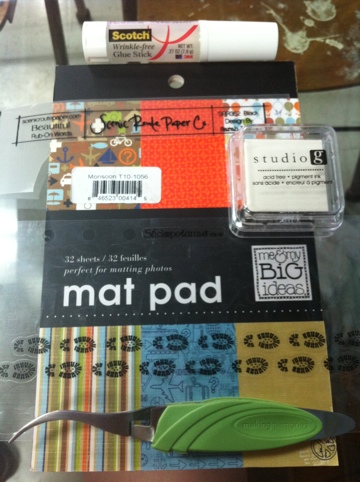
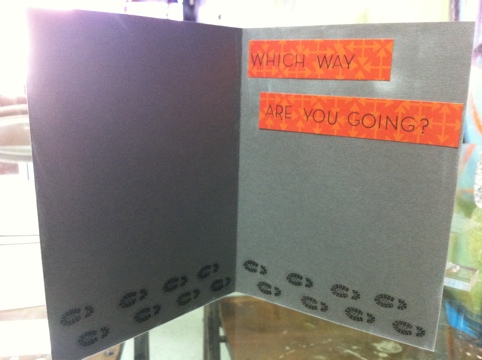
Update: Here are the pictures of card and supplies.
Posted on June 14th, 2011 by Sharon
Today’s card started with the paper. I added some glitter, a quote, and imagination.
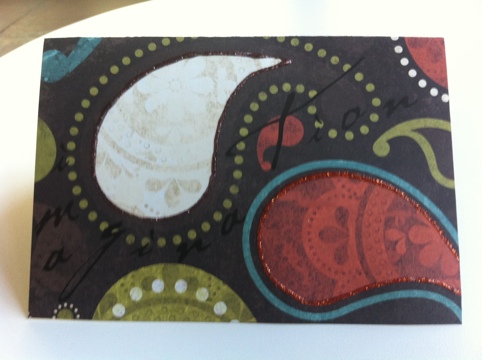
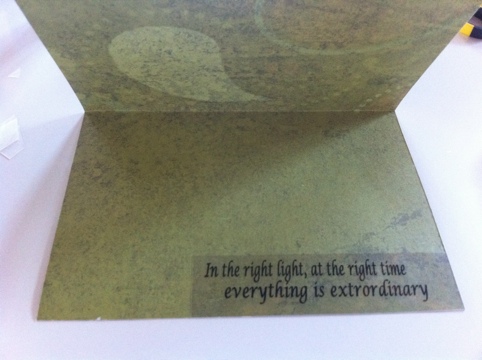
Purchase here: Imagination Greeting Card.
Posted on June 13th, 2011 by Sharon
Today’s card was inspired by a couple of different cards. I used papers and chipboard from the Bookshelf SEI kit. I started by cutting the card and gluing a coordinating piece of cardstock to the front.
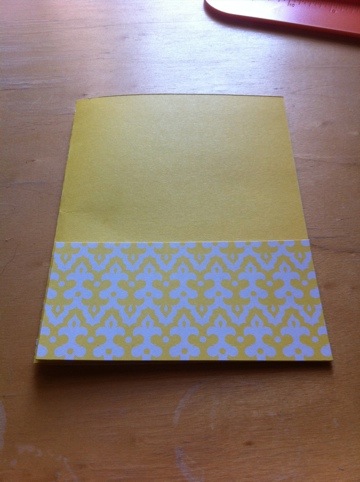
I added some green accents to the front and played with how to lay out the “F is for.”
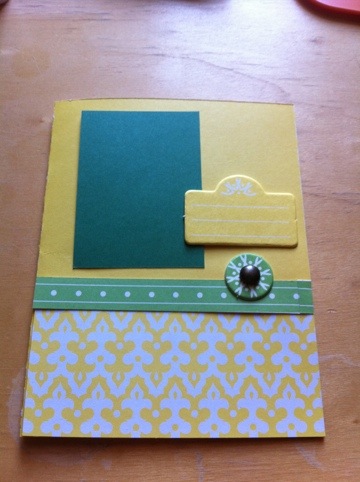
I had to hand cut the large F since I didn’t have a stencil that large. I used rub ons for the rest of the message.
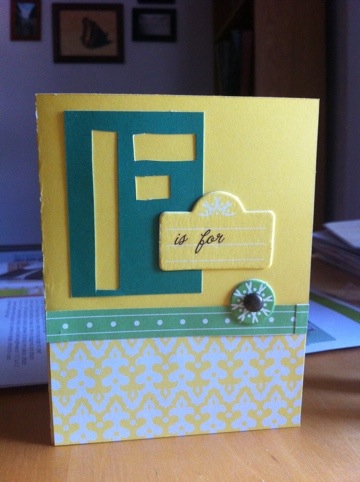
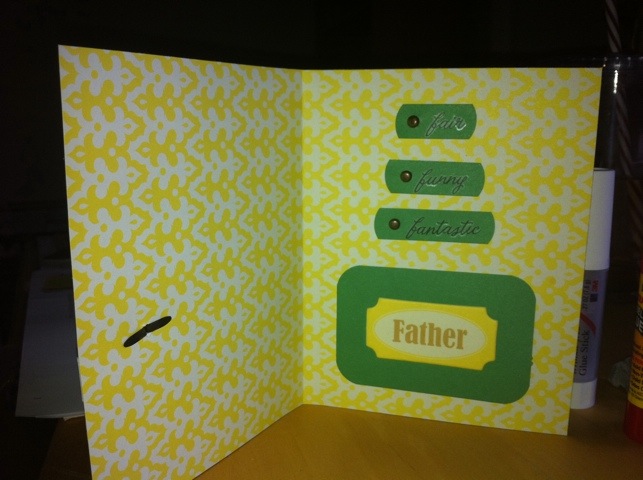
On the inside of the card, I kept with the dark green and made a kind of pyramid with fair, funny, fantastic, and father. I accented the lines with brads and rounded corners.
Posted on June 9th, 2011 by Sharon
Posted on June 8th, 2011 by Sharon
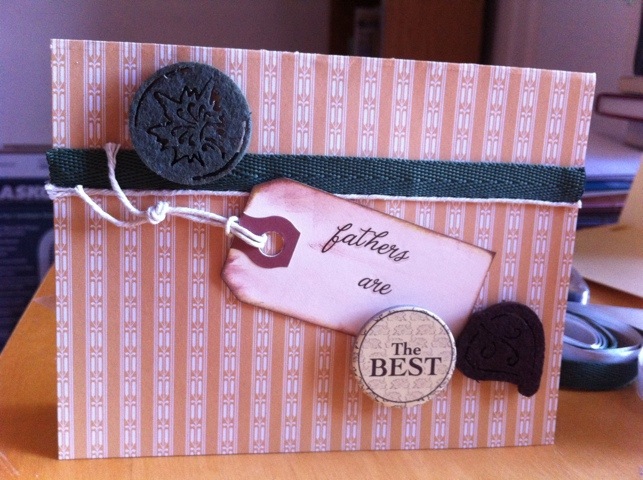
I was flipping through a Paper Craft magazine when I found this inspiration for today’s Father’s day card.
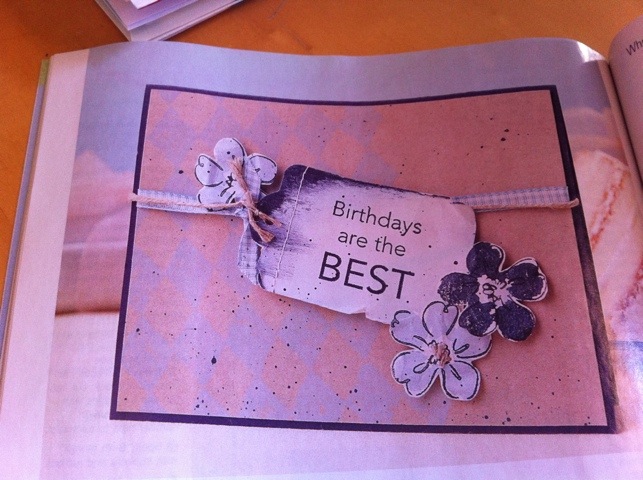
I found a good paper from that same SEI kit and pulled out a bunch of embellishments I thought would match.
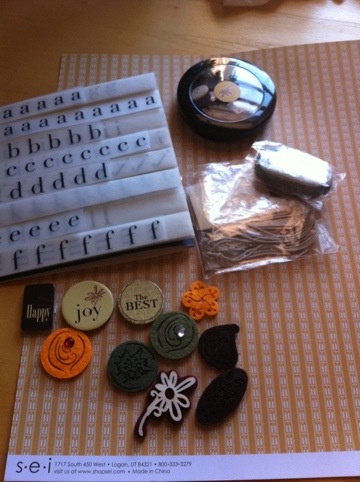
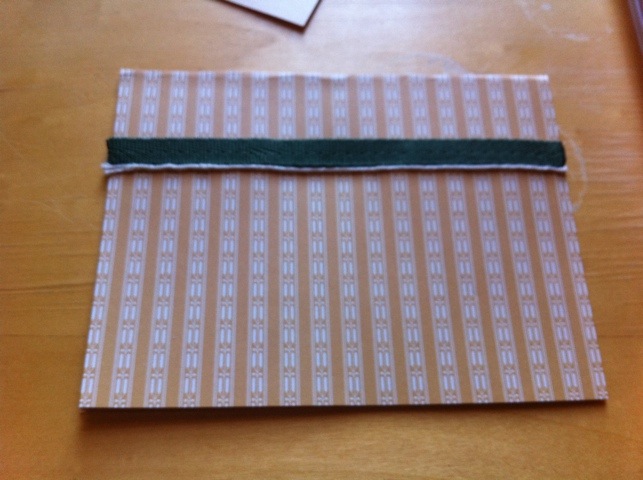
My first step was to cut down the card and fold it.
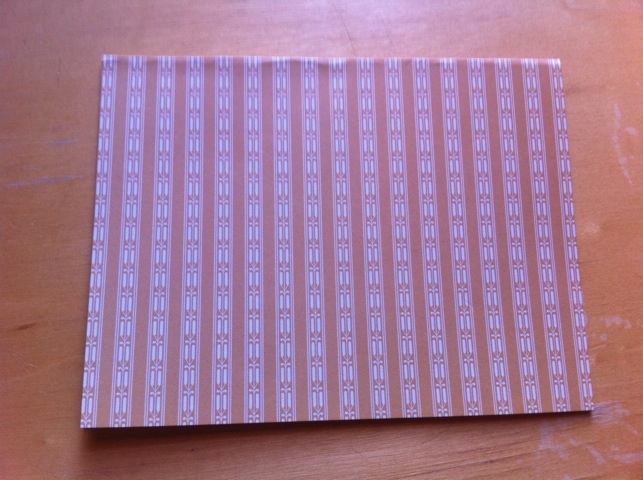
Next, I glued down a ribbon and fiber.
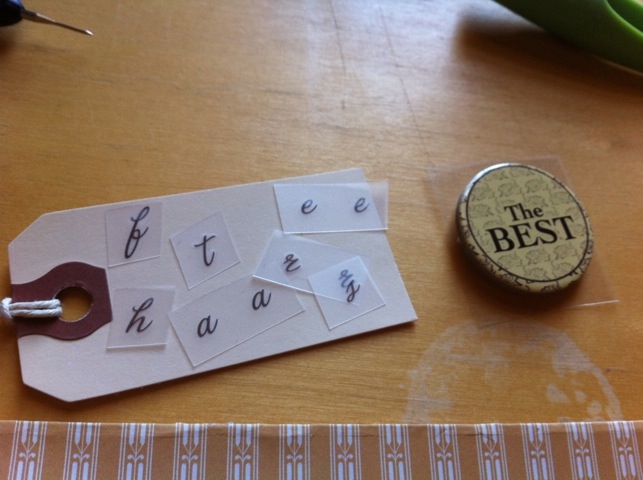
After that, I got my message and tag ready. I inked the edges of the tag with green and brown. I also decided to use a different set of rub ons than the set pictured.
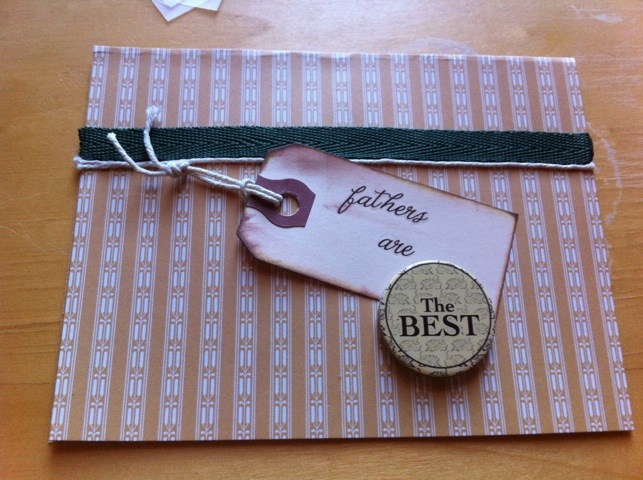
I added the last few embellishments and stamped the back.
Posted on June 7th, 2011 by Sharon
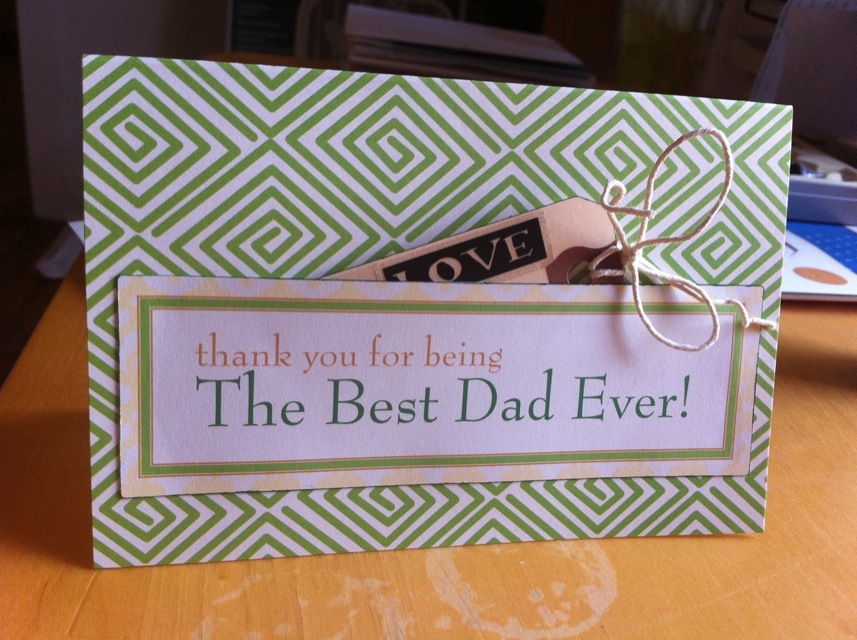
I decided to start a bit early making some Father’s Day cards. The May Club SEI kit included a lot of great colors and patterns for men so I decided to pull that out. Today’s card is nice and simple using a die cut from the kit as a pocket for a tag stickered with “I Love You.”
Posted on June 6th, 2011 by Sharon
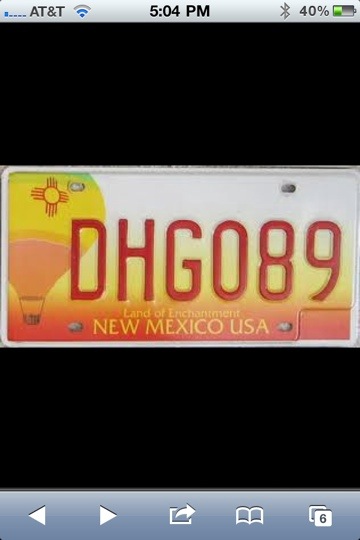
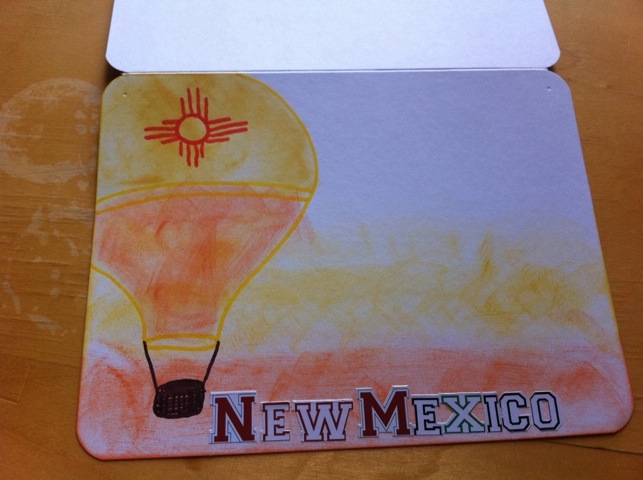
Hello, everybody. Sorry for the gap in posting, but I’ve been slowly moving out of our house in Arizona to take on the new adventure of traveling. Our first stop is with friends of ours in Albuquerque, New Mexico. My card is inspired by the license plates here.
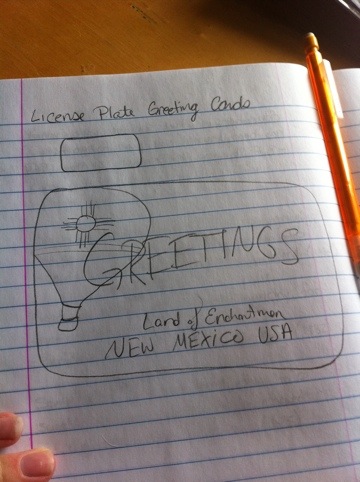
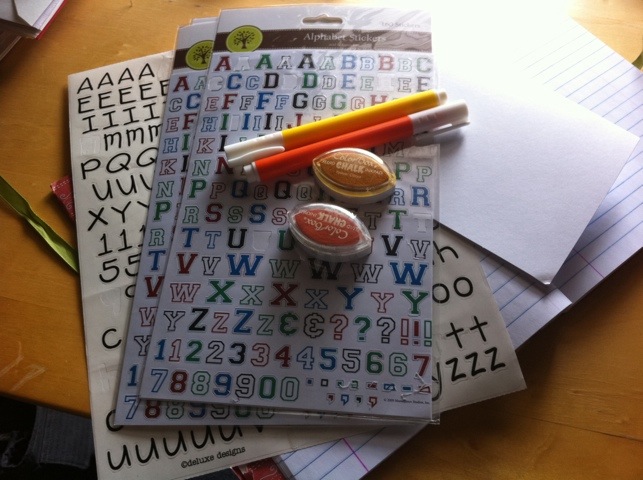
I started by drawing my idea and pulling out the supplies I would need. I used this picture as my guide:
I decided to use precut cardstock and started by rounding the corners.
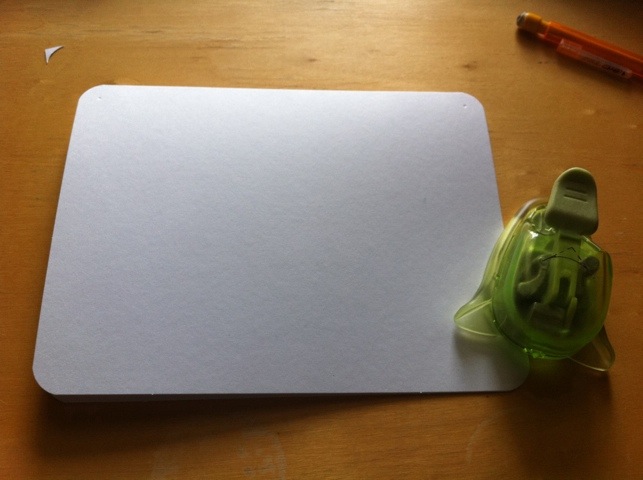
Next, I used ColorBox Chalk Inks for the bottom background colors.
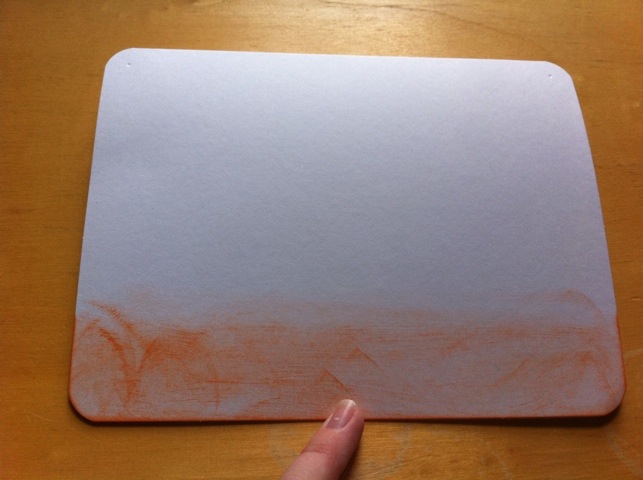
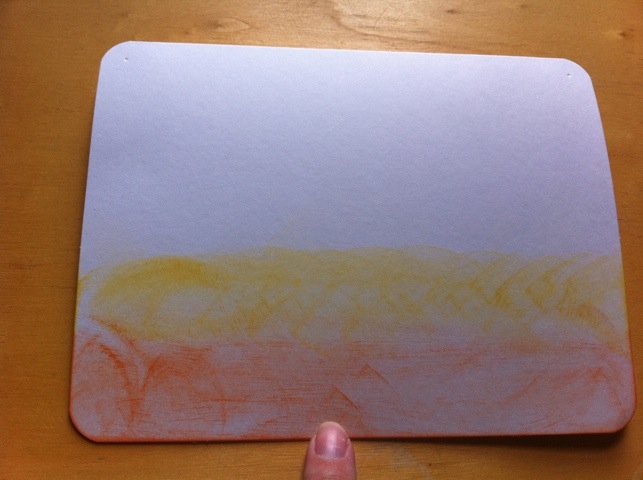
After that, I hand drew the hot air balloon pictured on the license plates and filled in the colors with the same chalk ink.
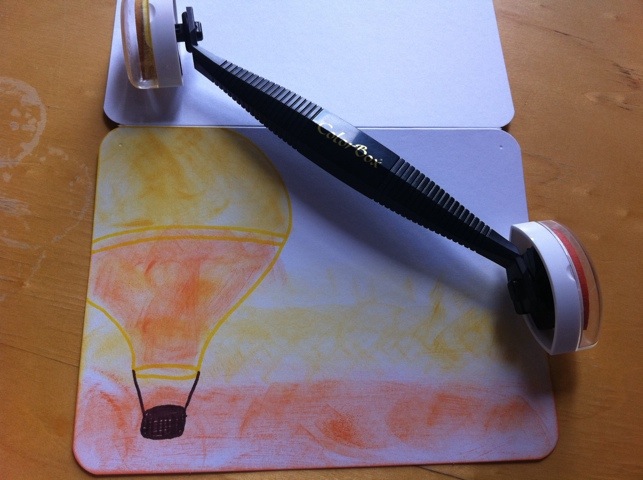
I also hand drew the design on the balloon.
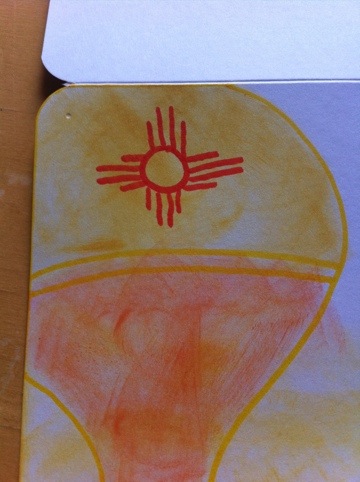
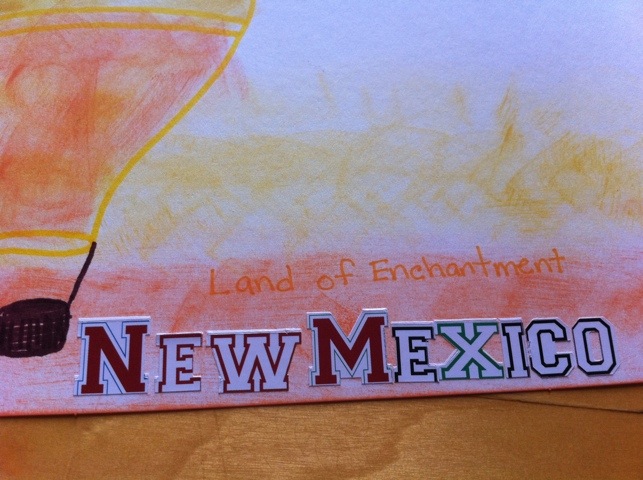
I didn’t have the right font for the bottom of the plate where it says “Land of Enchantment New Mexico USA” so I made do with varsity letters in close colors and hand writing.
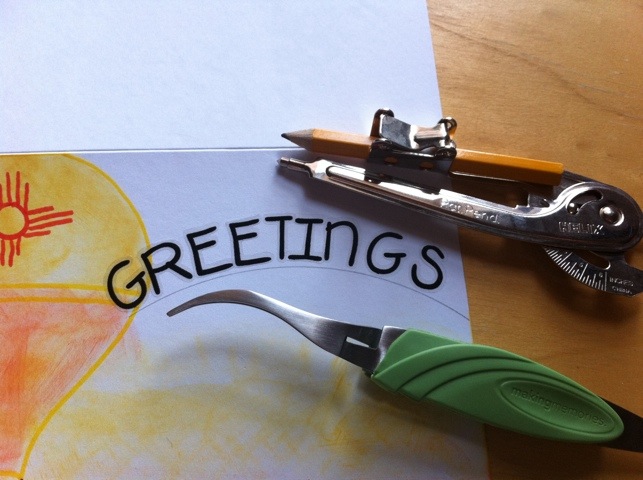
Last, I needed to add my “Greetings.” I used tweezers to apply the stickers and a compass to make a good arc.
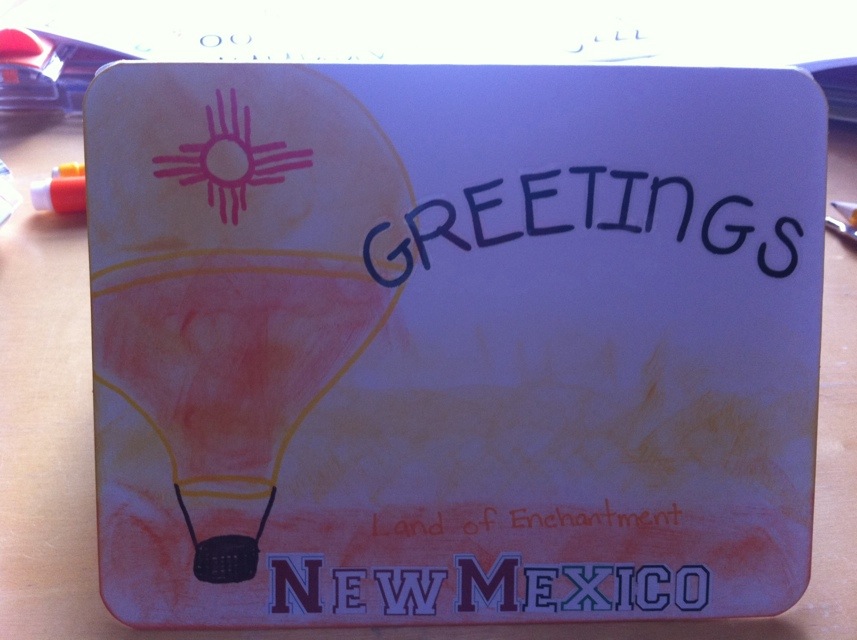
Purchase this card here: New Mexico Greeting Card.
Posted on May 31st, 2011 by Sharon
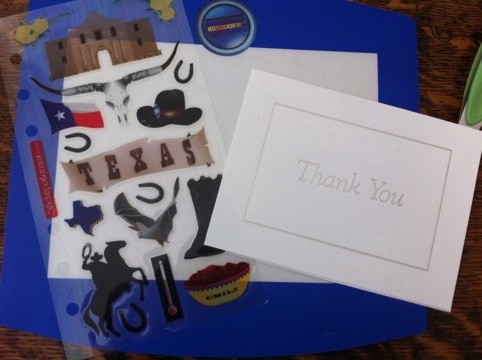
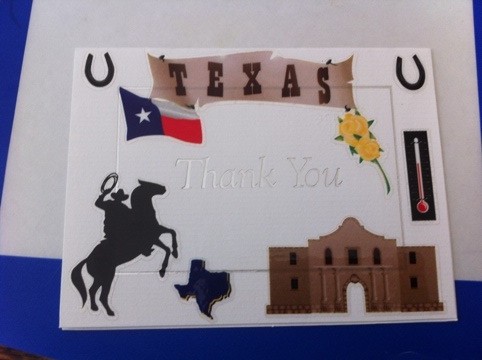
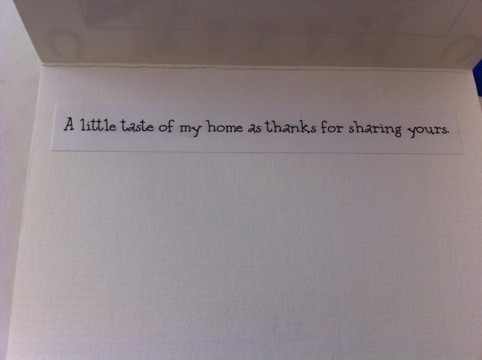
Here’s a simple thank-you card I made special for my sister-in-law’s trip over seas. It’s a little taste of her home for the family that hosts her.
Posted on May 30th, 2011 by Sharon
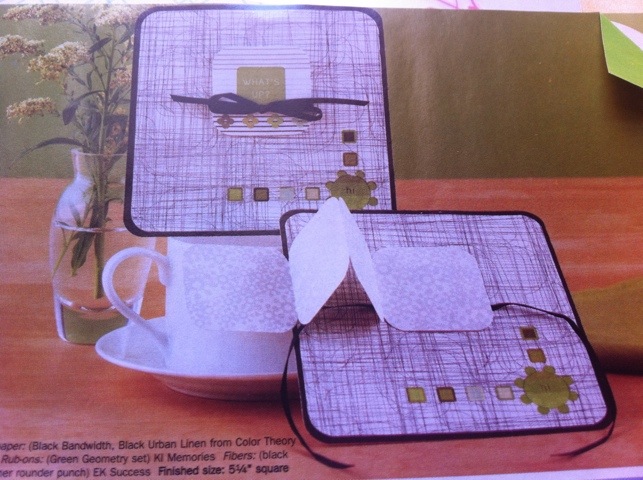
I was flipping through my PaperCrafts magazine looking for inspiration again today and came across this card:
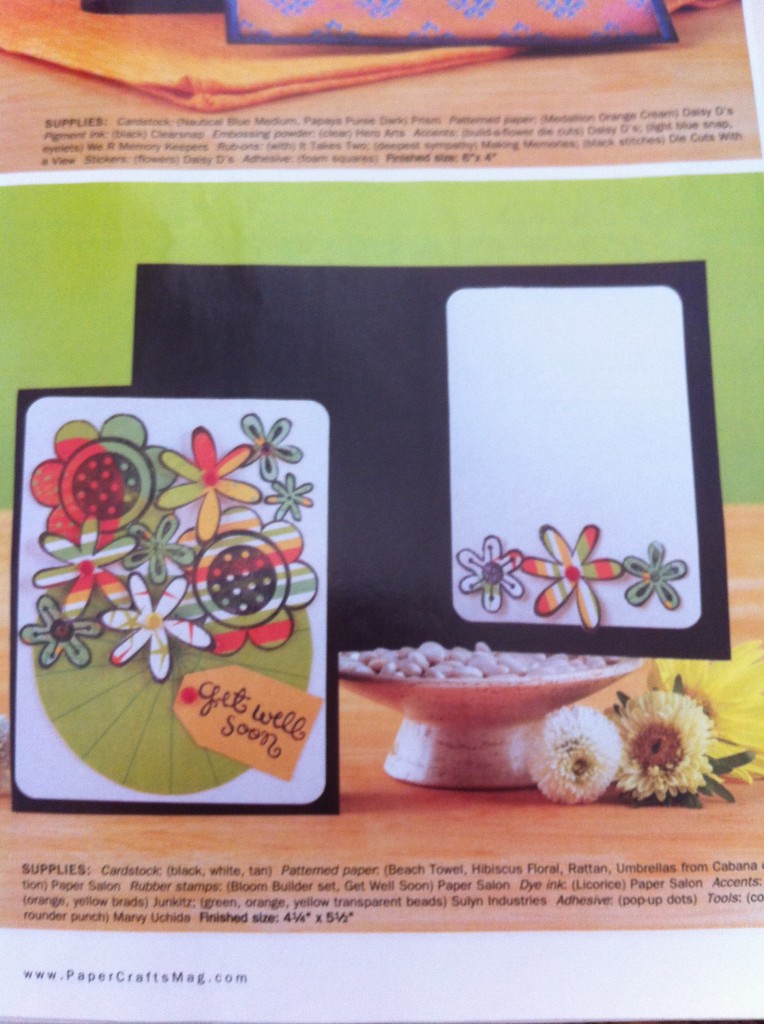
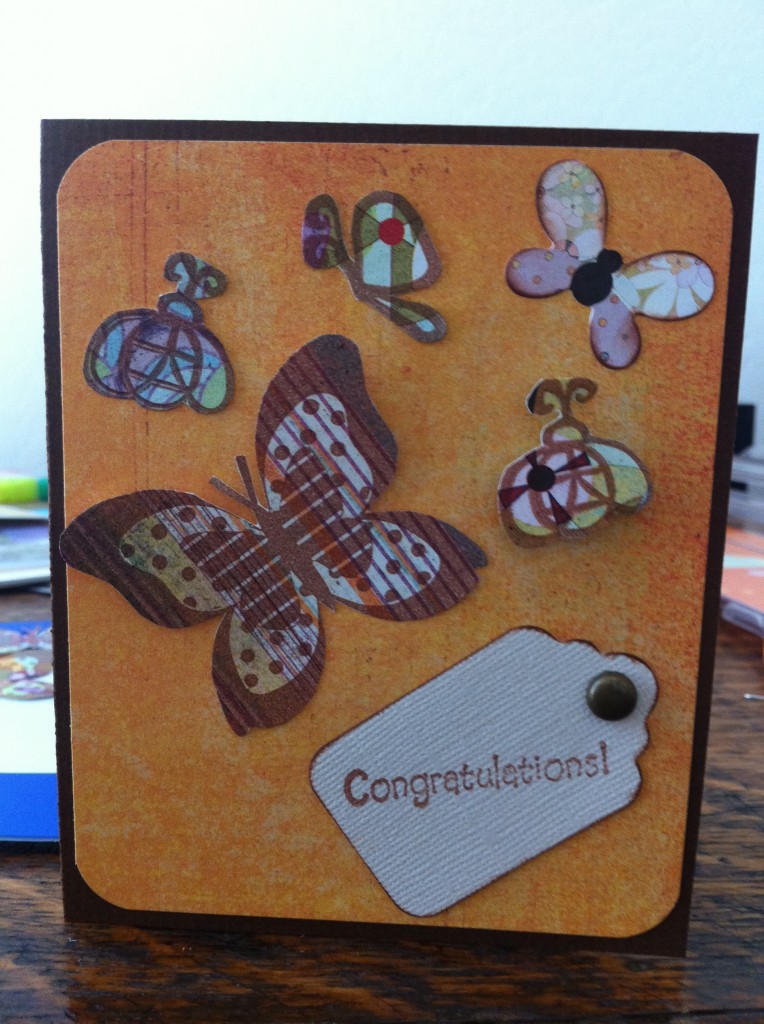
I liked it because of the patterns on the flowers. The instructions said to stamp flowers on different patterned paper and cut out. I thought that was a great thing to try, and I had the perfect papers to try it with. I’ve been doing a lot of stuff with flowers lately so I decided to change the stamps to flying things. I have a butterfly, bee, and dragonfly that I used.
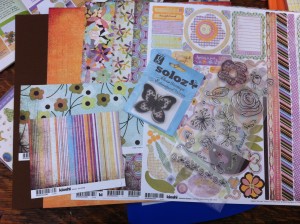
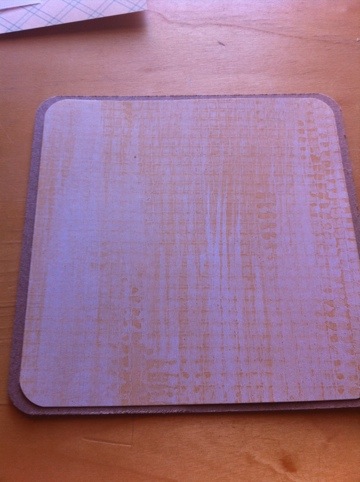
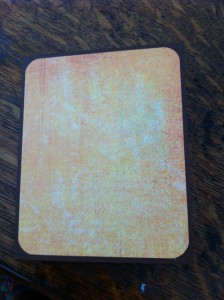
The first thing I did was cut my brown cardstock down to size as well as the piece of orange background paper. I rounded the corners just like the example and glued it down.
The next part was really time consuming but turned out really well. I chose three of my favorite patterns and stamped the butterfly, bee, and dragonfly once on each. Then, I started to hand cut them out.
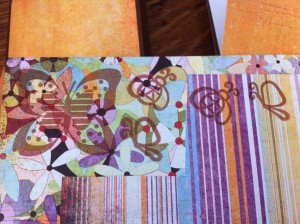
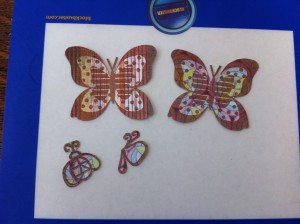
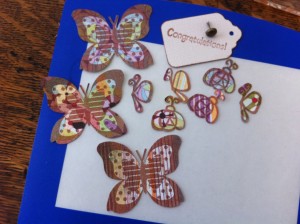
Before I glued everything down to the front, I stamped a precut tag with “Congratulations!” and inked the edges. I used some foam squares to make the butterfly wings pop out as well as the bee. The other butterfly is from the same set of papers and is a cardstock sticker with inked edges.
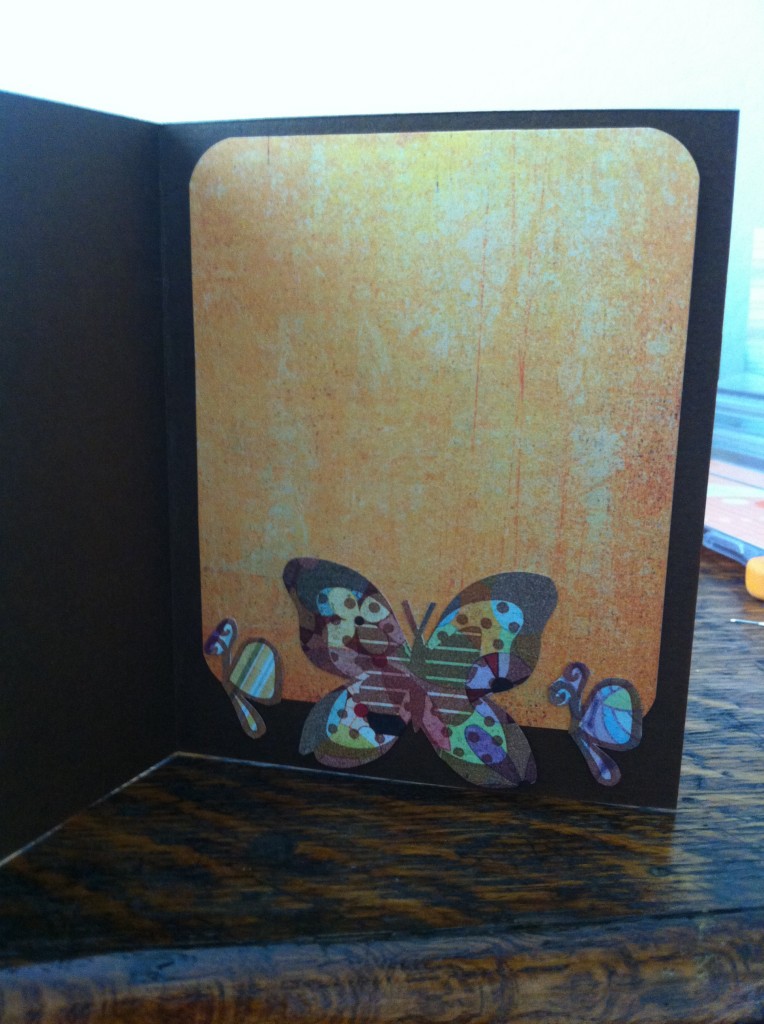
The inside was simple since everything was already cut. I trimmed another piece of orange cardstock down a little more and rounded the edges. I glued the butterfly and dragonflies flat so the card wouldn’t get any thicker.
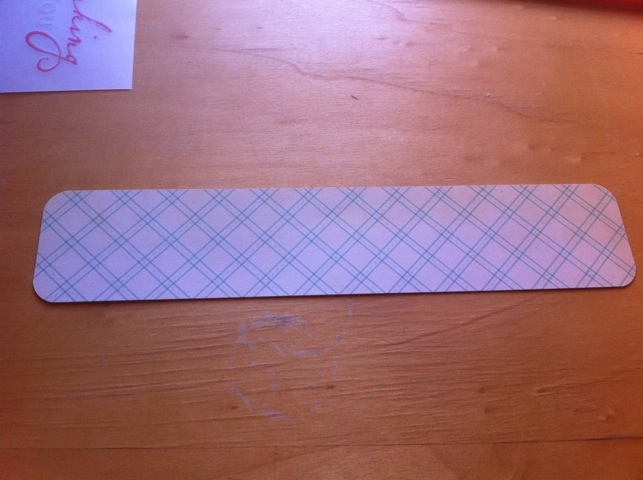
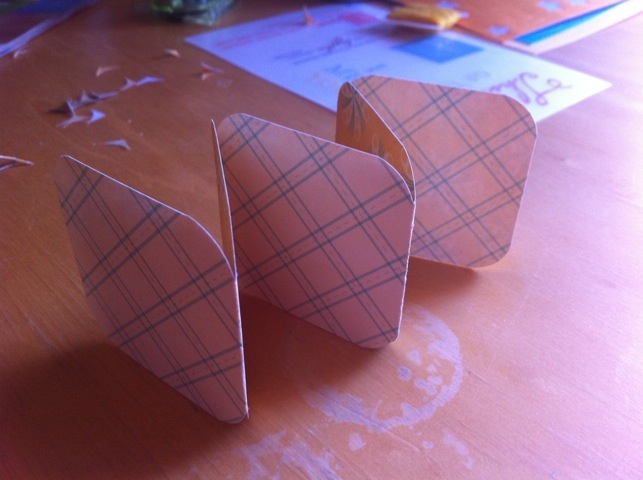
I even copied the envelope idea with a couple strips of the patterned paper and cardstock as well as the two leftover patterned insects.
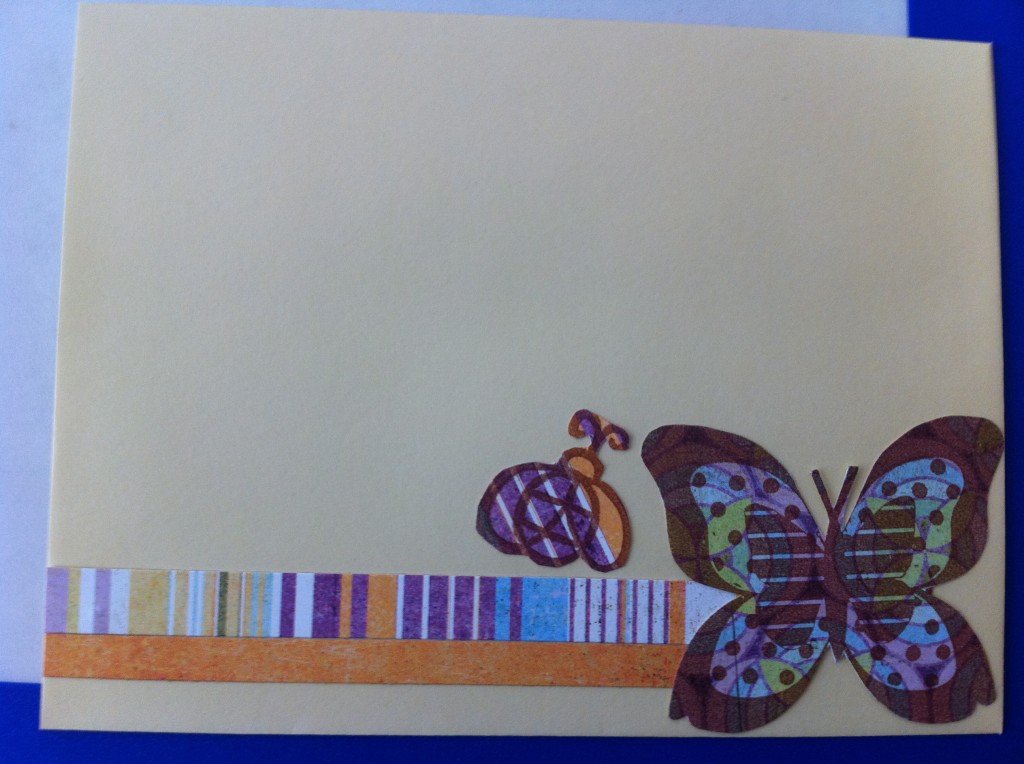
I’m quite proud of how this one turned out. It’s already available in my Etsy shop as well as many of the other cards featured on this blog.
Posted in
Greeting Card | Tags:
blank,
brads,
brown,
butterflies,
envelope,
hand cut,
ink,
orange,
patterned,
stamped,
stripes,
tags,
tent,
vertical |
Comments Off on Butterfly Congratulations
Posted on May 27th, 2011 by Sharon
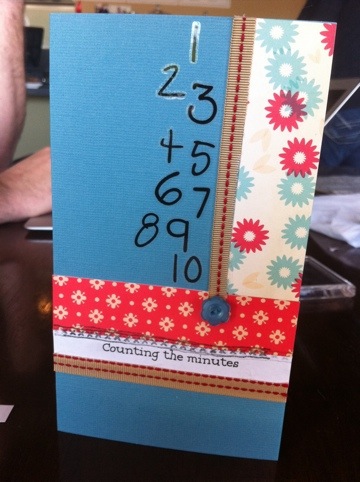
Today’s card is dedicated to my hubby who is going out of country on Sunday. We don’t spend much time apart so I always miss him a bunch.
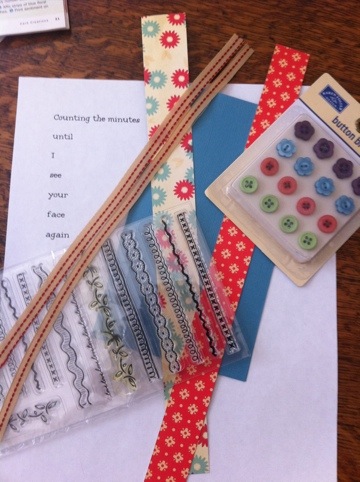
I was following a magazine picture again, so I started by cutting the card, patterned paper, and ribbons down to size. I also printed up my message today instead of using stickers or rub ons. After printing and trimming, I started glueing.
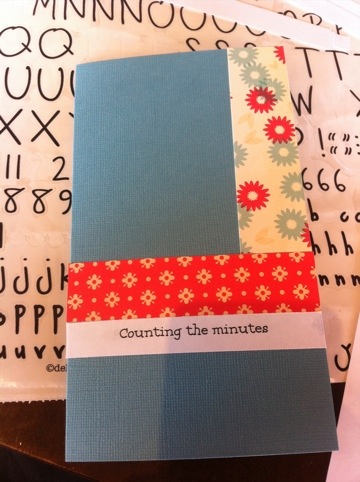
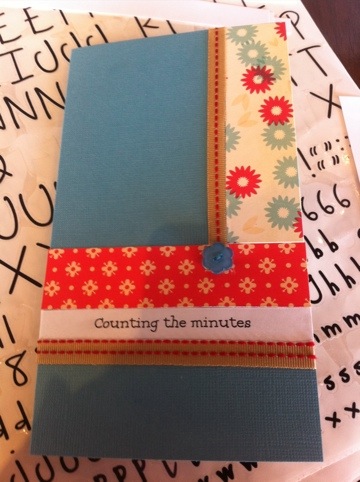
I used number stickers for the counting.
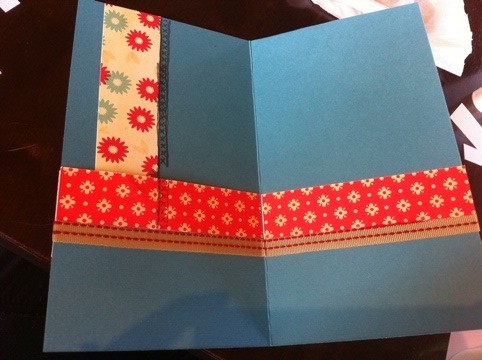
The inside copies the pattern of the front.
The final step was to cut the printed message up and glue it down.
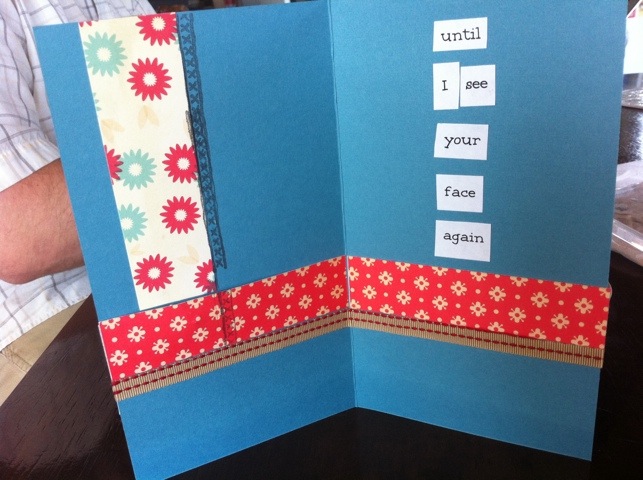
Purchase this card here: Counting the Minutes Greeting Card.
Posted in
Greeting Card | Tags:
blue,
brads,
flowers,
ink,
patterned,
red,
ribbon,
stamped,
stickers,
vertical,
white |
Comments Off on Counting the Minutes


