Posted on May 26th, 2011 by Sharon
Today’s card is by far one of my favorites inspired by this card:
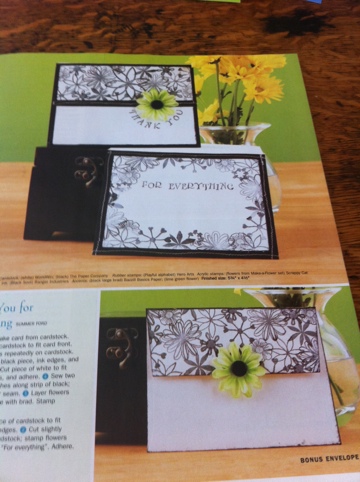
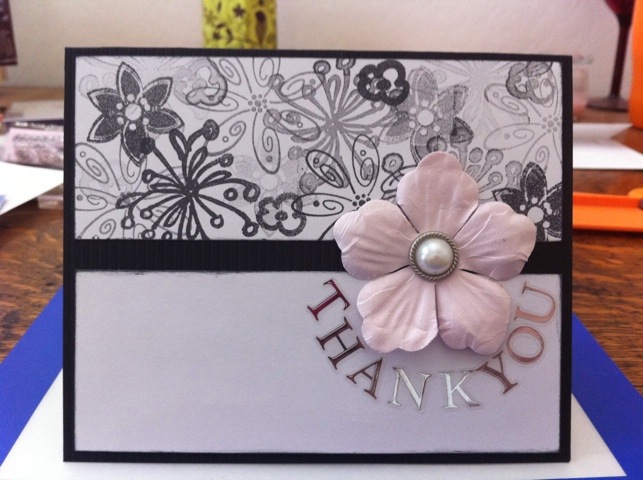
I pulled out black and white cardstock, flower stamps, a pink flower, and a silver brad.
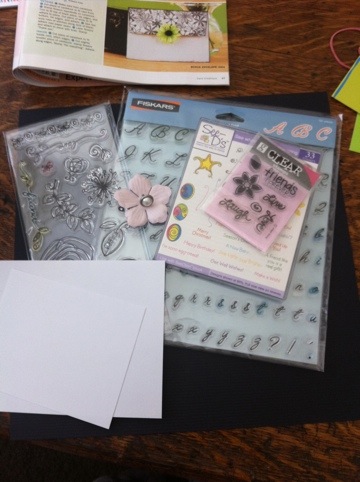
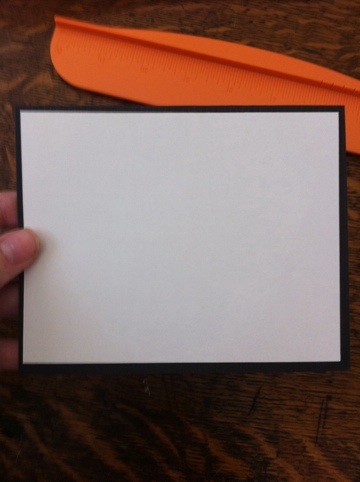
First, I cut the card and white front.
I realized that the front white piece of cardstock wasn’t covered with a black ribbon or anything but was two smaller white pieces. I trimmed it down and stamped my flowers.
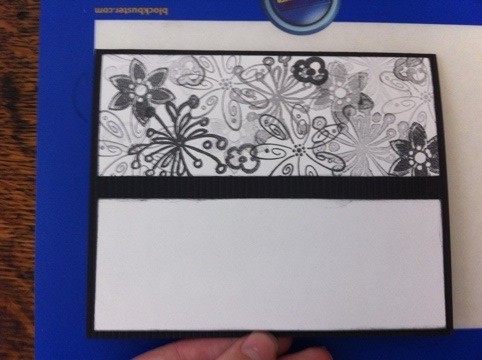
I inked the edges of the bottom piece of white and glued them down.

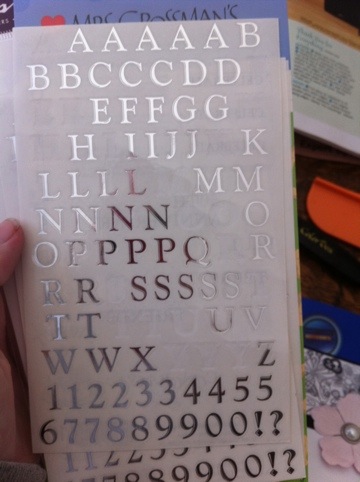
Next, I attached the pink flower with the silver brad. I was going to stamp my message but decided to add more silver with these stickers:
Here’s the finished front:
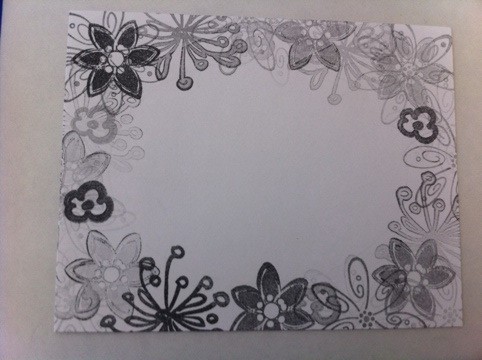
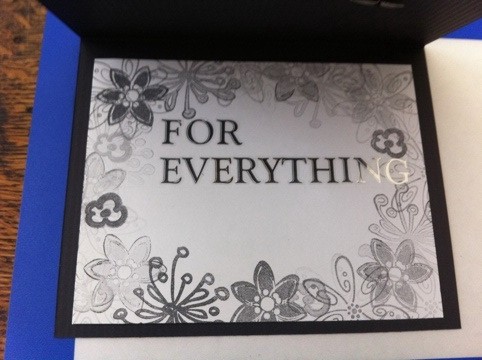
The inside piece of white cardstock got stamped around the edges only, leaving an oval of space.
I added some guide lines and the inside message in the same silver stickers.
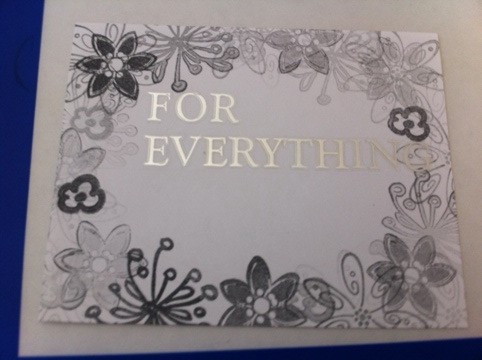
The last steps were to erase the lines and glue the white cardstock inside the black card.
Posted in
Greeting Card | Tags:
black,
brads,
flowers,
ink,
pink,
silver,
stamped,
stickers,
tent,
thank you,
white |
Comments Off on Thank-you For Everything
Posted on May 25th, 2011 by Sharon
I made this card with friends of mine in mind. They’re one year wedding anniversary was a couple of days ago. Plus, I was inspired by a card-making magazine I picked up a couple of weeks ago. I grabbed it to learn a few tricks and stay inspired for the rest of the year.
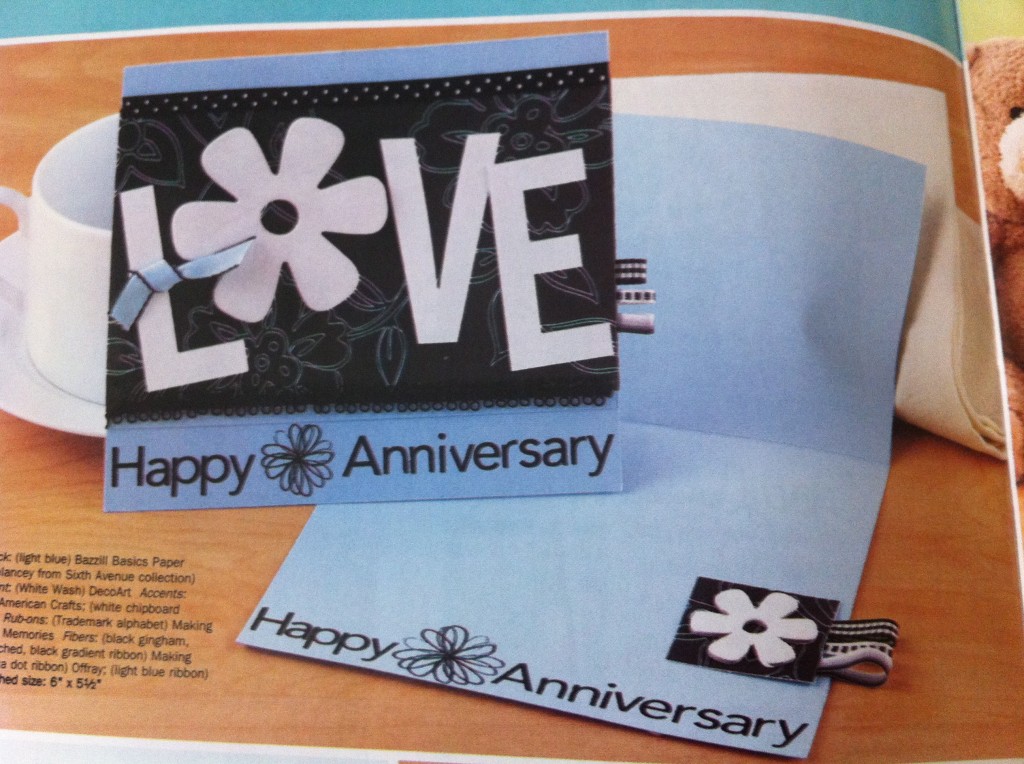
The magazine is neat because it tells you the dimensions of the card and pieces as well as what products they used. I decided to use what I had.
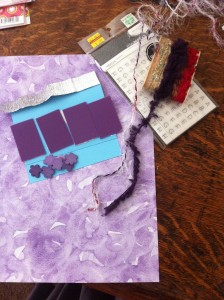
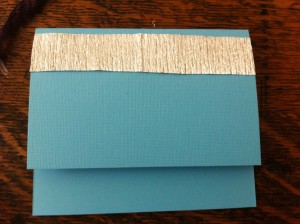
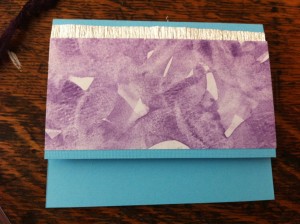
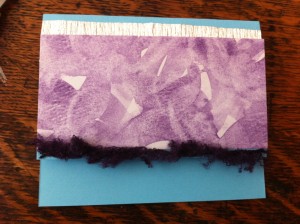
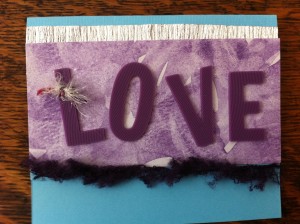
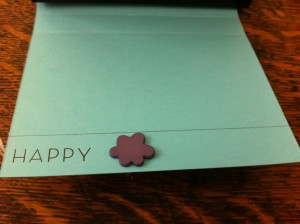
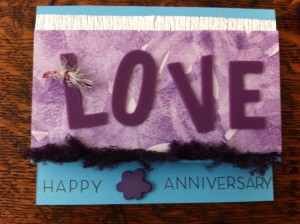
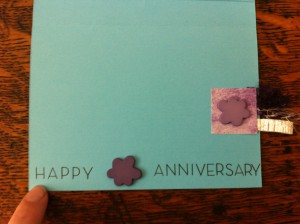
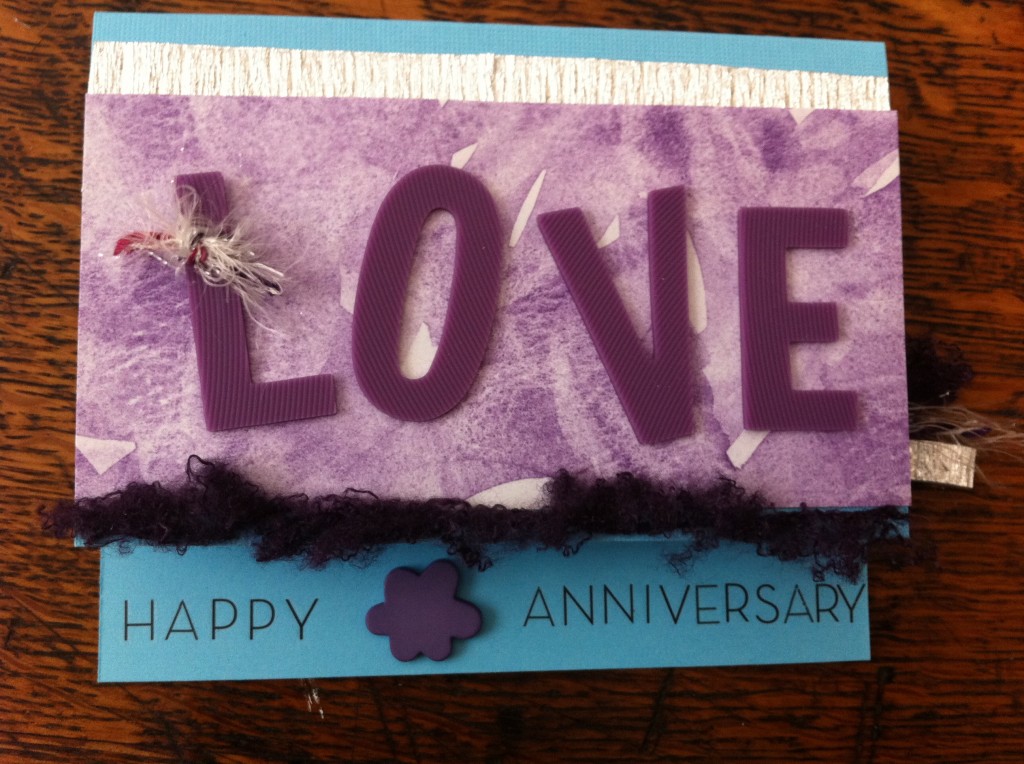
Purchase this card here: Love Anniversary Card.
Posted in
Greeting Card | Tags:
anniversary,
blank,
blue,
crepe,
fibers,
flowers,
fonts,
patterned,
purple,
rub ons,
tent,
unbuttons |
Comments Off on Love Anniversary
Posted on May 24th, 2011 by Sharon
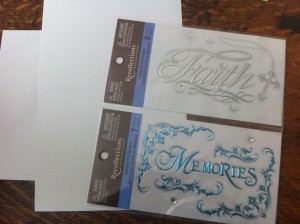
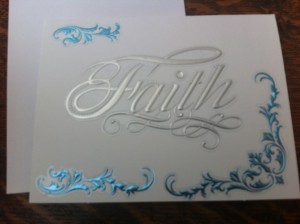
A hair-stylist friend of mine recently got her own shop and had a friends and family night. I stocked up on stickers and things a while ago and came across these beautiful silver foil stickers that said “Faith” and had some other embellishment stickers too. I immediately thought of my friend because that’s her name and was excited to finally have an excuse to make her a card. If you’re on the lookout for a great hairstylist call Salon Faith!
Posted on May 23rd, 2011 by Sharon
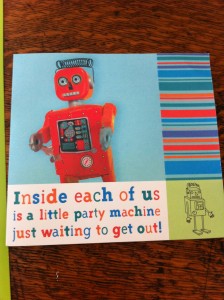
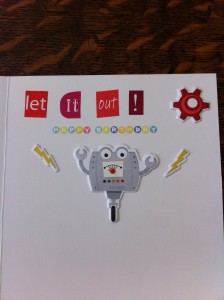
Today’s card was inspired by a birthday card my mom got for me last year. I was also inspired because I had these awesome robot stickers just screaming to get used!
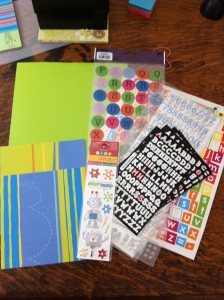
This was also a great opportunity to use more, different alpha stickers. I even had the perfect cardstock and patterned paper to use.
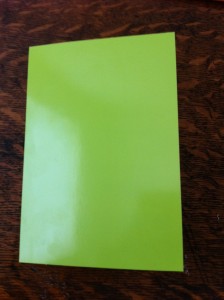
I cut, scored, and folded the card.
I cut and glued the patterned paper. Then, I added the puffy robot stickers.
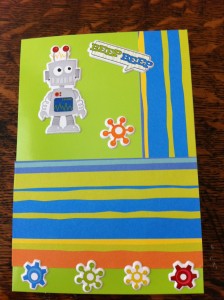
Next was the labor-intensive task of adding the message. I didn’t have room for the same message as the card, but I did pretty good. In one of the fonts, I didn’t even have enough of the letters! I made do and think it came out just fine.
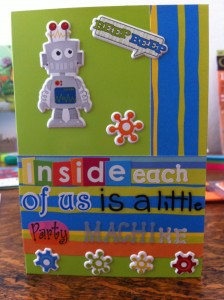
I probably could have made the inside look better by adding more of the patterned paper, but by the time I realized that the stickers were already down. The “Happy Birthday” is a rub-on from the quote stack I bought recently. I figured the fonts and colors matched well so I’d make it a birthday card instead of a generic party/celebrate card.
Purchase this card here: Party Machine Birthday Card.
Posted in
Greeting Card | Tags:
birthday,
blue,
colorful,
fonts,
green,
orange,
patterned,
red,
rub ons,
stickers,
vertical,
yellow |
Comments Off on Party Machine
Posted on May 21st, 2011 by Sharon
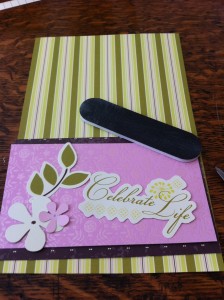
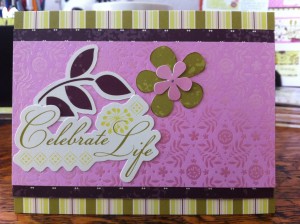
The last card in the Treetops series is featured on the top right of the page.
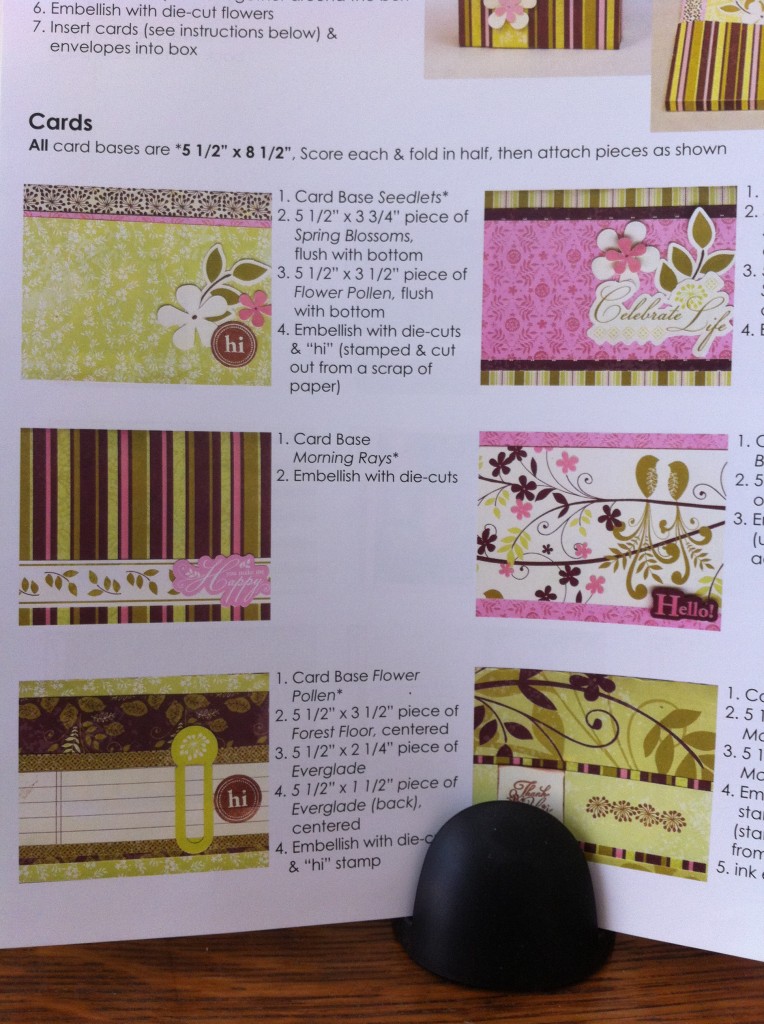
I made very few changes. I reversed the leaves and larger flower. I inked the petals, and I decided to align everything along the left hand side since most of the other cards in this series favored the right.
Purchase this card as part of a set here: In the Treetops Set 2.
Posted in
Greeting Card | Tags:
any occasion,
blank,
brown,
die cuts,
flowers,
green,
ink,
patterned,
pink,
series,
stripes,
tent |
Comments Off on Celebrate Life
Posted on May 20th, 2011 by Sharon
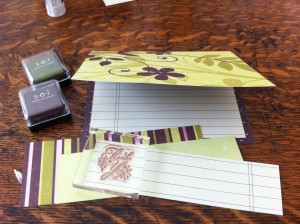
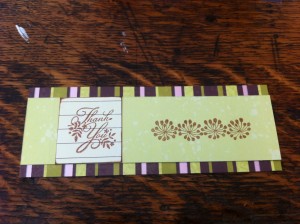
Today’s card inspiration is the bottom right.

I followed this example fairly closely. For the cream square, I used lined paper included in the kit. I also put the lined paper on the inside because it was dark brown and would have been difficult to write a message.
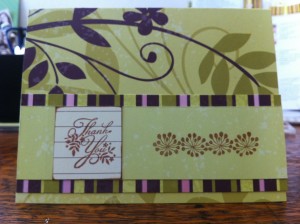
Purchase this card as part of a set here: In the Treetops Set 2.
Posted on May 19th, 2011 by Sharon
Today’s example is the top left card.

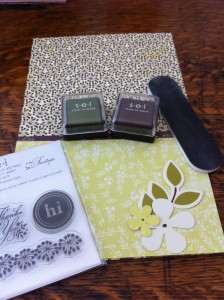
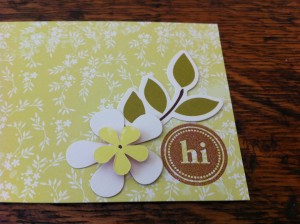
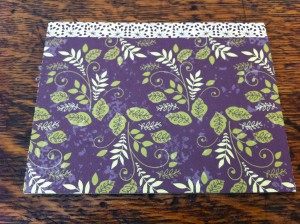
I followed the example pretty closely except for the little bit of pink. I wanted to keep this one pretty masculine so I kept the earth tones. Also, the little green flower is layered on the creme-colored flower with a foam dot for a little 3D layering.
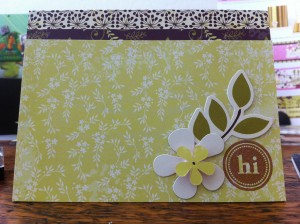
Purchase this card as part of a set here: In the Treetops Set 2.
Posted on May 18th, 2011 by Sharon
I stole the quote for today’s card from a Disney/Pixar movie. Any guesses as to which one and who says it? The example I was following is the second from the top in the right column.

The two birds on a branch were quite perfect for my quote.
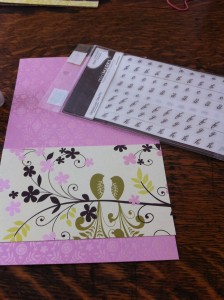
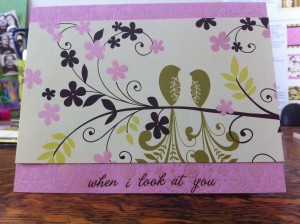
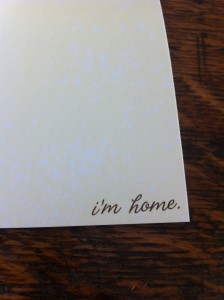
Purchase this card as part of a set here: In the Treetops Set 1.
Posted on May 17th, 2011 by Sharon
Today’s card is the next in the “In the Treetops” series. Its example is the second card down in the left column.

Here’s what I started with:
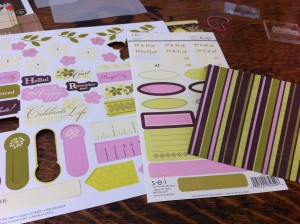
I started by punching out the leafy border and inking the edges with green. I glued it down near the bottom, similar to the picture. I didn’t really like the suggested message or the pink so I looked through the die cuts and decided on a green one with the message “Thank You, Dear Friend.” I inked the edges with brown and glued it down as well. It wasn’t quite enough so I punched out a cream-colored flower, inked the very tips of the petals brown and added it near the message. Here’s the final product:
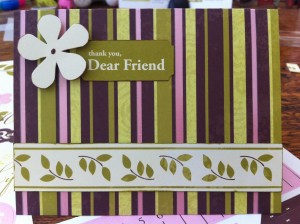
Purchase this card as part of a set here: In the Treetops Set 1.
Posted in
Greeting Card | Tags:
blank,
brown,
die cuts,
flower,
green,
ink,
pink,
stripes,
tent,
thank you |
Comments Off on Thank You, Dear Friend
Posted on May 16th, 2011 by Sharon
This week’s cards are featuring the March 2011 SEI club kit using their card ideas and the paper set called “In the Treetops.” I joined the club at the scrapbook convention and am very glad I did. I hope you like the cards and papers as much as I do!

Today’s card is featured on the bottom left of the sample sheet. I only made a few changes but still used SEI products.
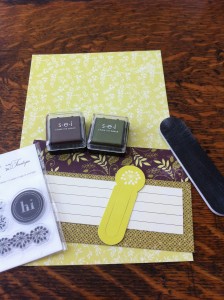
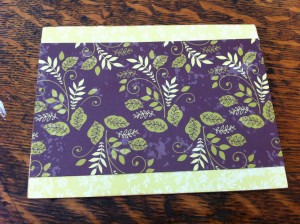
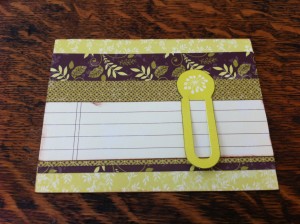
I did all of my size cutting on in one sitting to make the rest of the week go quickly. Most of it is just layering and glueing. I did some inking on the lined paper with brown and on the green paperclip with green. I also stamped my message in green.
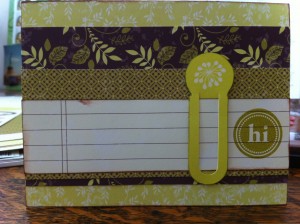
Purchase this card as part of a set here: In the Treetops Set 1.


