Posted on May 13th, 2011 by Sharon
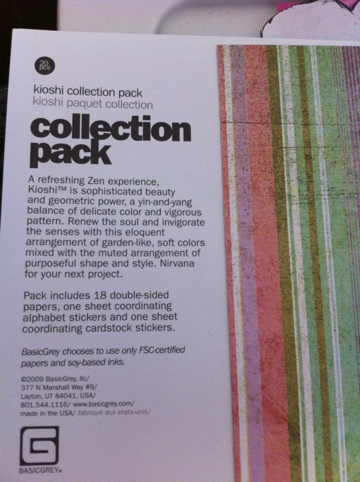
Today’s card was made for my sister-in-law’s 13th birthday. From one of the classes at the Scrapbooking convention, I got an awesome collection pack that I knew would be perfect for her card.
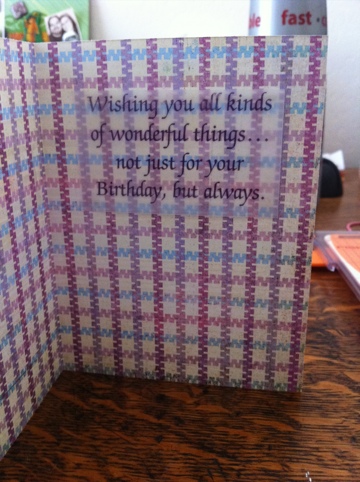
I picked a paper that’s striped on one side with a fun purple and blue almost gingham pattern on the inside. I knew the message I wanted to use but didn’t think it would show up on the card if I printed directly onto it. I also didn’t want white printer paper to cover the fun pattern so I chose to print on vellum. It turned out really well, but I warn you to let the ink dry!
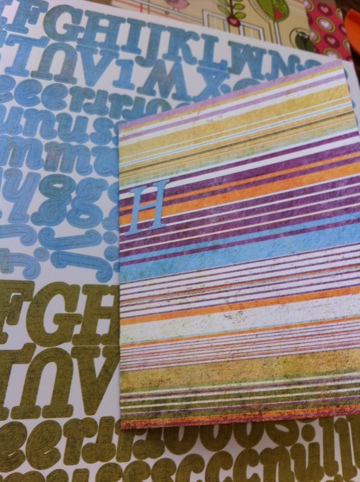
On the front, I used blue cardstock alpha stickers that were included in the collection for the “happy birthday.”
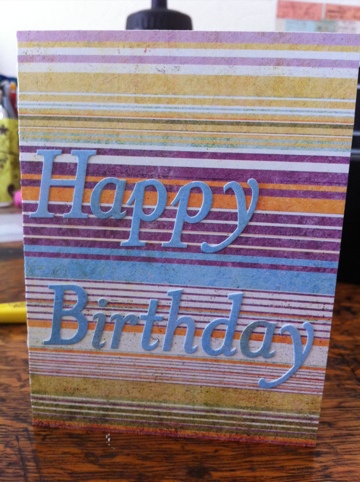
Happy 13th Birthday, Rachel. Hope it was a great one!
Posted on May 12th, 2011 by Sharon
I needed to make a return to Hobby Lobby while I was out and about the other day and decided to use my exchange and an old gift card right away. I needed to make a Mother’s Day card for my mom-in-law so with that in mind I happily roamed the aisles.
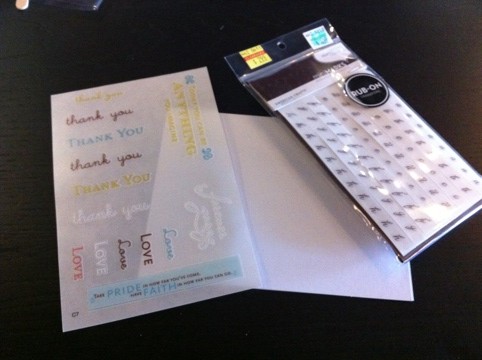
I didn’t have any supplies with me so I knew I would need a card and envelope. I’ve cleaned out my notecard supply so I grabbed a pack of white cards and envelopes. I could have bought glue at the store but didn’t want to mess with it so I took my time in the sticker aisle. I struck gold, however, in the section of rub ons. There were some alphabets on clearance with great fonts and a quote stack specifically for cards. The best part was that the card rub ons are in color!
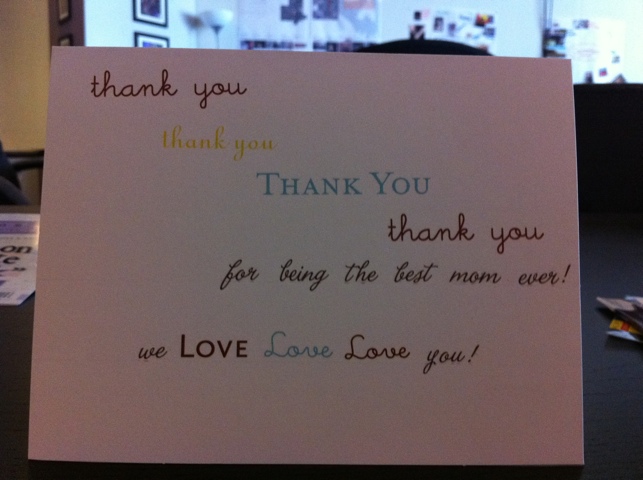
I flipped through the stack twice before deciding on the theme to use. It’s full of friendship, birthdays, sympathy, and gratitude so I decided to thank Karen for being the best Mom ever.
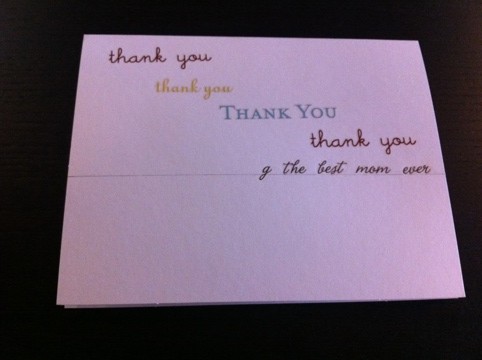
I also added to the bottom “we love love love you,” which is one love per kid in AZ.
Posted on May 11th, 2011 by Sharon
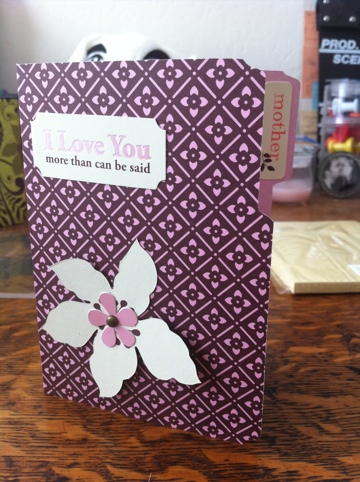
I was messing around with my craft supplies the other day and decided to open up another of the SEI month kits I bought at the Scrapbooking Convention. It came with mini file folders and card ideas so I decided to make my mother’s day card out of it.
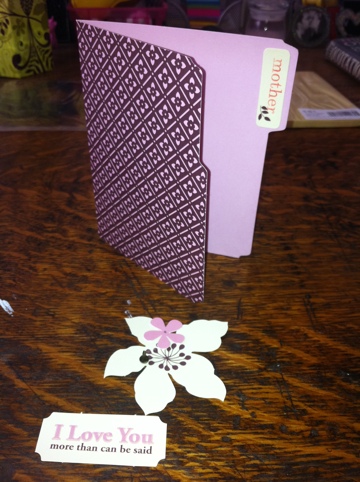
The great thing about using kit supplies is that everything already matches and works beautifully together. I simply poked a hole through the center of the two flowers and attached them, layered, onto the card with a brad. I used a die cut with the message “I love you more than words can say,” and glued it down above the flowers. I added my message to the inside and mailed it off in time for Mother’s Day.
Posted on May 10th, 2011 by Sharon
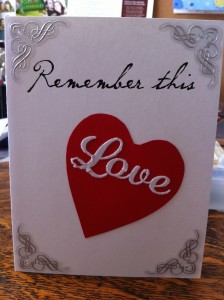
Today’s card is also a wedding card I made for a friend of mine. My mom didn’t mention when her wedding was, but I’m sure it’s safe to post the card. I decided to go a little more traditional with this wedding card but just as beautiful. I started with going through my folder of rub-ons to see if I could find a good wedding/love/couples quote. I found some white, flocked, family-themed iron-ons that were just begging to be used. The picture didn’t really come out because it was white on white and backwards, but there were lots of phrases like together forever, cherish, love, etc. I wasn’t fully satisfied so I kept looking through and found a black rub-on that said “remember this.” I decided that “Remember this Love” was the perfect wedding day message because who doesn’t want to feel that great in the years to come. I pulled out a white notecard for the card base and some red cardstock for the love iron-on. It took a while to get the iron-on to stick to the page but a little patience goes a long way.
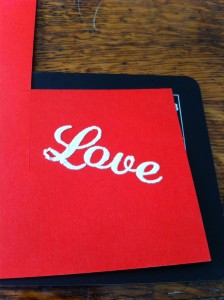
The next step was to trace a heart to the backside and cut out the shape. I had to make very sure I wasn’t going to cut through my letters but I did measure before I ironed.
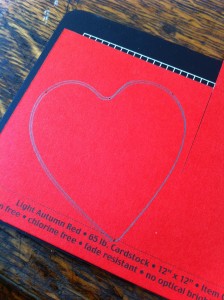
To add a little bit more glam to the card, I pulled out some silver foil stickers. I applied the stickers to the corners, lined up my rub-on and heart, rubbed, and glued. I left the inside blank so my mom could add her own message. I hope they liked it.
Posted in
Greeting Card | Tags:
black,
blank,
flocked,
hand cut,
heart,
iron ons,
red,
rub ons,
silver,
vertical,
wedding,
white |
Comments Off on Remember this Love
Posted on May 9th, 2011 by Sharon
Hello, friends. Sorry for the radio silence last week, but I was putting my creative endeavors towards cards for friends and family. I needed to make sure the events passed before revealing the cards on the blog. The first card for this week was made for a friend I’ve known my whole life. She got married on April 30th so I’d like to say: congratulations, Angela and Benjamin.
I decided the best card would be something fun and non-traditional. I had the perfect card in mind which came from the cardmaking class from the scrapbook convention. Here is the picture guide.
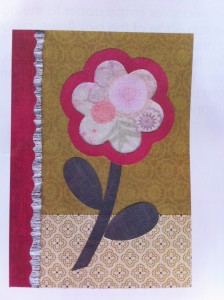
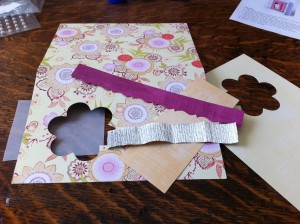
The middle of the flower actually shows the inside of the card. The class teacher told an anecdote about how her mother could put a picture behind the vellum to send to friends but soften her face. I decided to do something like that for my friends. Here are all the individual supplies I started with.
Since I was turning this card into a picture frame, I decided to turn it onto its side to make displaying easier. I also folded it with the fun flowers facing out instead of in. I didn’t get pictures of my process, but I made the outside of the card similar to the guide picture. I used the plain yellow side instead of the side with little flowers on it. I used the purple strip and crepe along the fold just like the guide picture. I didn’t do a stem for the flower but a single leaf. I used the purple die-cut to go around the outside of the flower to match the purple strip, and a sticker that says “celebrate.”
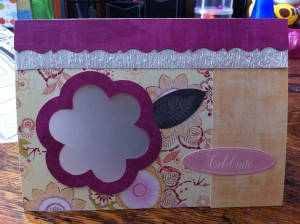
Now, if you look at the supply picture, there is a piece of yellow cardstock with a flower cut into it. This proved a very tricky piece to use once I modified the card from the guide. It wasn’t really made to be folded with the flower side out. I decided that the flower cutout would be a good way to demonstrate that the card would double as a picture frame. It was pretty tricky cutting it down to size so it matched up perfectly to the vellum side of the flower. I finally did and mounted it with clear photo corners so it could easily be replaced with a square-cut picture. The green inside was a little dark for writing a message so I mounted the rest of the yellow cardstock to the other half of the inside of the card.
I wish I could have been there but hopefully they’ll put a wedding picture inside the card and think of me!
Posted in
Greeting Card | Tags:
colorful,
crepe,
die cuts,
flower,
green,
purple,
silver,
stickers,
tent,
vellum,
wedding,
yellow |
Comments Off on Colorful Wedding
Posted on April 29th, 2011 by Sharon
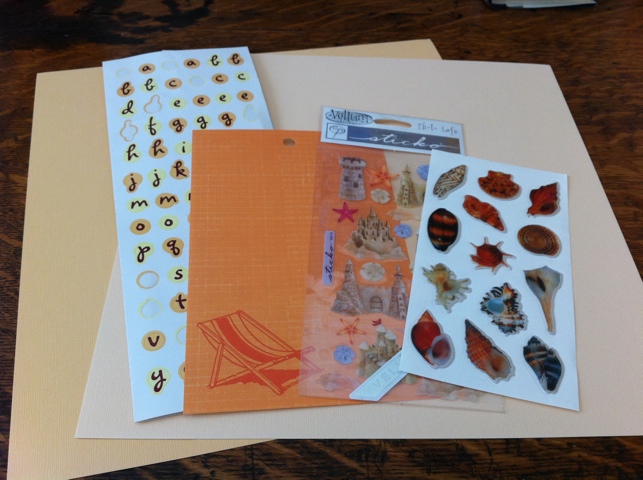
Today’s card is the last in my travel series. Once, I decided which supplies to use, it was easy to make.
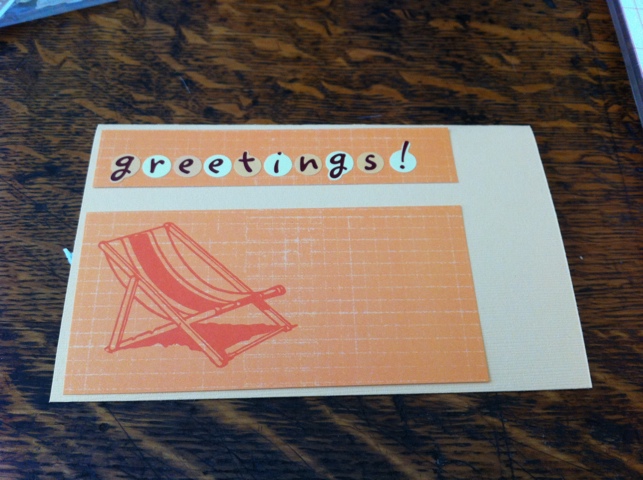
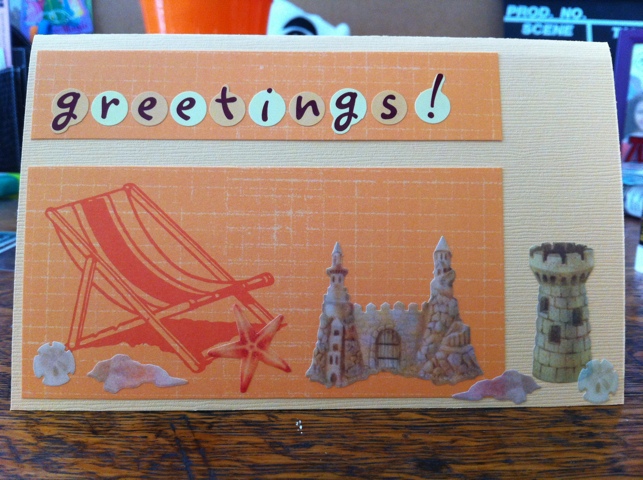
Purchase this card as part of a set here: Travel Set.
Posted on April 28th, 2011 by Sharon
Today’s card is another in the travel theme. The quote is by T.S. Elliot.
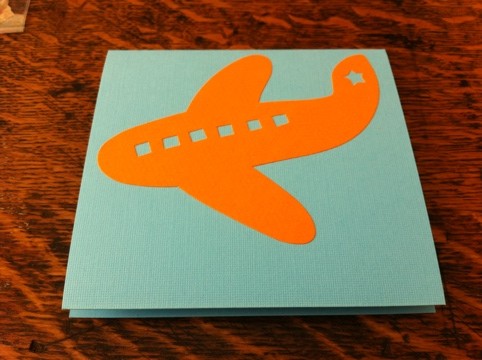
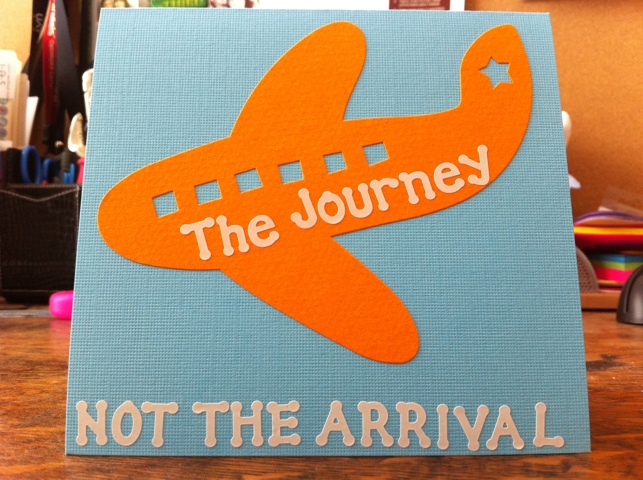
Purchase this card as part of a set here: Travel Set.
Posted on April 27th, 2011 by Sharon
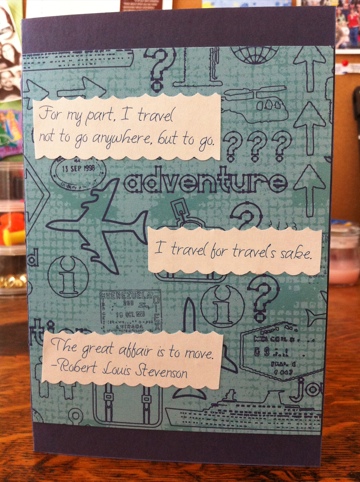
Purchase this card as part of a set here: Travel Set.
Posted on April 26th, 2011 by Sharon
I’ve been feeling a great deal of wanderlust lately and have decided to dedicate the rest of this week to travel-themed cards. This first one was made with my young sister-in-law, who hopes to make her first major trip soon, in mind. Check out RachelBowerman.com for details or to donate.
I started by consulting The Little Oxford Dictionary of Quotations that I got from the library a few weeks ago. It has quite a few good ones on travel that you’ll see this week. I decided on this one by Francis Bacon for Rachel.
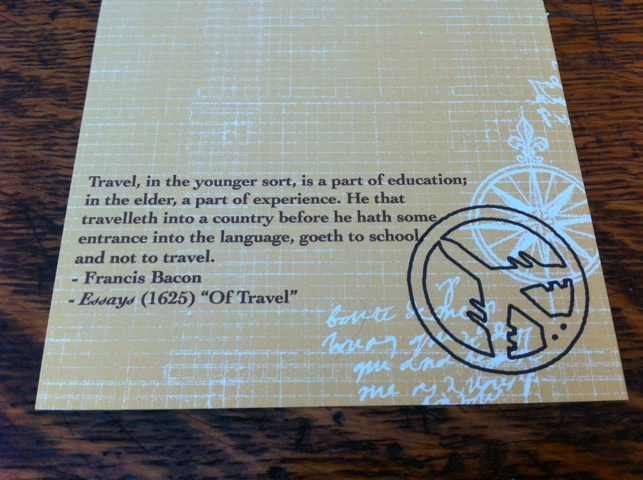
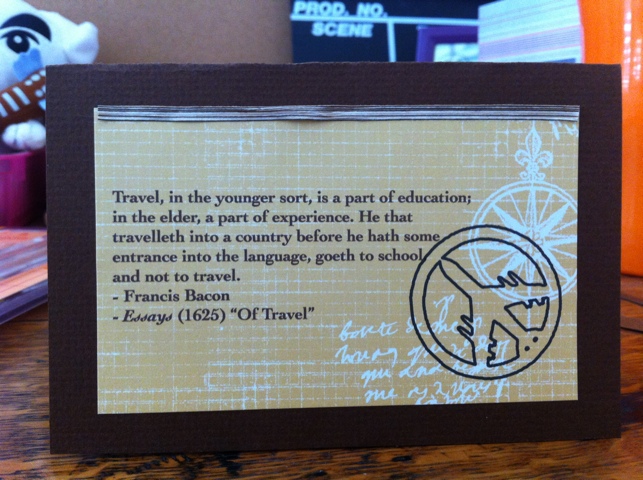
I printed the quote on a 5×7 piece of travel-themed yellow paper and trimmed it down. I made the card from brown cardstock, attached the quote on the outside and a thin piece of ribbon for an extra touch.
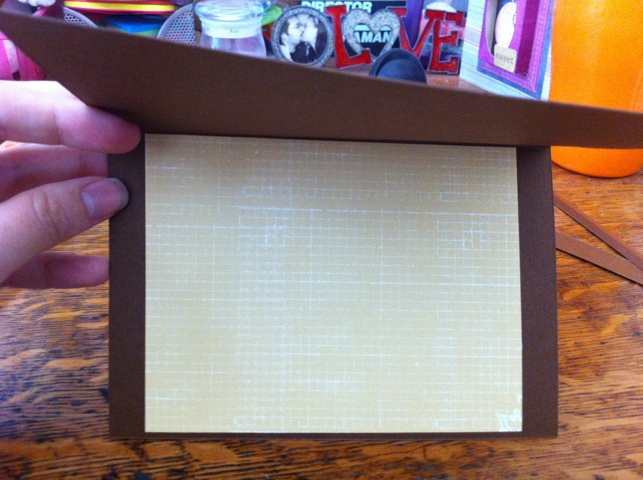
On the inside, I attached the rest of the yellow paper to make writing the message easier.
I am taking requests for cards. You can contact me through the website or Etsy.
Posted on April 25th, 2011 by Sharon
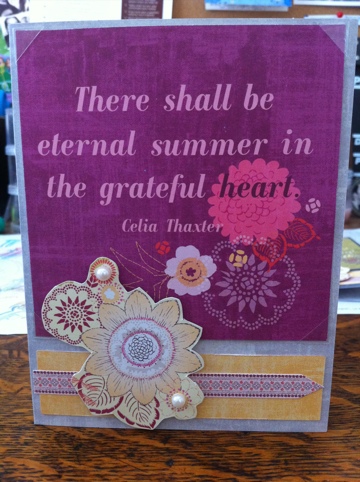
Since today’s card is the last card of this kit I’m going to feature, I decided to go ahead and make both versions.
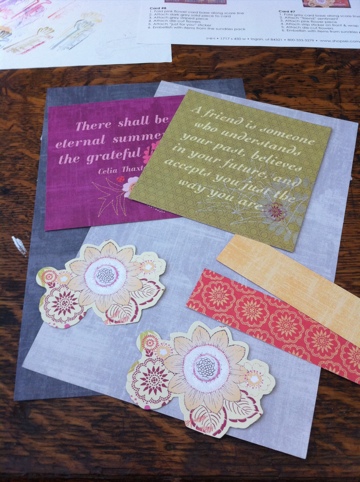
The largest section of this card features a reversible message of friendship that matches the rest of the embellishments no matter which side is facing up. With that in mind, I decided to use photo corners so the sender of the card can decide which message is better for the recipient.
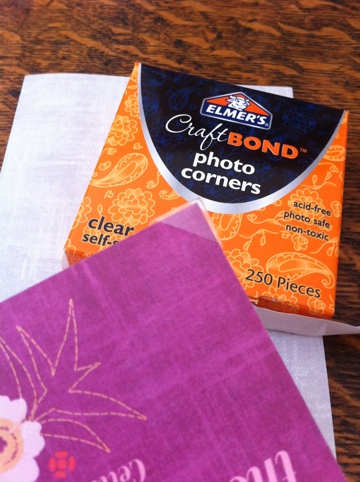
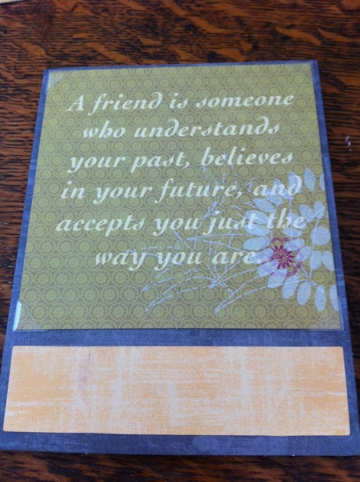
Next, I glued down the small piece of pink and yellow cardstock, yellow face up because it matches both messages better than the pink flowers. I did this on both cards.
The last step was to embellish the bottom of the card with the provided stickers, pearls, and die cuts. I used double stick foam on the die cuts to keep the message easily reversible.
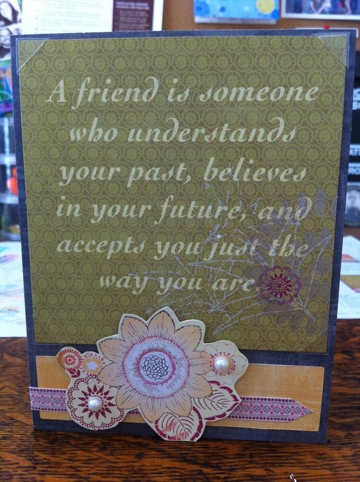
Purchase these two friendship cards as part of a set here: Floral Set 1 or Floral Set 2.


