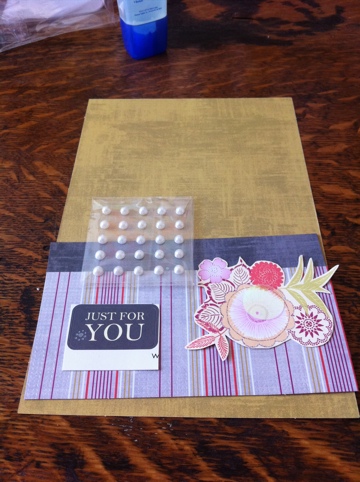
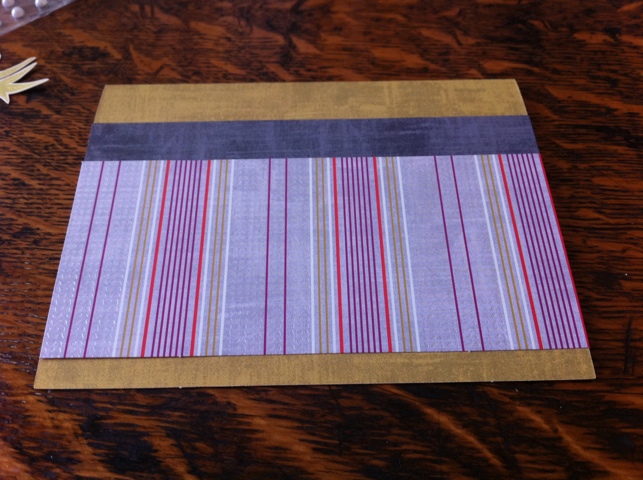
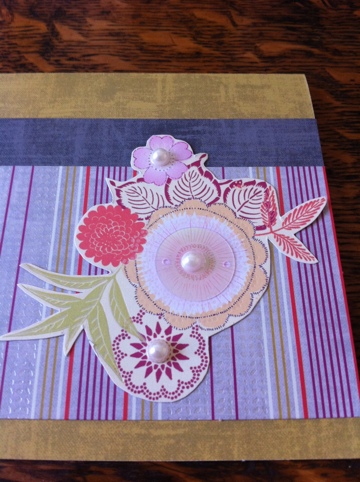
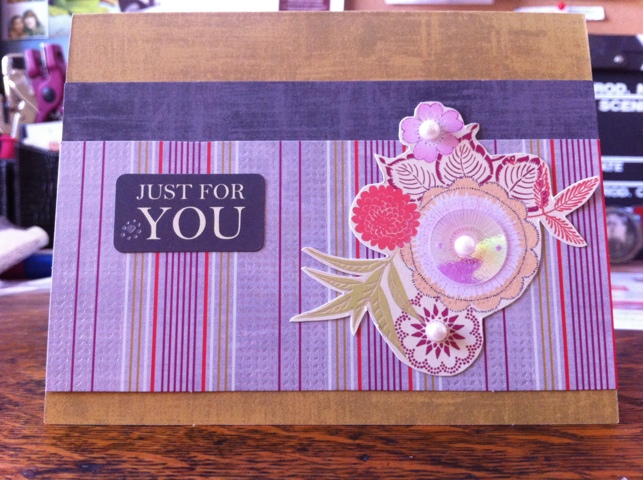
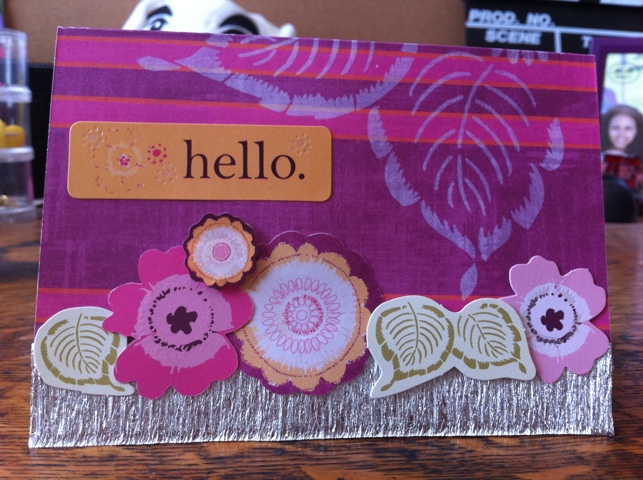
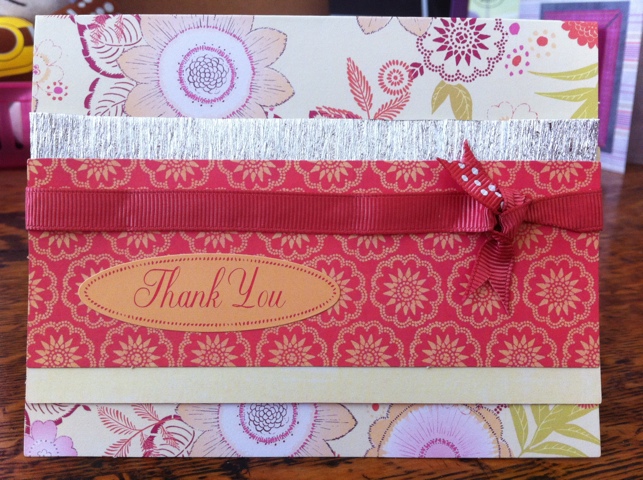
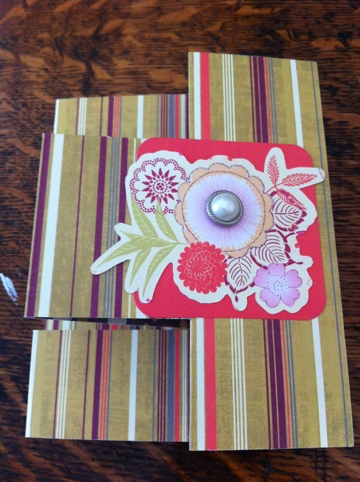
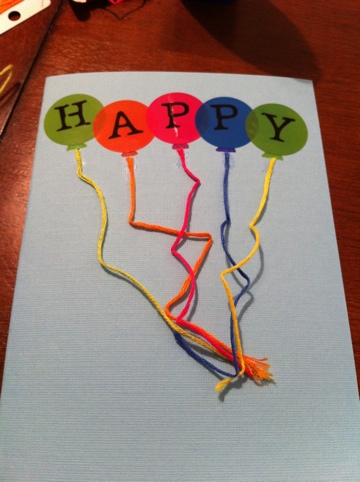
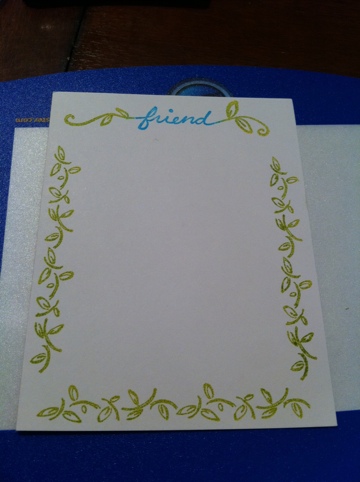
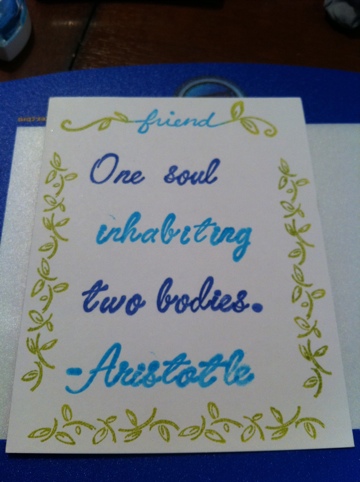
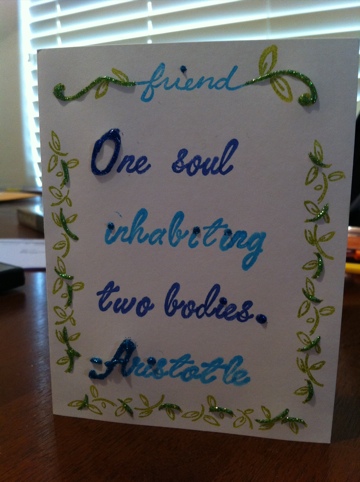
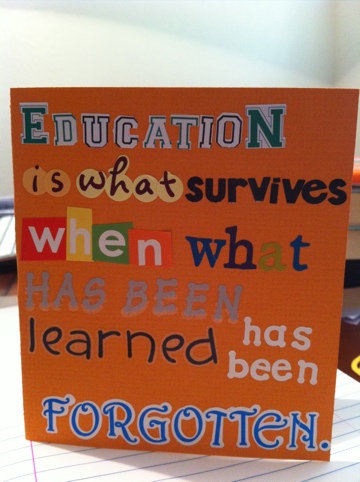
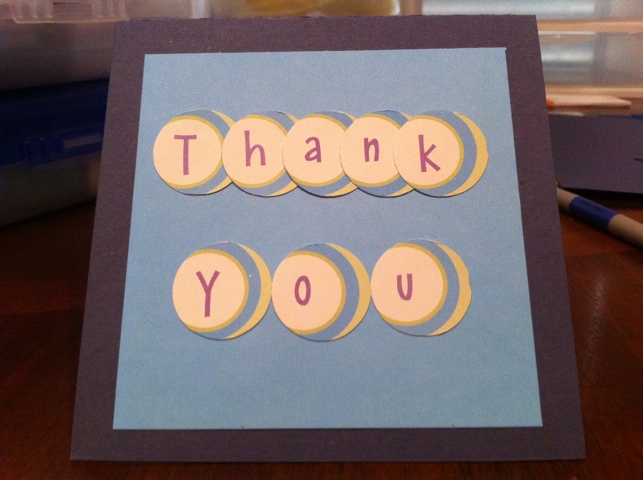
I made a video of today’s card but it’s too large for WordPress and too long for Flickr so here’s a picture. If I can figure out a way to add the video, I will.
Purchase this card as part of a set here: Floral Set 1.
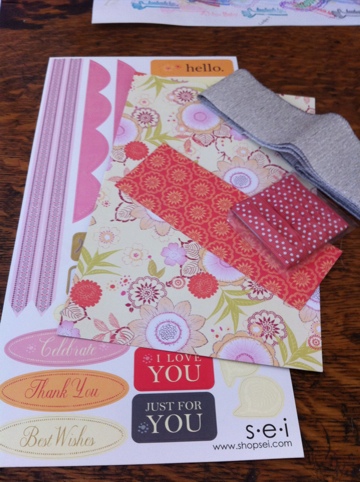
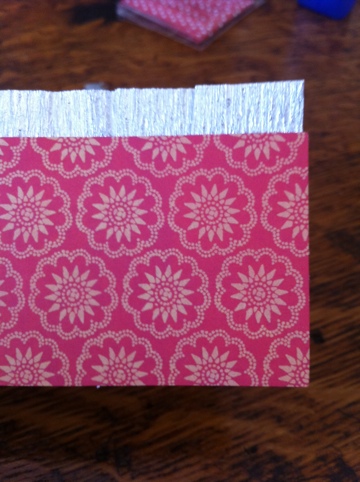
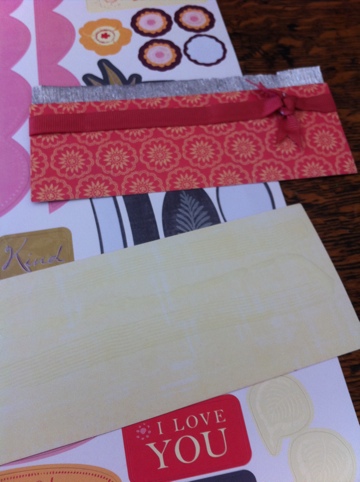
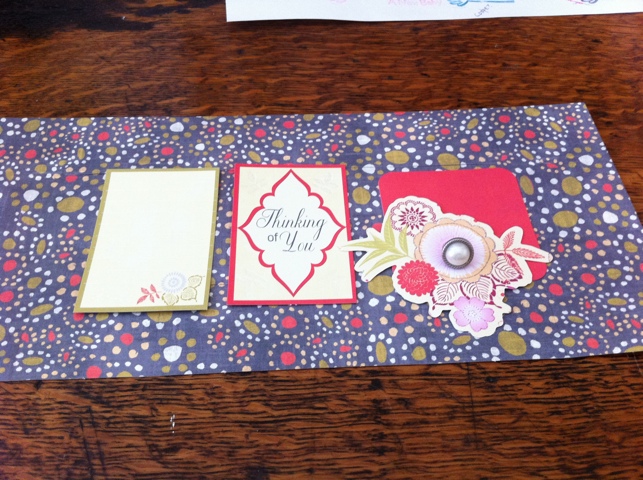
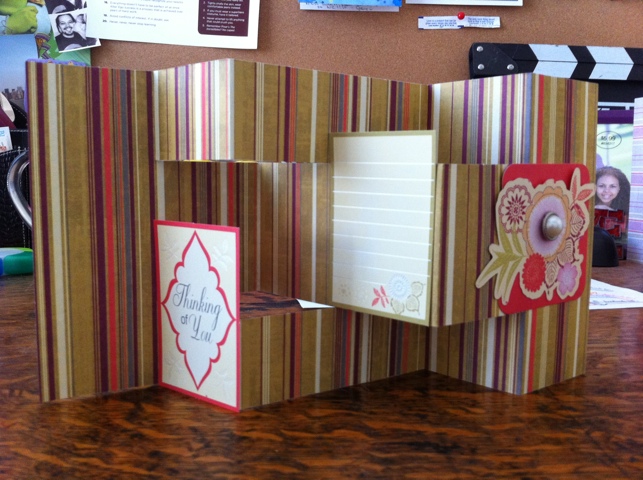
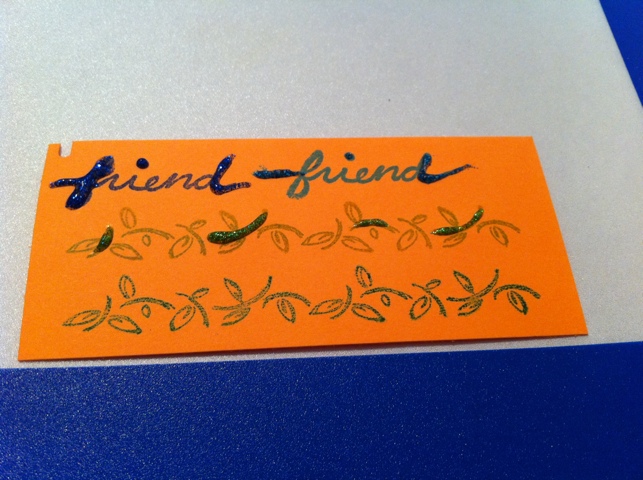
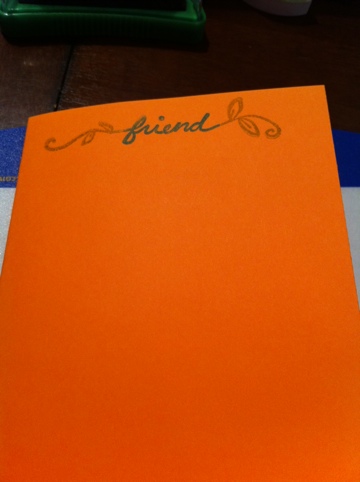
This past weekend was the annual Creating Keepsakes Scrapbooking Convention in Mesa. I hadn’t been since 2007 and was happy to be able to go. I took a few different classes and learned a lot about cardmaking, journaling, and stamping. The cards this week will be from one of my classes. Since I’m following directions myself, I’ll just be posting pictures. We were given enough supplies to do two of each card so check out my flickr for the variations once they’re made (sometime next week).
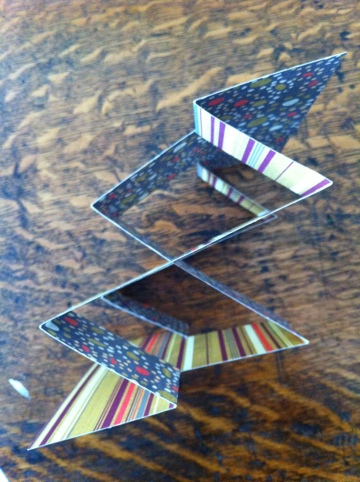
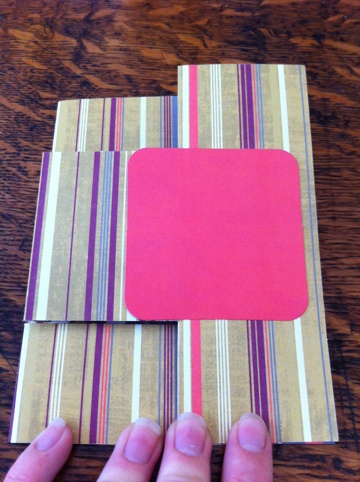
Purchase these two accordion cards as part of a set here: Floral Set 1 or Floral Set 2.
Hello, everybody!
I just wanted to let you guys in on some exciting changes happening here. First of all, I plan on having a new site design up and running before the end of the day. I’d like to thank Lucky You Creative for turning my paper site design digital and Andrew Ryno for making it a reality.
I’d also like to let you know that I am in the midst of setting up shop on Etsy to make my cards easily available for purchase. I plan on selling them individually and in sets so please head on over there and check it out. You can save on shipping if you are a friend of Gangplank. You just have to contact me.
Thanks for you support!
~Shay~
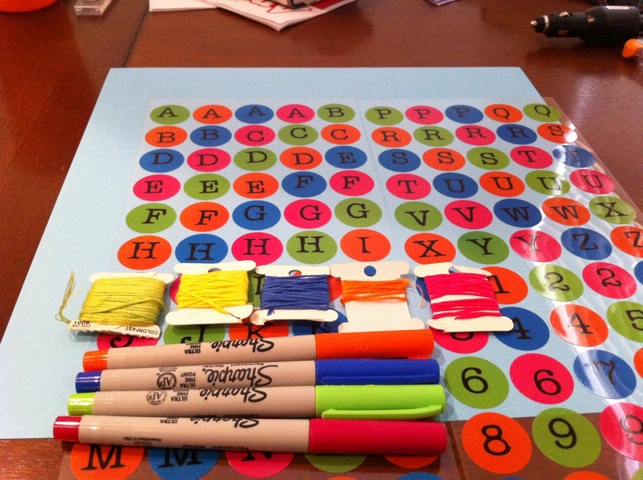
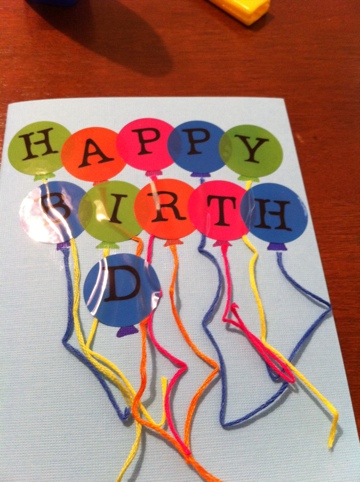
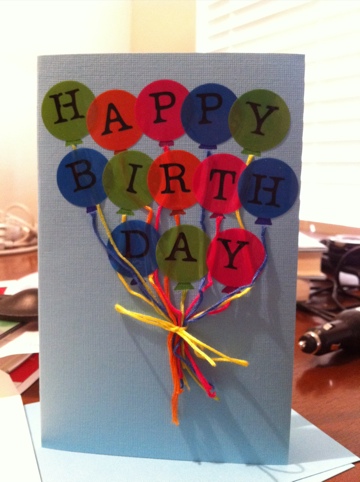
Today’s card is brought to you by stickers! I’ve wanted to use these stickers for a while but had a hard time figuring out what to use them for. It dawned on me this morning that these would make awesome balloons so what other message than happy birthday? Here are the supplies I started out with.
The sharpies are for the bottom of the balloon where the helium gets sealed inside. First, I cut down my sky blue cardstock into a standard size card. Next, I started sticking down my first word. The third step was to draw on the sealed part of the balloon. Last, I cut lengths of string and glued them down. I repeated this process for every line.
The very last step after everything was stuck to the card was to tie a ribbon around the strings so they didn’t float away!
