Posted on April 6th, 2011 by Sharon
Today’s card I made for me. I badly burned myself late last week and have fallen behind on a lot of my responsibilities. I’m gettin tired of the constant pain, hence today’s card.
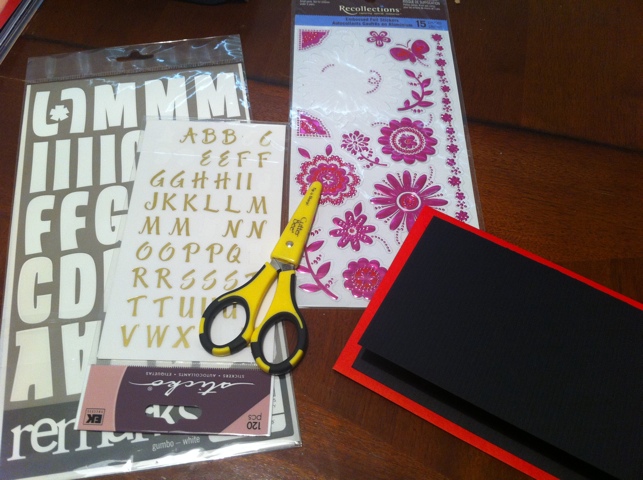
I know it’s a little weird to have a black get well card, but I knew it would make the other colors pop (plus it’s my card and my favorite color). I didn’t have enough letters for my message in either sticker set I wanted to use so I combined the two. The last thing was to add some accents with my hot pink foil stickers.
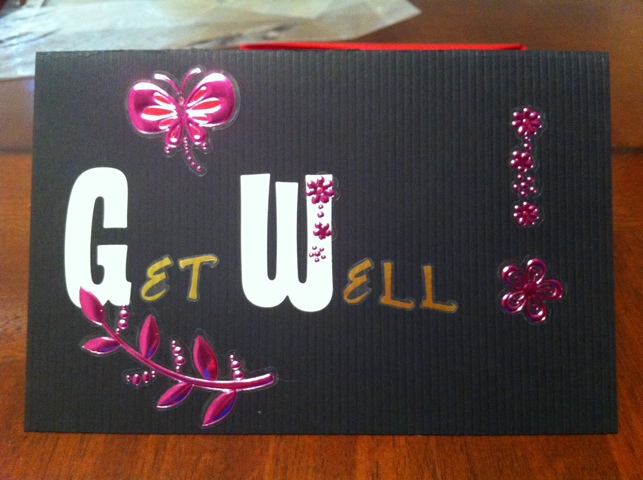
Maybe my burn will get the message and heal already!
Purchase this card as part of a set here: Get Well Soon Set.
Posted on April 5th, 2011 by Sharon
Today’s card was made for a lady in my book club who needed a card for a friend who moved to Seattle. I brainstormed a card and started out with these supplies.
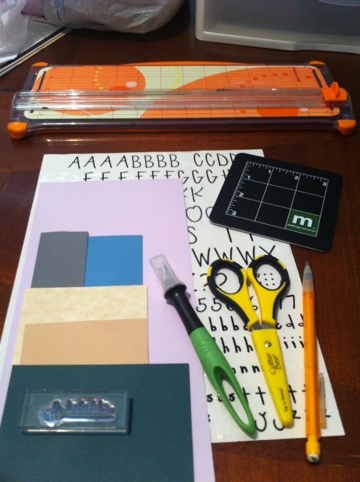
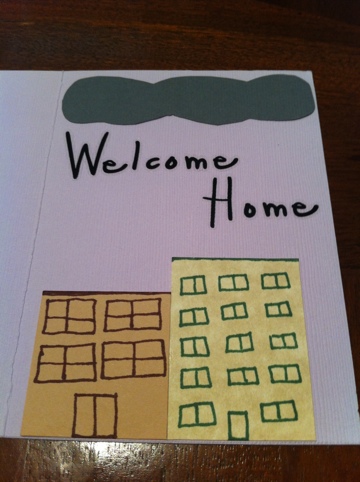
I folded a piece of cool heather cardstock for the card (chosen because it’s a favorite color of the recipient). I also cut a small grey cloud to represent the cloudy skies of Seattle. I planned on adding rain, but the card was too small. I wanted to make a house next with a door that opened, slanted roof, chimney, and windows cut out so you could see the purple behind it. I started cutting and realized apartment buildings would be much easier.
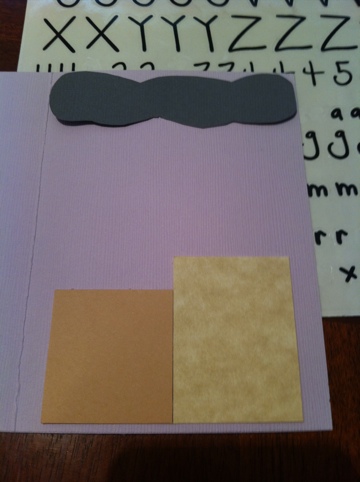
I drew the doors and windows with brown and olive green sharpies. I pasted everything down and added “welcome home” to the space between the cloud and buildings. I hope she likes it!
Posted in
Greeting Card | Tags:
blank,
brown,
green,
grey,
hand cut,
home,
ink,
purple,
sharpie,
stickers,
vertical |
Comments Off on Welcome Home
Posted on April 4th, 2011 by Sharon
Today’s card was inspired by the beautiful weather outside and the short-lived spring season Phoenix gets before turning into summer. I have a spirograph that I haven’t used in forever so I took the time to make a chart of all the cogs using just the circle to see which would make the best flower. I grabbed a dark blue cardstock for the card and the stencil that came with the spirograph for the flower’s stem and leaves.
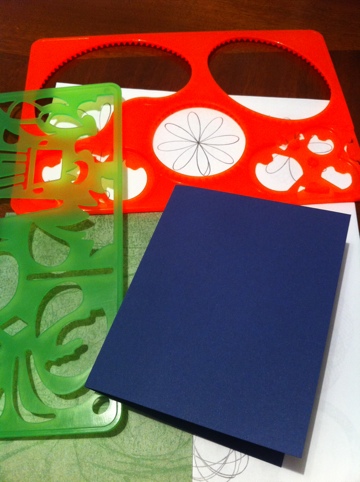
I traced the stem and leaves onto the back side of a green leafy-looking paper and cut them out. I also very carefully drew my spirograph flower with a hot pink marker onto a light pink paper and hand cut all the petals. From there, it was easy enough to just glue things down.
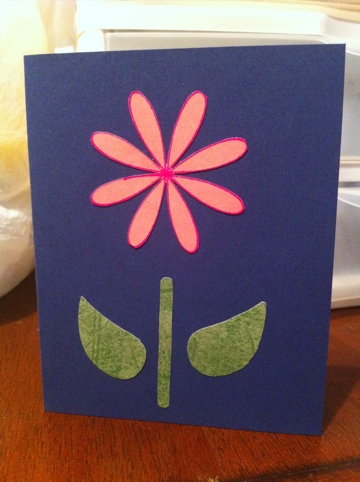
Purchase this card as part of the Blank Floral Set.
Posted on April 1st, 2011 by Sharon
I started today’s card with the idea another year older and another year wiser. When I asked my hubby for his opinion, he said that it was kinda cliche but a nice idea. So here’s my upgraded version.
The first things I wanted to dig out after figuring out my phrase were stickers. I decided to use orange cardstock to match the stickers and made a trifold card.
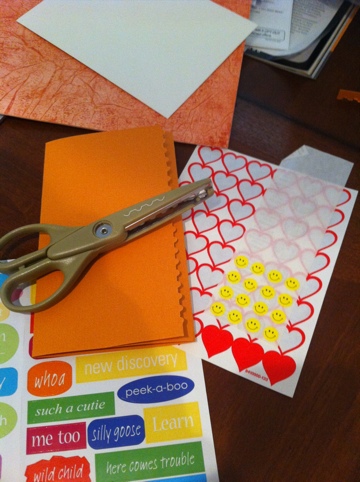
I have a lot of stickers that may have worked for my message today but wanted to get the card done fairly quickly so I hand wrote it. I used lined paper for the front of the card to help keep my writing neat since the sticker on the front used a neat sans sarif font.
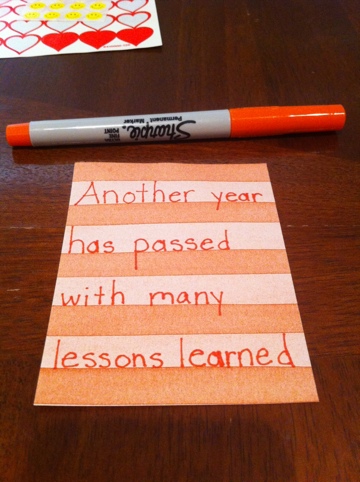
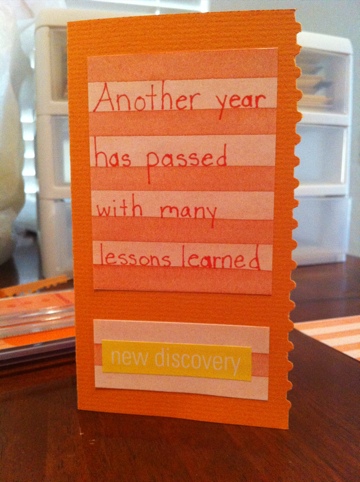
The next flap of the card says “take them to heart” so I used cursive, a red sharpie, and red heart stickers. I also used a worn leather-looking paper but the cursive didn’t show up so it’s a matte behind the message.
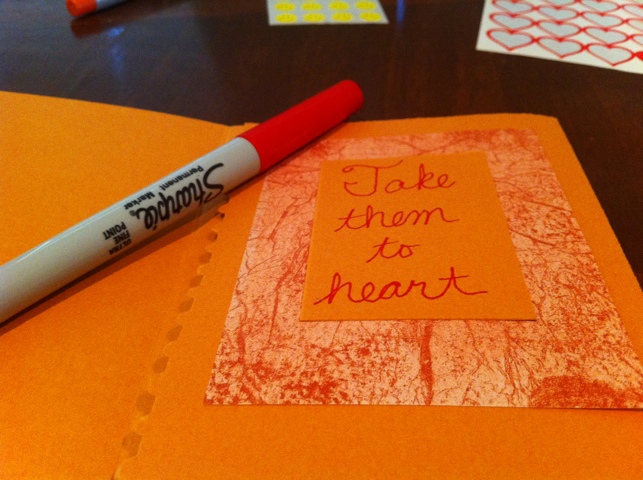
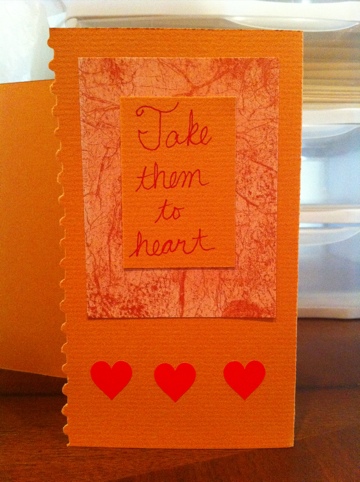
On the inside, I used my natural handwriting (a mix of print and cursive), water color-looking paper, and smiley face stickers.
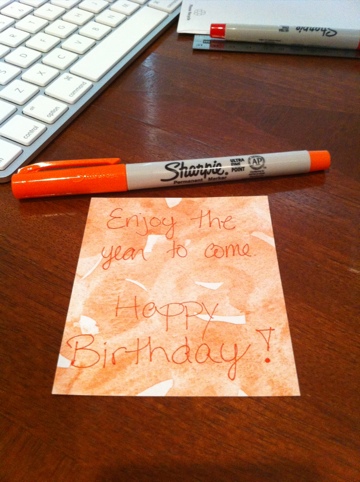
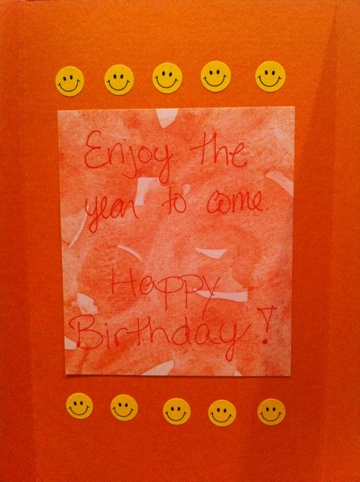
Purchase Orange Birthday Card and others on Etsy.
Posted on March 30th, 2011 by Sharon
Today’s dress card was Minnie inspired and simple to put together.
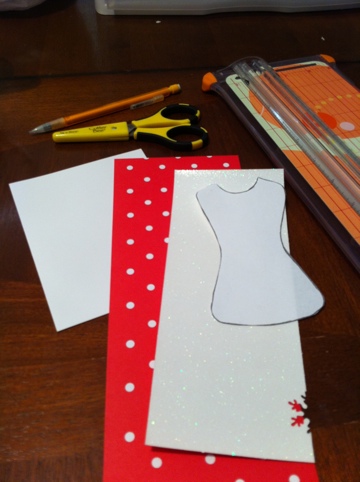
I traced the dress template onto the back of the red cardstock and modified it to have sleeves before cutting. To keep things simple, I decided to use a precut notecard.
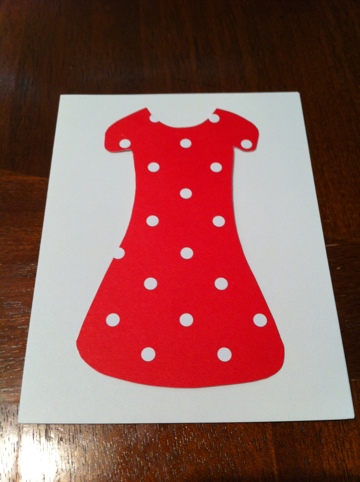
To dress it up a little, I made the belt out of white glitter paper. The last step was to glue everything down
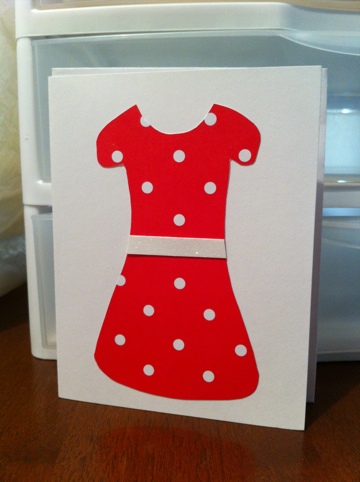
You can purchase this card as part of the Blank Dress Set.
Posted on March 29th, 2011 by Sharon
Today’s card is another in my dress series. It’s the first one where I’ve separated the template into a top and skirt. Here’s what I started with.
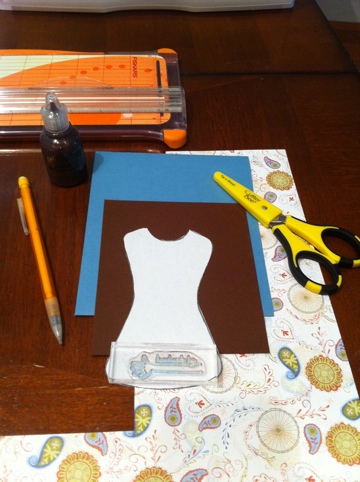
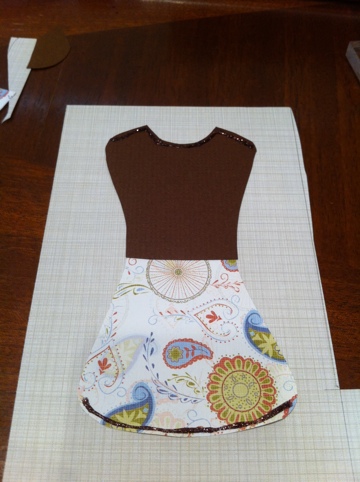
I traced the template onto both papers and cut the top and bottom. The paisley paper is double sided; the back made the perfect matte. I decided to add some glitter glue to the top and bottom to tie the piece together even more.
I had already chosen a coordinating blue cardstock for the card but was tired of straight edges. I took my corner rounder to the corners of the cardstock and matte then glued everything down.
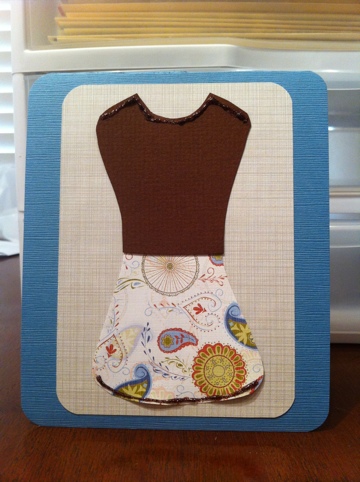
You can purchase this card as part of the Blank Dress Set.
Posted on March 28th, 2011 by Sharon
I’ve been unusually sad the last couple of days and pretty much failing at being productive so today’s card is just a reminder to myself and anyone else who might be feeling this way.
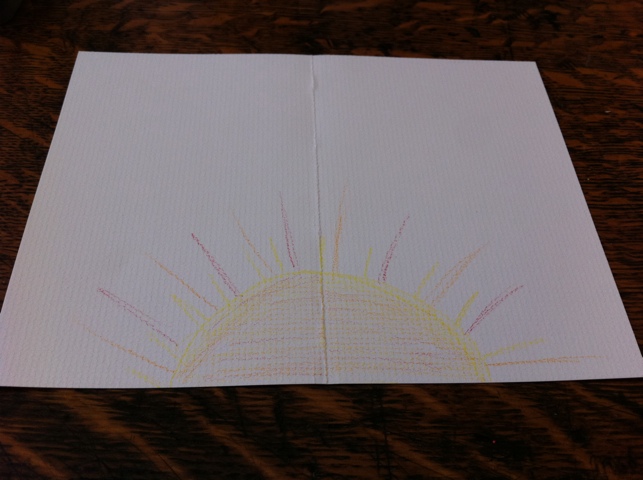
Sunshine always announces a new day so I decided to break out the crayons and white cardstock.
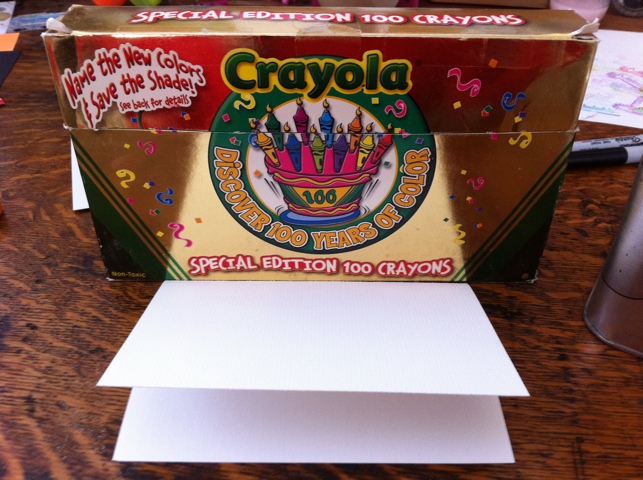
I used yellow, yellow-orange, and red for my sun.
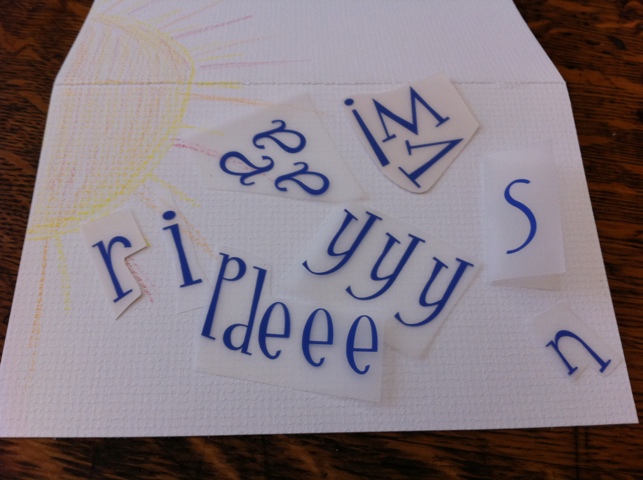
I decided to use some fun blue rub-ons for my message, “every day is a new day.”
Here’s the final product ready to be sent as a little encouragement.
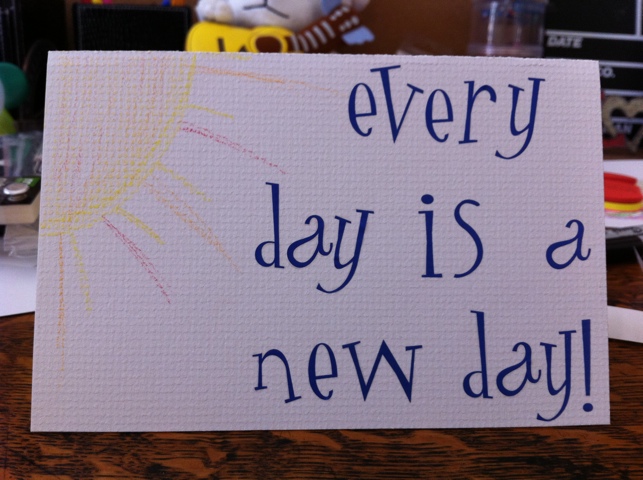
To encourage someone today, purchase New Day Greeting Card.
Posted on March 25th, 2011 by Sharon
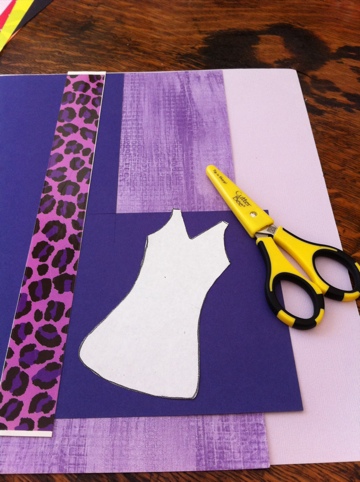
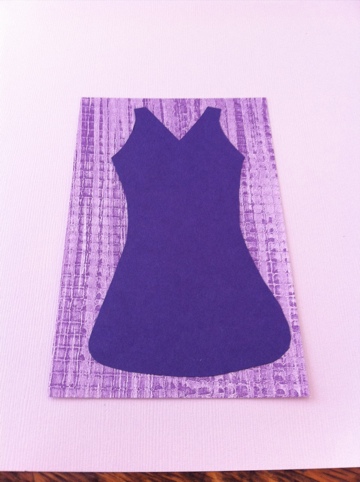
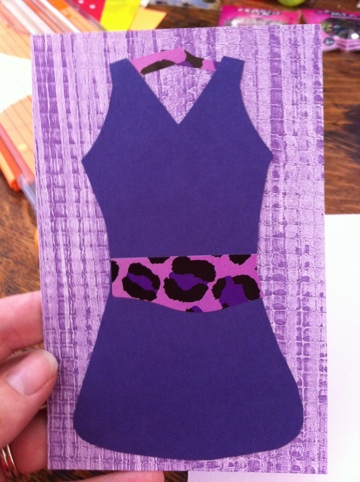
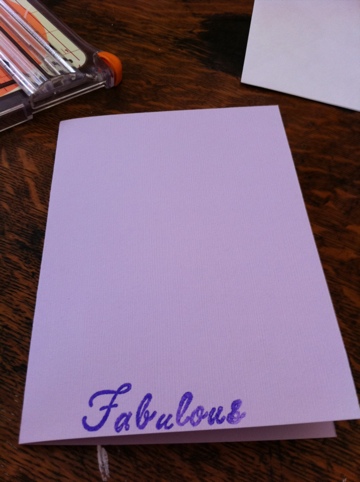
I made this card a couple days ago but got busy and didn’t blog it. It’s another in my dress series. I’ll let the pictures do the talking.
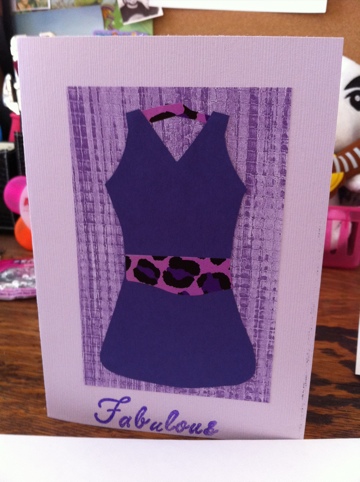
You can purchase this card as part of the Blank Dress Set.
Posted on March 22nd, 2011 by Sharon
I’m back in the saddle with my card-a-day commitment! I decided to continue in the dress series with a simple sweetheart dress.
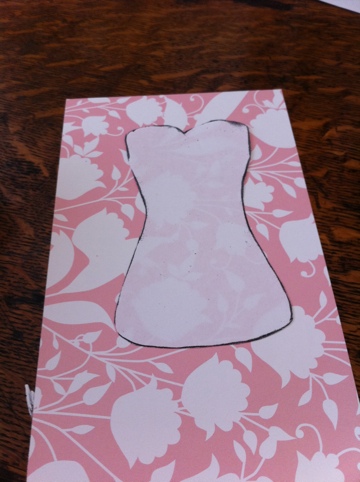
After cutting the dress and glueing down a brown fiber belt, I attached it to a fitted piece of red cardstock.
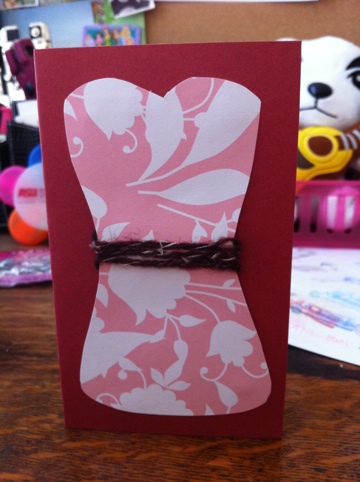
You can purchase this card as part of the Blank Dress Set.
Posted on March 10th, 2011 by Sharon
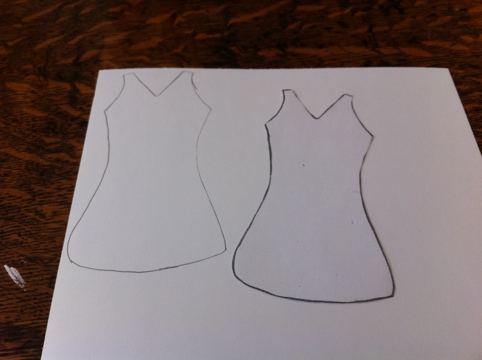
Today’s card is the first in a dress series I want to create. I have a few different dress templates and a lot of ideas. I got some fun, flirty paper my last trip to Michael’s and decided it was time to use it. I also grabbed a complementary color cardstock, silver glitter cardstock for the dress, and some sequins leftover from Christmas craft day.
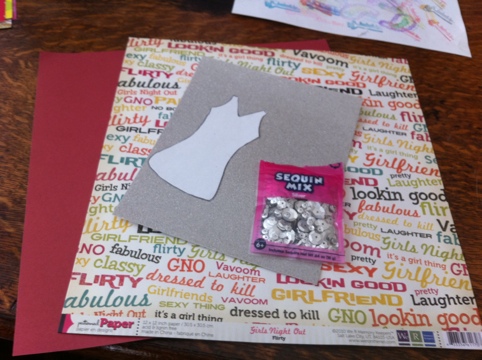
The first step was to trace the dress form onto the back of the silver cardstock and cut.
I decided to apply the sequins next.
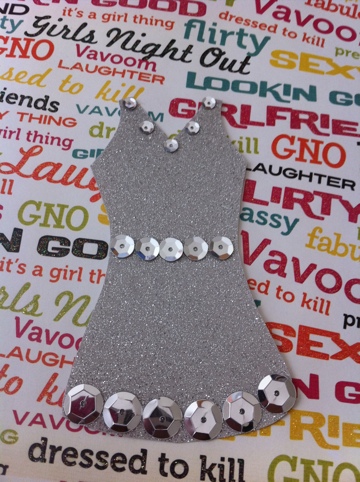
It was a bit time consuming but liquid glue and tweezers made it easier. I cut the card next and the flirty paper matte.
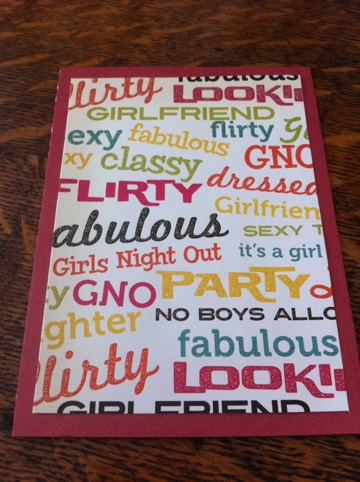
I grabbed the liquid glue again and applied it to the back of the dress.
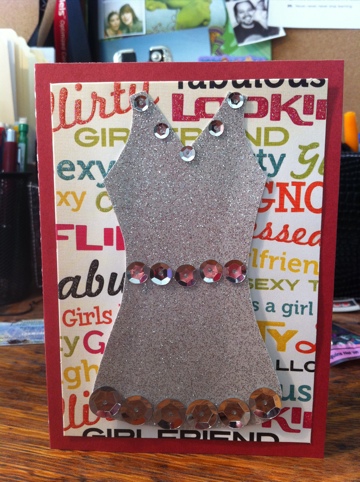
Now who’s ready for a night on the town?!
You can purchase this card as part of the Blank Dress Set.


