Posted on February 23rd, 2011 by Sharon
I was finally feeling some excitement about spring today so I thought I would make a field of flowers to bring some happiness to you. I started with this set of stamps and of course the small white notecards I’m using this week.
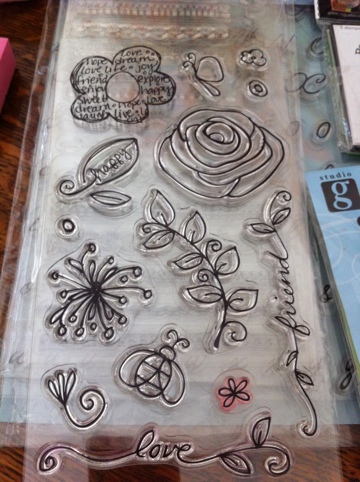
I stamped my flowers and a leaf, drew on the stems, and finished the card with the grass sticker pictured below.
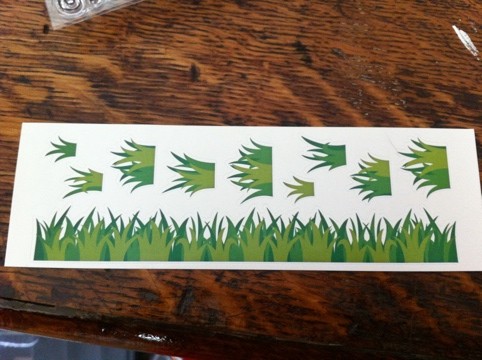
I hope this card makes you think spring and helps you look forward to it!
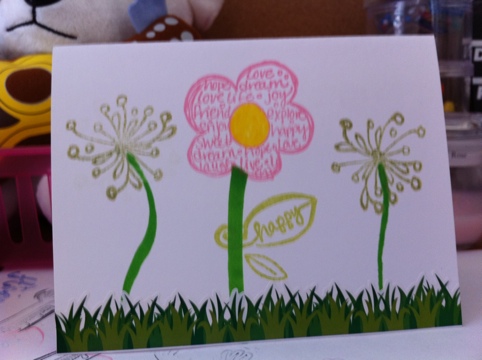
Purchase this card as part of the Blank Floral Set.
Posted in
Greeting Card | Tags:
any occasion,
blank,
flowers,
green,
ink,
pink,
sharpie,
stamped,
sticker,
tent,
white,
yellow |
Comments Off on Field of Flowers
Posted on February 22nd, 2011 by Sharon
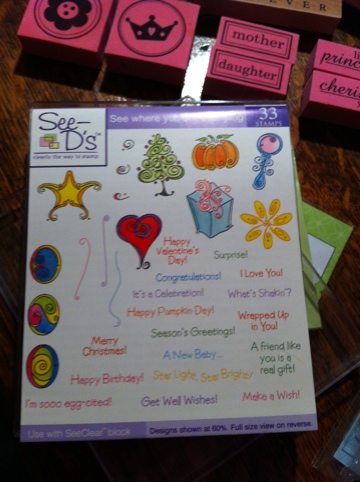
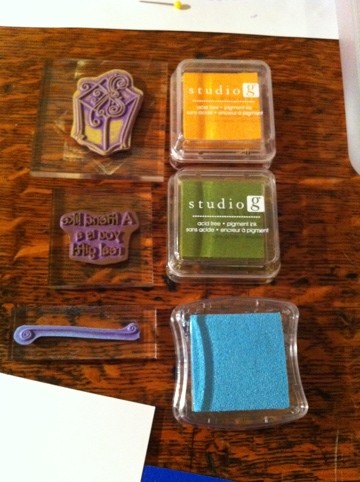
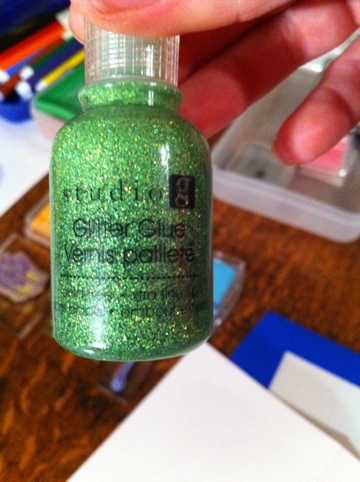
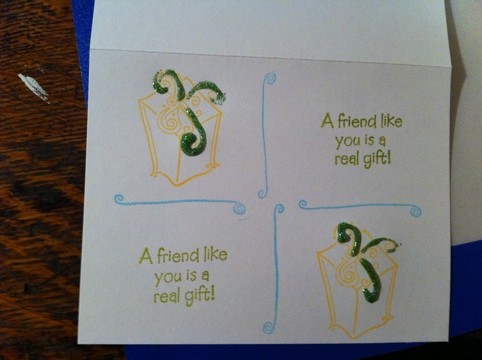
Today’s card is another small notecard with a friendship theme. Pictures this time were a bit of an afterthought because I dove right in. I used stamps all from the same set and three of my new ink colors. I also decided the gifts were a little too light and added some glitter glue to the ribbons.
Here’s my final product. Unfortunately, when I went to put it away there was something on my hands so there is now a small pinkish/red smudge on the bottom front of the card.
Posted on February 21st, 2011 by Sharon
While I was working on something (to be announced soon) in my office last night, I discovered some small pre-made cards and envelopes that had come with a Christmas stamp set. I decided to make this week easy by using those cards and my growing stamp and ink collection. I started by pulling out everything non-Christmas related.
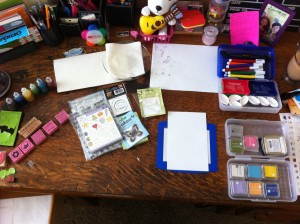
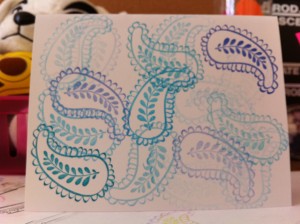
Quite a few of the supplies are new including markers that can be used to ink different parts of a single stamp so I spent quite a bit of time experimenting with that and some of my new ink pad colors. I got a new paisley stamp while at Michael’s and decided that coloring it two tone would be a bit more work than I wanted today so I decided to go with my shades of blue.
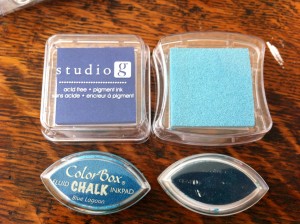
The top two are new. The one on the left is a pretty basic blue, and the one on the right is a nice light shade. The bottom two are Color Box Chalk Blue Lagoon and Deep Lagoon, which I have used before. I stamped very similarly to my “Thinking of You – Roses” card by inking once and stamping thrice. Here’s how it turned out.
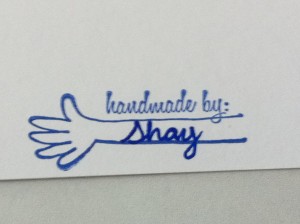
I plan on setting up a table this Saturday at the Rhino Caffe’s Art & Craft Festival so I decided a little bit of “branding” is needed. Here’s the signature now on all of the back of my cards.
Purchase Blue Paisley to send a note just because.
Posted on February 20th, 2011 by Sharon
I got home last night and made this card but got very caught up in other things so I’m presenting it to you today.
During my shopping excursion to Michael’s I replaced my broken eyelet setter tool so I decided I needed to learn how to use it. The reason you use eyelets is to make your punched holes secure. The reason you punch holes is either for brads or string/ribbon. String made me think of beads and a new travel pack made me think “bon voyage.” Here are my starting supplies:
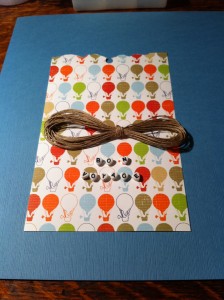
The Bazzil Basics cardstock is called Evening Sky, and I cut it down to fit inside a standard size envelope. I cut the hot air balloon paper down to give a 1″ border on either side and a .5″ border on the top and bottom, oriented horizontally.
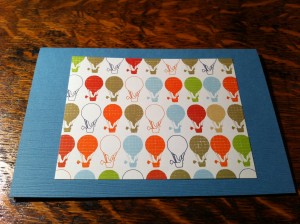
My next step was to punch the holes and string up my message. To keep the card neat looking, I tied the string behind the hot air balloon paper. That way once it was glued down, you won’t see the strings.
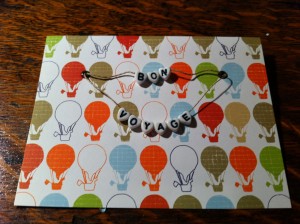
Here’s everything glued down and ready to mail.
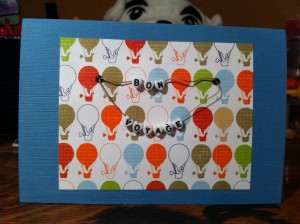
Purchase this card as part of the Travel Set.
Posted on February 18th, 2011 by Sharon
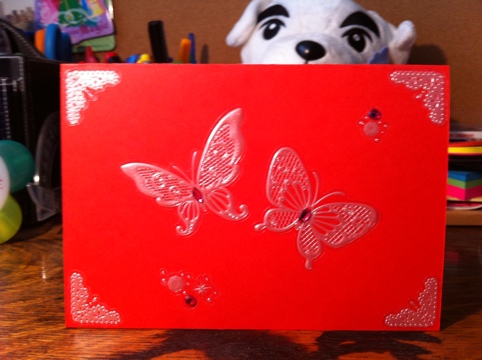
Since I’ve been busy with other things, today’s card is another foil sticker card. I made it for a little girl I babysit who is turning 3 later this month. The stickers are very light pink with fushia stones so to keep it girly, I decided on red cardstock. I also have pink rub on letters that I pulled out for the message.
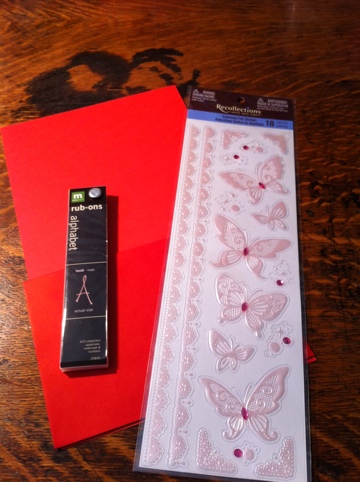
I trimmed down the cardstock, folded it in half, and stuck on the butterflies.
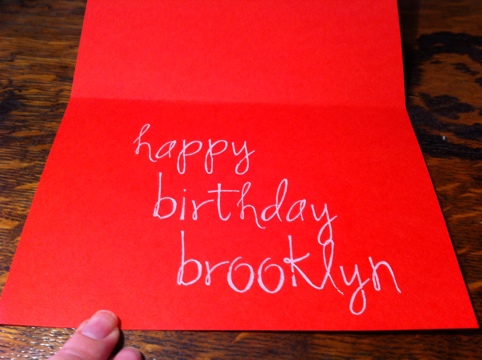
The inside was a bit more time consuming but still very simple.
Posted on February 17th, 2011 by Sharon
Today’s card is another quick, easy foil flower card.
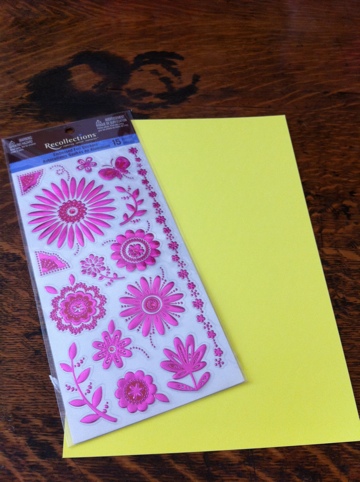
I decided to keep things bright and went with yellow cardstock. First step was to choose a sticker and stick it to one corner of the paper. I wanted the card to be pretty small so I trimmed the cardstock to be just wider than the sticker and twice as long.
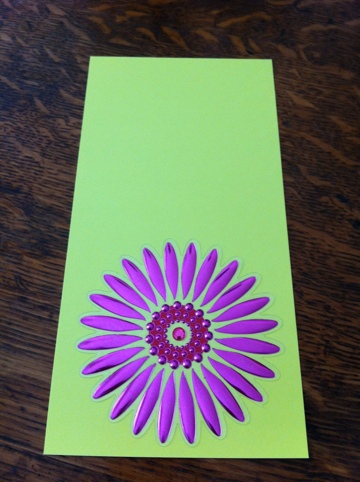
The last step was to just fold in half. This card is pretty small and would go well with a gift.
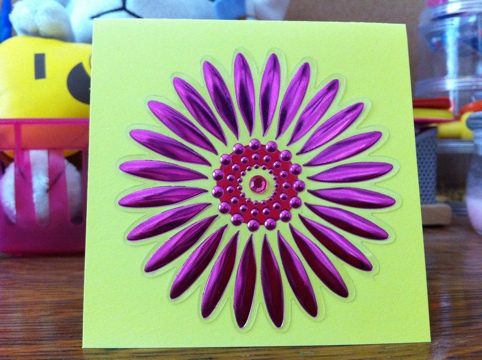
Purchase this card as part of the Blank Floral Set.
Posted on February 15th, 2011 by Sharon
Yesterday after my lunch I was near a Michael’s so I decided to drop by and see what I could find on clearance. I got really lucky and walked away with a bag full of stuff!
Today’s card is brought to you by that little trip and some very pretty, bright green, foil flowers.
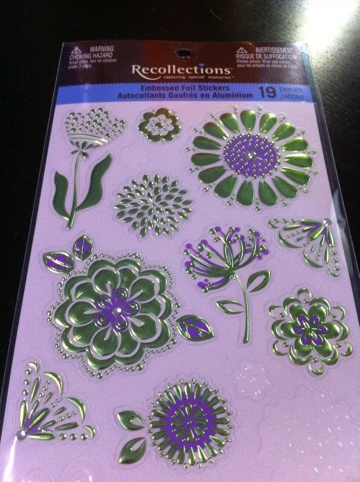
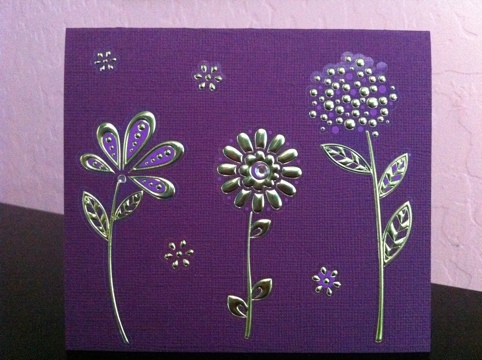
There are purple accents in the flowers which made my cardstock choice very easy. I even had purple cardstock still pulled out from yesterday.
I just decided which stickers to use, made sure they would fit the card and that the card would fit the envelope, trimmed the cardstock, and put down the stickers.
et voilà!
Posted on February 14th, 2011 by Sharon
I had lunch today with a wonderful friend and mentor who I had not seen in a very long time. I decided it would be nice for today’s card to be for her.
I started my card idea by looking up “friend” and “mentor” in the thesaurus. Then, I made a short list of all the words I wanted to use. To start the card, I pulled out all my various alphabet stickers and rub-ons as well as all my scrap paper so I could find good color combinations. I decided on a few different stickers and a nice burgundy wine cardstock.
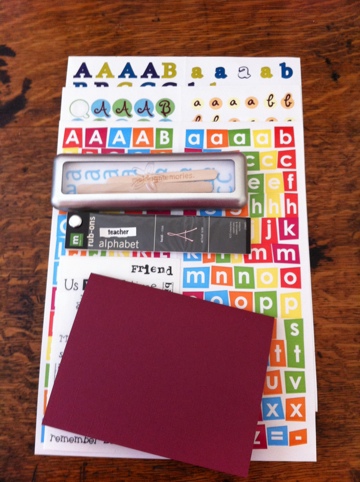
Next was deciding which stickers would fit which words where on the card. This is about a third of the way done:
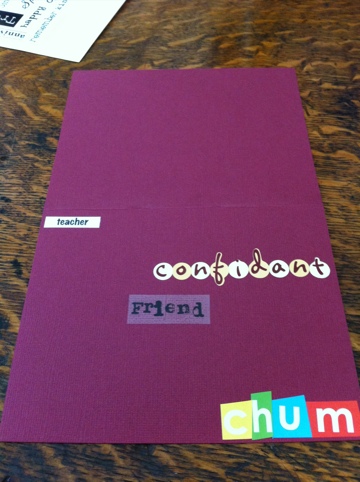
And the final product:
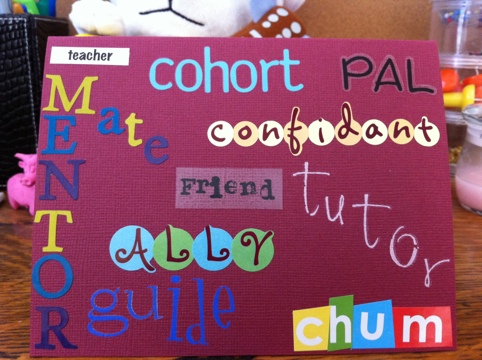
I’m happy to say she liked it. She even mentioned that she’d been following along here so that made me doubly happy.
Don’t forget that you can request cards here and quickly look up which ones are available on Flickr. If you’d like a Card-a-Day delivered to your RSS feed, subscribe here.
Posted on February 12th, 2011 by Sharon
I sat down at my desk today with no ideas as to what to make for a card. I’ve been working steadily on a new project so a lot of my creative juices have been going into that. I didn’t even know what type of product/embellishment I wanted to use today so I went with a good standby, stickers.
I flipped through my picture/specialty stickers folder twice before deciding to use butterfly stickers that I’ve had for a long time. I grabbed a bright blue cardstock for the card and some blue sharpies.
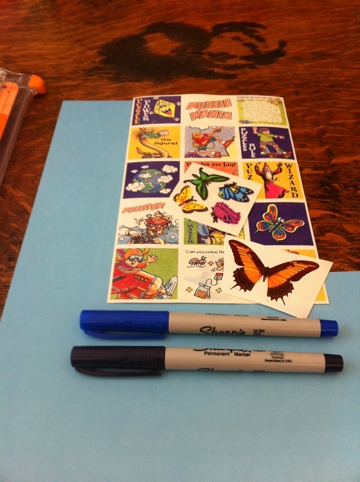
I knew the card would have to be rather small so the butterflies filled it so I cut down the cardstock into a 4″ by 8″ piece and folded it in half for a 4″ by 4″ card. Next, I grabbed my protractor and pencil to draw an arc for me to write “mariposa.”
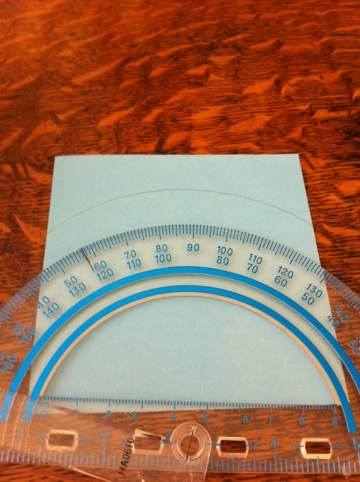
I decided to use the dark blue sharpie and my best cursive. There was space at the end so I picked a blue butterfly to “perch” on the end of the word.
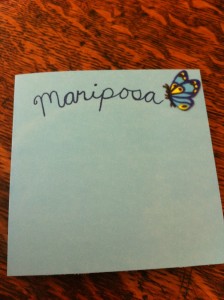
From there, I just stuck down the rest of my butterfly stickers after trimming a square sticker to be a little more close cut.
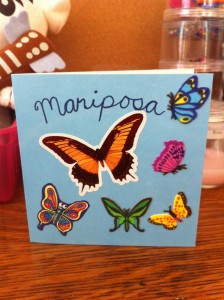
Purchase Mariposa Greeting Card for the butterfly-lover in your life.
Posted on February 11th, 2011 by Sharon
Today’s card was inspired by my cloudy mood so I decided to go with an “under the weather” card.
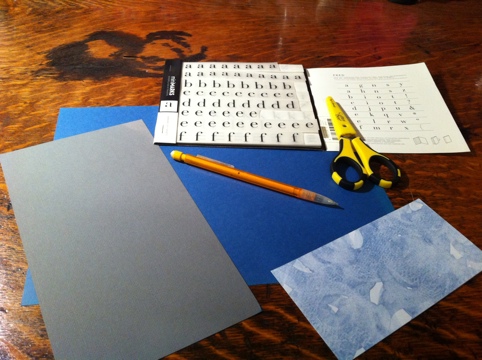
I knew I’d need the largest card possible so I cut the blue cardstock to fit perfectly into the envelope. Next, I decided size of my grey rain cloud and made a sketch.
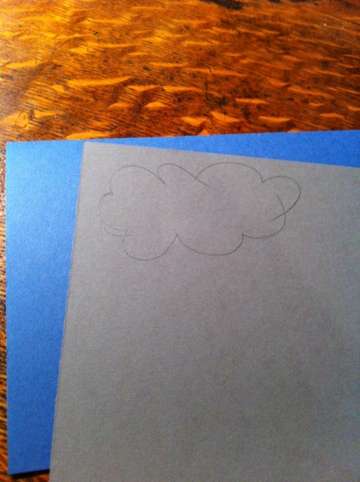
A bunch of hand cutting was next including the cloud, rain drops, and all the letters I would need for my message.
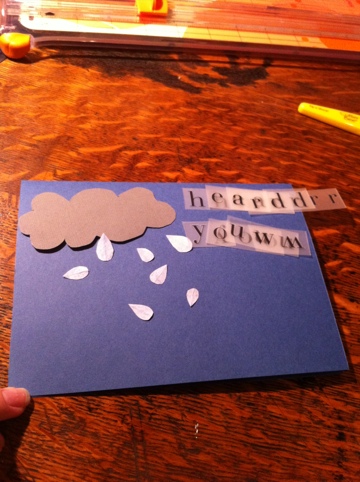
I needed to figure out line and letter spacing so I grabbed my straight edge and pencil. I decided that a right alignment would be easiest and look great.
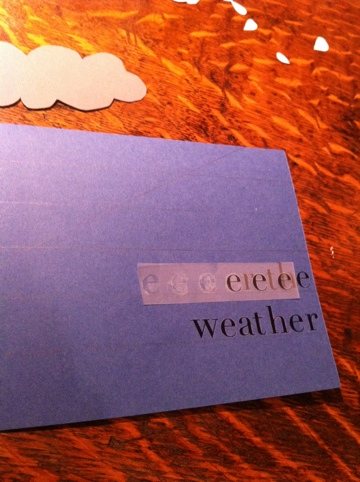
It took quite a while to get all the letters rubbed on, but I think it was well worth the effort.
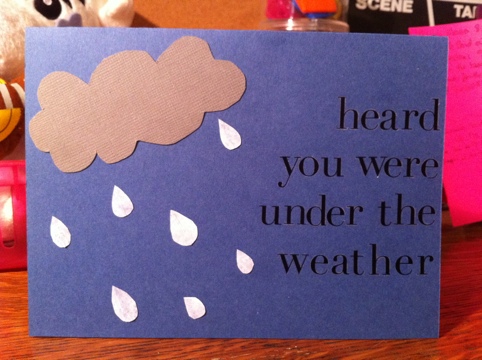
The final step was to draw a line on the inside and finish the message.
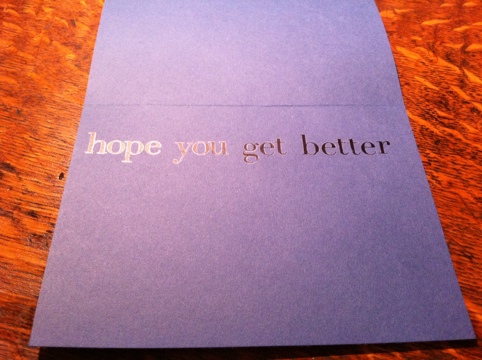
Purchase this card as part of a set here: Get Well Soon Set.


