Posted on February 10th, 2011 by Sharon
I’ve decided to move away from Valentine specific cards and move back towards more generic greeting cards. I haven’t done a birthday card that wasn’t for someone specific so I figured I would now.
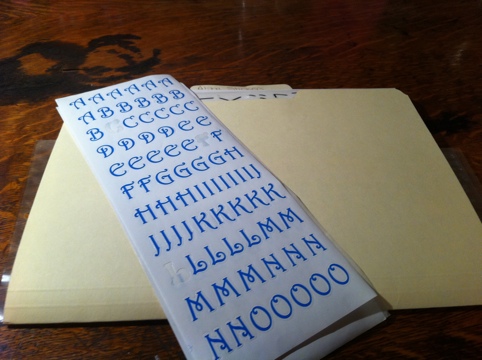
I started by pulling out my Alpha Stickers folder and choosing a sticker that hasn’t seen much use.
Next, I needed to pull out cardstock and complementary papers and embellishments.
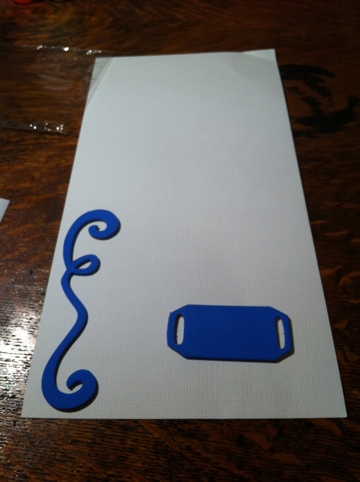
Once I cut my cardstock to fit the envelope, I realized there wasn’t enough space for the bookplate so I decided to keep it simple.
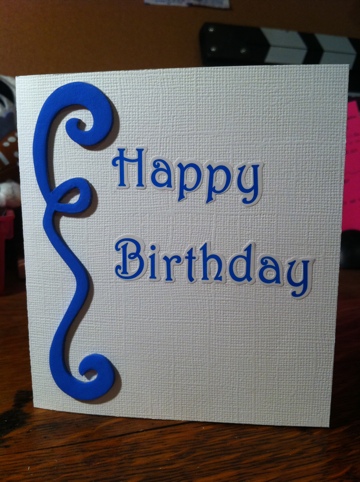
Purchase Blue Birthday and other birthday cards on Etsy.
Posted on February 9th, 2011 by Sharon
I have my head in the clouds today, but I do have another Valentine’s day card for you. The special day is coming Monday so if you’d like to request a free card, please contact me.
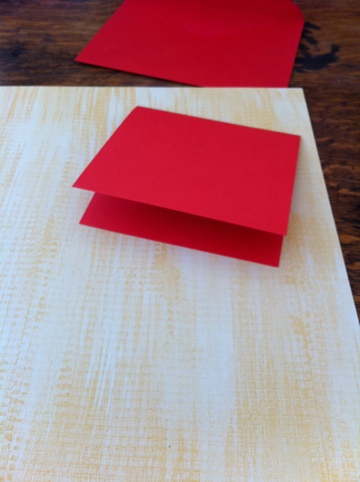
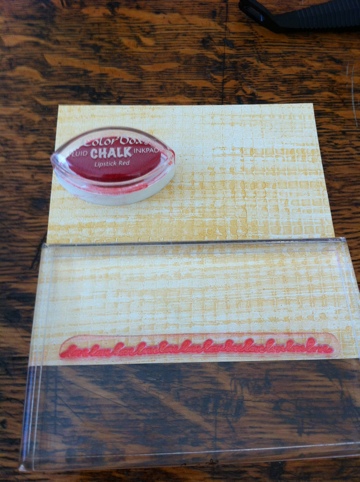
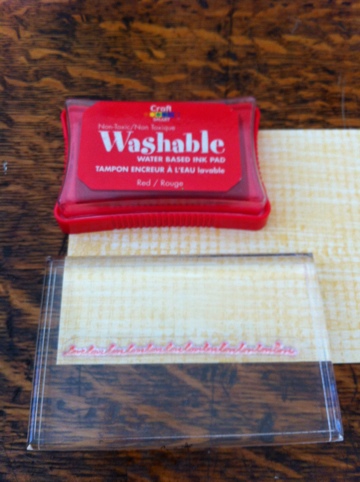
I experimented with two different red inks to do a love border and decided to go with the Color Box Chalk Lipstick Red.
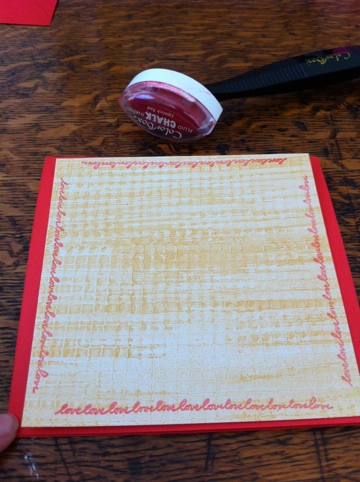
After that, I just stamped my “I’ll love you til the day after forever” at a diagonal and glued down the yellow square.
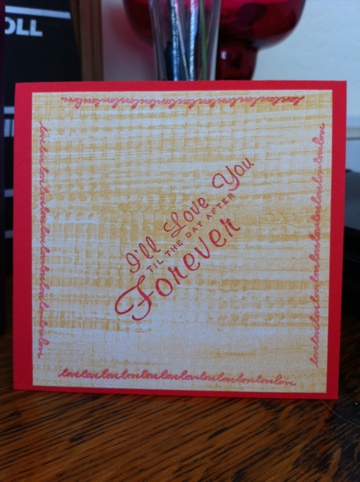
Purchase this card as part of the Love Set.
Posted on February 8th, 2011 by Sharon
Sorry about the silence the last couple of days. Sunday was pretty relaxed and slow-paced, but I forgot to get a picture from Disney’s California Adventure! We traveled home that evening and arrived late so Monday was spent unpacking and recuperating. I did make this card last night so the postings are again one day behind.
From my list of color ideas, I chose pink and purple from the list and began pulling out supplies.
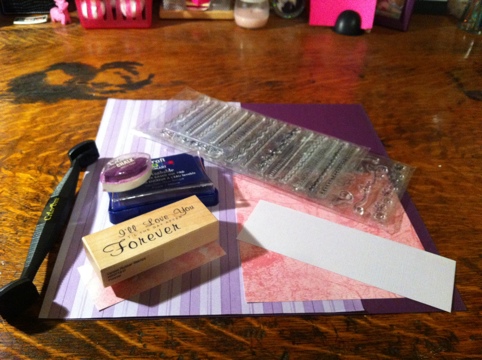
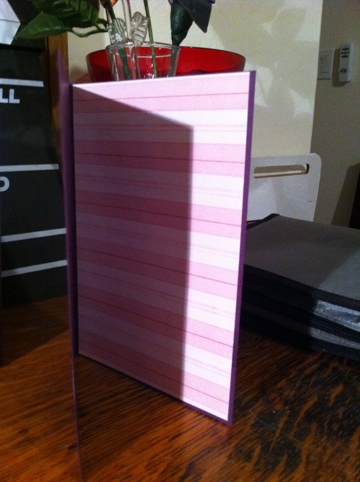
I turned the dark purple cardstock (Bazzil Basics Magenta) into the card. I knew I would need a lighter inside for writing so I cut down the purple striped paper for it.
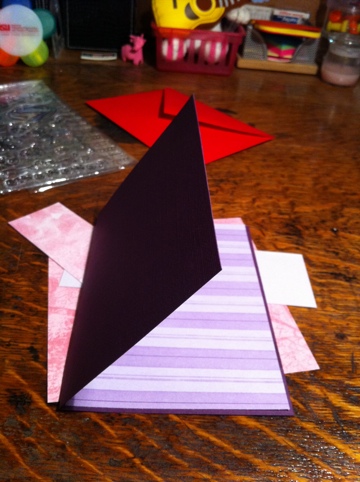
Next I started messing around with my stamps and two purple colors (Color Smart Purple and Color Box Chalk Violet).
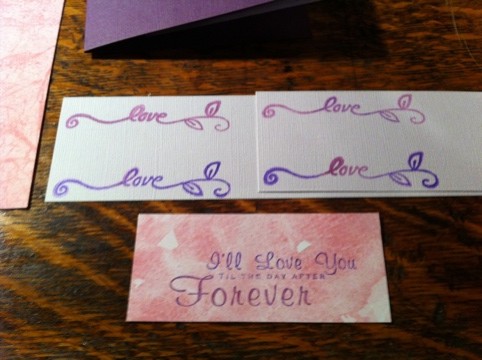
They’re stamped onto scraps of the “cool heather” cardstock, which is a very light lavender color, and a pink paper with a watercolor effect. I decided to use the stamps with a bit of color change in them so I trimmed them down and rounded the corners.
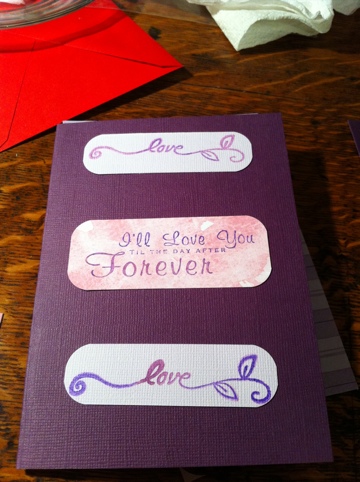
I decided there wasn’t really enough pink so I changed the inside lined paper to it.
Final inside:
Final Front:
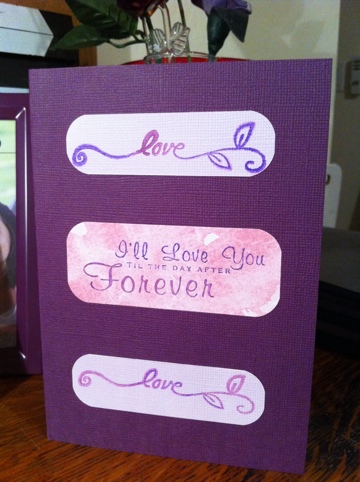
Remember, Valentine’s Day is only a week away so contact me now if you’d like to send a unique handmade card to your special someone!
Purchase this card as part of the Love Set.
Posted on February 5th, 2011 by Sharon
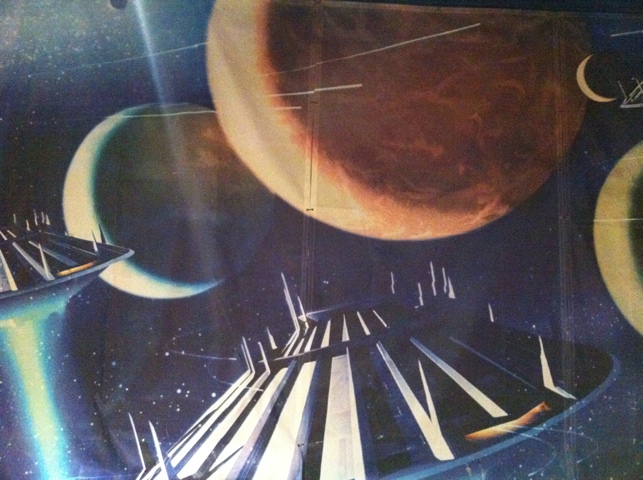
Today’s postcard picture was found inside Innoventions at Tomorrowland. If you’d like to receive a postcard from me just contact me with your address!
Posted on February 4th, 2011 by Sharon
Hello, everybody. Happy Friday! What are you up to this weekend? Me? I’m going to Disneyland!
I’ve been brainstorming on how in the world I’m going to make a card each day this weekend when I remembered an iPhone app I helped beta test called Shoot It! It’s available in the app store and is also available on some Blackberry phones with the goal of being available on every smart phone. Check out their site for full details.
The reason this is such a perfect solution is because you can take a picture with your phone, type up a message, and send it to anyone in the world. You can even send the same picture and message to multiple recipients. I’ve got lots of ideas brewing for this weekend and future trips to Disney or wherever we may go.
Another cool thing about sending a picture with my phone is the number of apps out there that let you add effects or writing so if you’re not the best photographer, just add a filter or funny message. I’m seriously looking forward to it and hope you are too!
If you’d like to receive a postcard from the happiest place on earth, contact me, and I’d love to send you something. Feel free to make a request, too. Hope you have a great weekend!
Disclosure: I was a part of the beta testing team so I have a lot of credits to send postcards but was not asked to write this promotion. The cards come out beautifully (even from a camera phone) and are only 99 cents if shipped to the U.S. Again, check the Shoot It! site for details.
Posted on February 3rd, 2011 by Sharon
Grey has a bad reputation of being sad and gloomy. Although the cardstock I’m using is called Nor’easter, I think grey is soft and peaceful. I also pulled out some silver glitter paper, shades of pink, a doily heart, and my trusty v-day stamp.
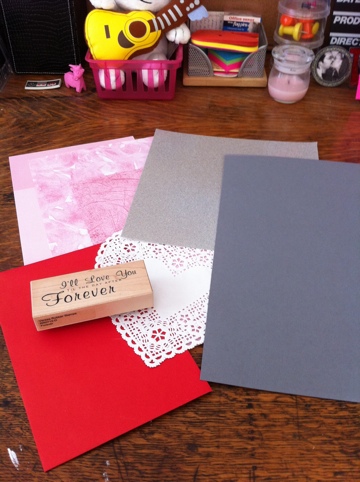
I wanted to see what my stamp would look like on the glitter paper so I tried it out.
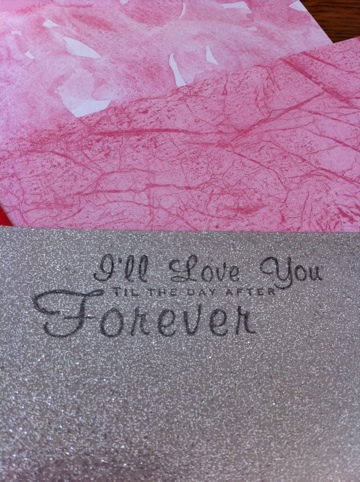
I don’t know if you’re interested in my thought process or just want to see what I did, but I’m going to hope for the former and share with you. After my black and gold valentine yesterday, I brainstormed some other non-traditional valentine’s colors and came up with about a week’s worth of ideas. I was feeling a little more traditional today so I pulled out my pink scrap folder first, and the heart doily was sitting on top so I grabbed that too. I then pulled out the silver glitter paper and remembered I had a grey scrap folder too. The Nor’easter cardstock was a better size for a card so I trimmed it down a bit and folded it in half. I also cut down the glitter paper to just be larger than the stamp. That’s when I grabbed the different papers and started arranging, rearranging, cutting, and trimming.
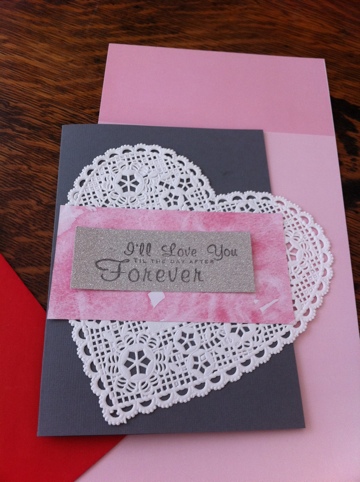
Even after I trimmed down the pink to be just larger than the glitter paper, I decided it was taking away from the heart so I removed it.
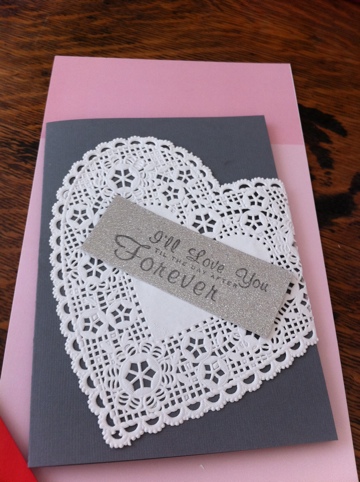
I thought even this was taking away from the heart and considered stamping directly onto the doily, but I really liked the sparkle of the paper so I decided to just trim down the paper even further.
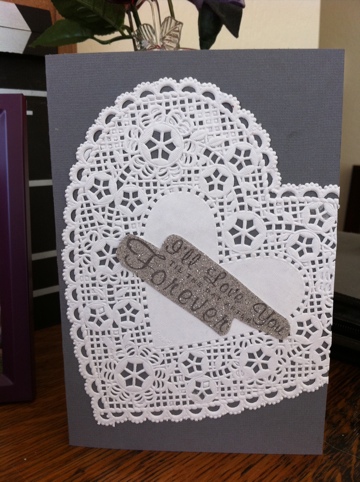
You know what they say, less is more. I definitely think it applies here. Purchase this card as part of the Love Set.
Posted in
Greeting Card | Tags:
black,
blank,
doily,
glitter,
grey,
heart,
love,
silver,
stamped,
valentine,
vertical,
white |
Comments Off on Grey Valentine
Posted on February 2nd, 2011 by Sharon
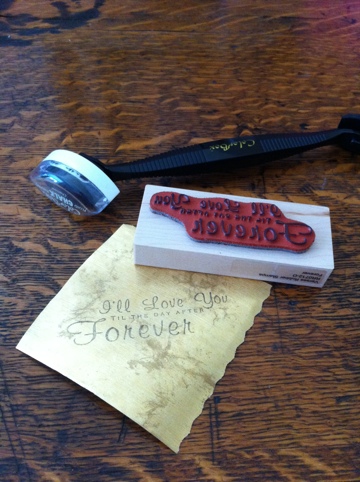
It’s February already and everyone knows what that means. A Hallmark Holiday on the 14th or that’s what some skeptics call it. I haven’t celebrated valentine’s since the day before I met my husband in 2003, not officially anyway. I decided that others probably do and might want to send out some custom, adult (grown up not the other variety, you perve) cards. I definitely get sick of all the red and pink so my first valentine is black and gold. I picked up some antique gold wrapping paper and B&N the other day and figured this would be a great first use. The thing that really inspired me to do valentine’s this year was a stamp I found that reads, “I’ll love you til the day after forever.” That’s actually a true sentiment for me towards a handful of people in my life. Here’s my test stamp to see if the black would show up on the gold:
I cut off more of the wrapping paper and pulled out some 6×6 black cardstock I already had cut.
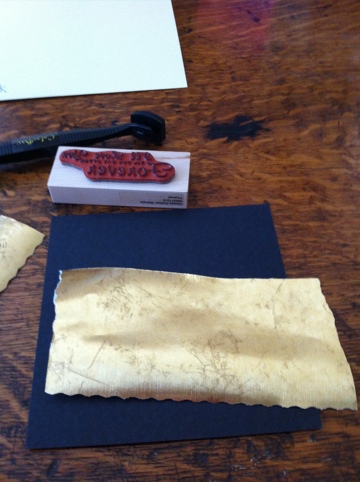
I found out pretty quickly that it wasn’t a perfect square so it folded rather crooked. Also, a 3×6 card doesn’t leave much room for the gold or the stamp so I pulled out a precut piece of 8×8 cardstock and decided to make the card 4×6 by cutting down one of the edges by 2″ and then folding in half. I also realized that I liked my test stamp so I cut off the rough edges and centered it on my card so the words were at an angle. Wrapping paper comes with scalloped edges to begin with so I laid out what it might look like and experimented with other potential edges.
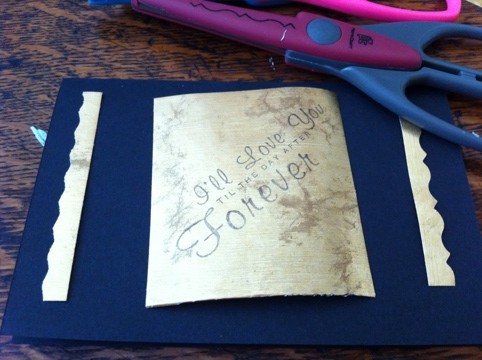
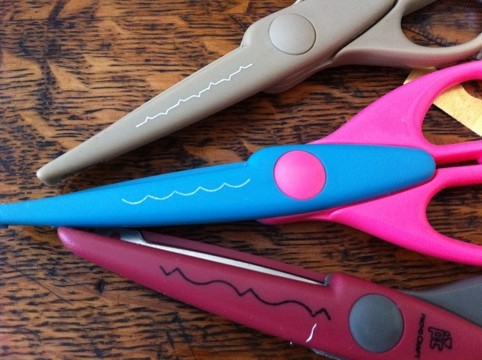
I decided to continue the unique elegance and go with the bottom scissor for the outsides of the card. I trimmed more wrapping paper to match the height of my square in the middle and carefully cut the edges as straight as I could. Here’s my final layout before glueing.
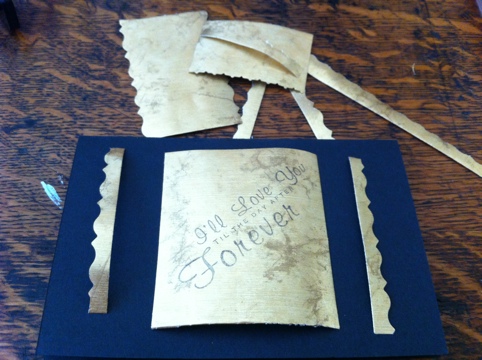
And my final product.
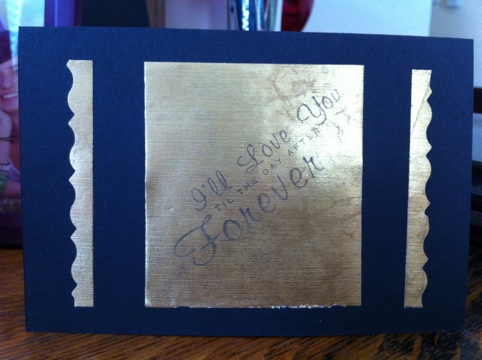
If you’d like to send out a valentine or any other custom card, just contact me with your request. Purchase this card as part of the Love Set. Happy February!
Posted on February 1st, 2011 by Sharon
When I was in Junior High, Peace, Love, and Joy or their symbols was the favorite sign off on notes. It was what I drew out on Friday that I didn’t quite get to on Saturday. I have some chisel tip sharpies that could be used for calligraphy (if I knew how) so I started with those and a scrap sheet of paper.
Trial Run:
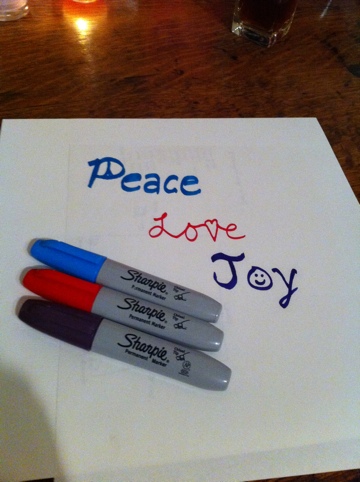
I decided to keep it simple and just draw my lettering on a piece of white cardstock. I ended it up cutting it smaller than I wanted, but it turned out ok. I took a pencil and drew straight lines since I noticed I got pretty crooked on my practice.
Lines:
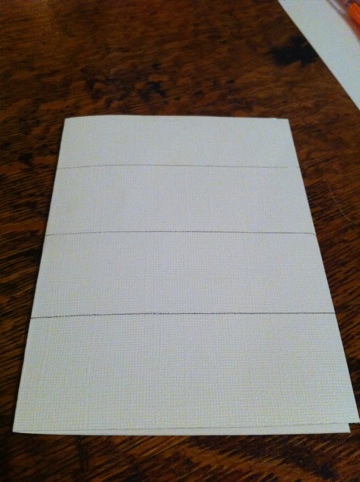
From there it was easy enough to draw my words.
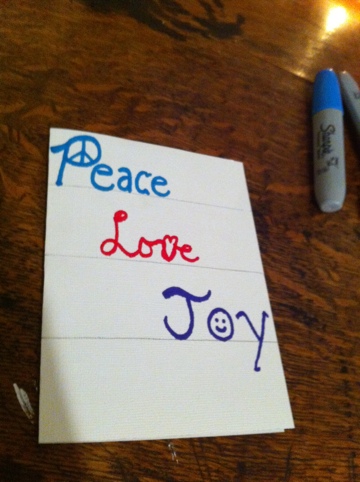
And erase the lines.
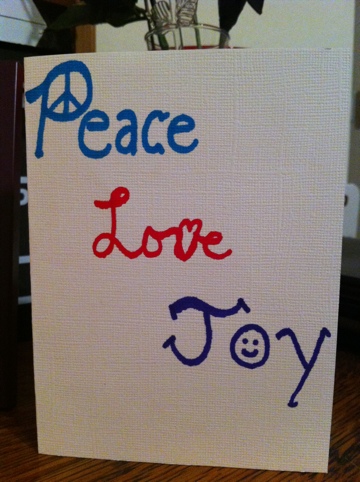
Send a friend back to junior high with Peace, Love, and Joy Greeting Card.
Posted in
Greeting Card | Tags:
any occasion,
blank,
blue,
ink,
joy,
love,
peace,
purple,
red,
sharpie,
vertical,
white |
Comments Off on Peace, Love, Joy
Posted on January 31st, 2011 by Sharon
I was reorganizing a 12×12 file folio this morning and came across the leftovers of a shades of brown tag kit and had to use them! I pulled out some teal cardstock and coordinating teal and brown paper scraps. I needed a message so I grabbed my stickers: words & phrases folder and found a couple of stickers close to the teal cardstock color. I picked “you’re” and “always there for me.”
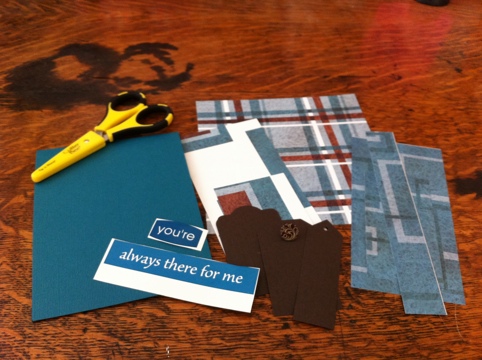
I spent a few minutes messing with the different papers and layouts and card orientation.
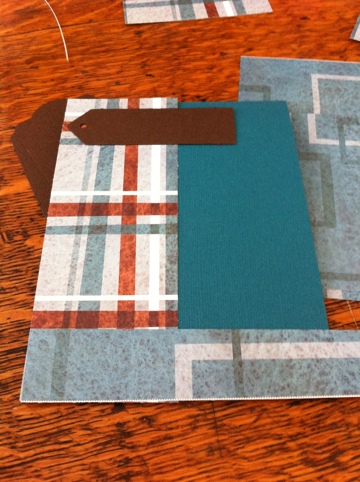
I trimmed papers down and messed around with the precut tags and realized for the longer sticker, I’d have to make my own tag so I trimmed a piece of cardstock from the tag kit.
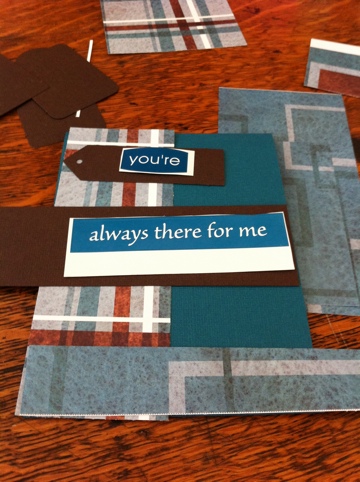
I continued to trim and shape. I finally stuck the stickers down and laid it out one more time before glueing.
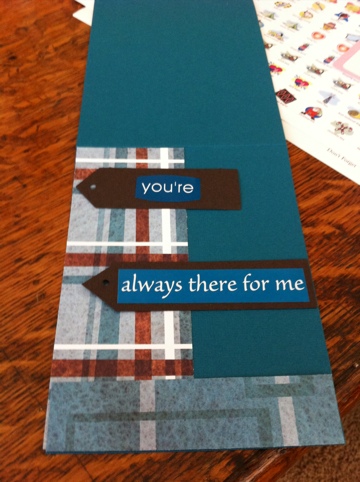
I want to dedicate this card to a dear friend of mine back in Charlotte. Matt, this was made with thoughts of you.
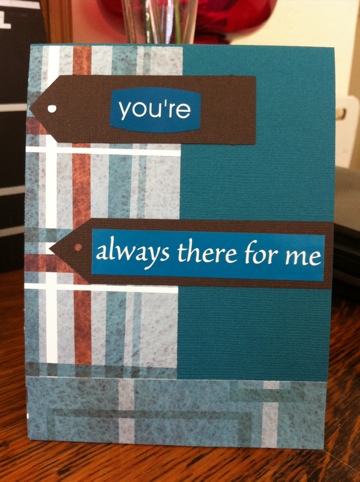
Purchase this card as part of the Friendship Set.
Posted on January 30th, 2011 by Sharon
I had a very full weekend and made this super simple card about 11:30 pm Friday so it’s actually counting for Saturday as well. I did draw an idea for Sat but didn’t get home in time to execute it. I started with a fun piece of precut cardstock and bright green cardstock for the card itself.
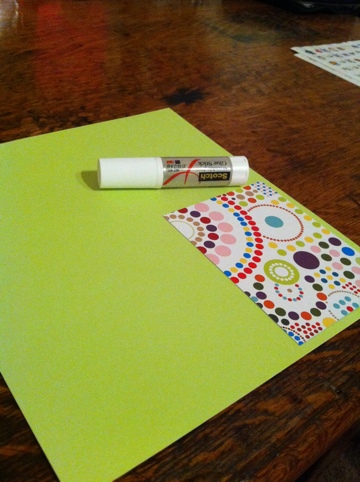
I cut down the green cardstock to be just bigger than the circles cardstock and glued.
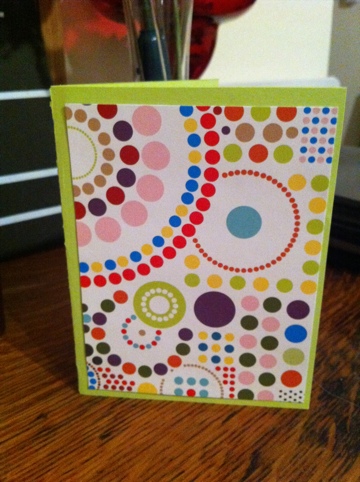
It can be oriented either way for a quick note to that bright-loving friend. Purchase here.


