Posted on January 29th, 2011 by Sharon
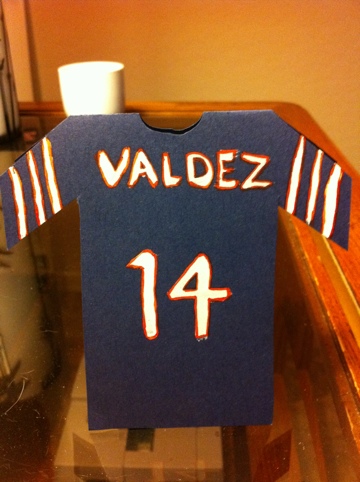
Today is my boss’ oldest son’s birthday. He’s a big football fan and turning 14 years old so I made a Chicago Bears jersey just for him. I started with a dark blue shirt form that folds at the shoulders, white cardstock for the numbers and letters, and orange sharpies for the outlines of the white. After I googled what a jersey looked like, I learned that the orange is on either side of the white with very small stripes.
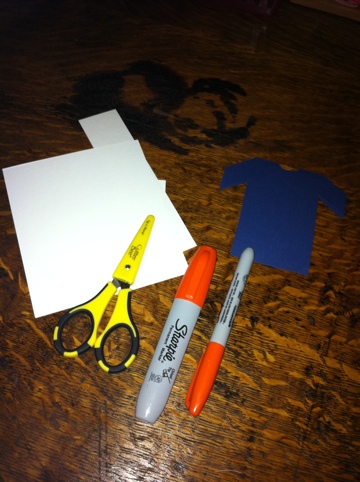
I figured out pretty quickly that hand cutting the letters for the last name would be pretty tricky and time consuming so I grabbed my alphabet stickers to see what I had. The only thing close were some black block letters that I decided to paint white.
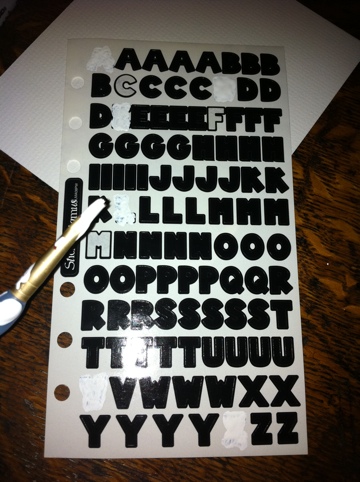
Once I had the paint out, I realized it would be a lot easier to paint directly onto the cardstock. After that everything came together quickly and easily.
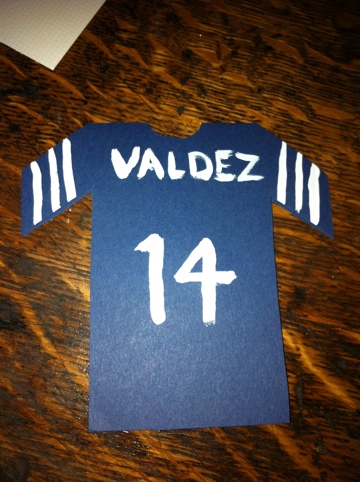
Final product front…
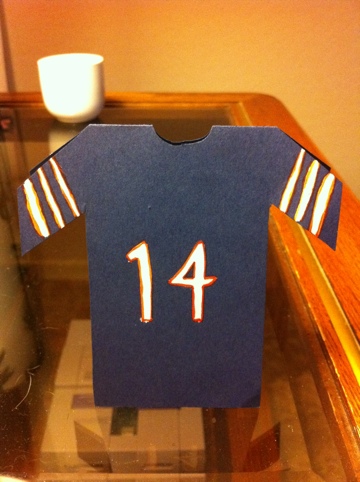
and back.
I delivered it to his parents on Thursday, and they both loved it. I hope he does too!
Posted on January 28th, 2011 by Sharon
I needed to create a quick card because by the time I got home from a full day out, I was pretty pooped. I started with a small piece of white cardstock, my new border stamps and Deep Lagoon ink, and some fun orange and white stars chipboard letters.

I lined up the letters to see how much space I had for a border and to see which stamp would look best with the stars. I used the one second from the bottom because it kinda looked like really tight stitching to me and started stamping.
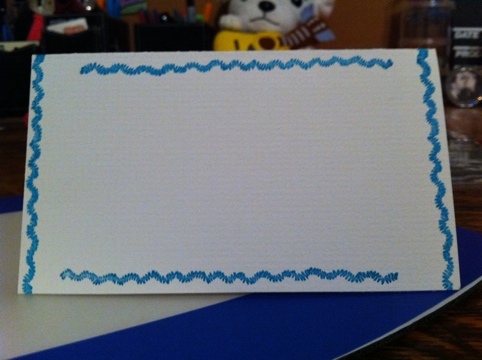
And here is the final product with the letters glued on.
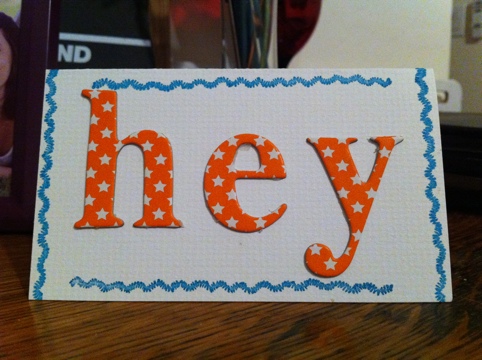
You can even see the texture of the cardstock that just adds a little something extra and makes the inside nice and smooth. If you’d like to say “hey” to someone in your life, purchase the Hey Greeting Card.
Posted on January 27th, 2011 by Sharon
I didn’t have anything specific in mind when I sat down today so I grabbed my words & phrases folder and found a nice quote “gratitude is the memory of the heart.” I pulled out complementary papers and inks and got started.
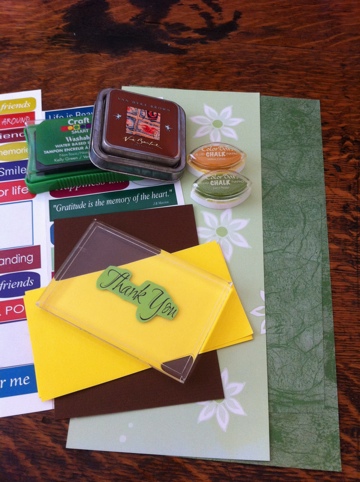
I folded the bright green, flowery paper for my card. I decided to mount the dark green sticker on a scrap of brown cardstock and stamp “thank you” three times with green ink on yellow cardstock. I didn’t re-ink between stamps to give it a faded effect.
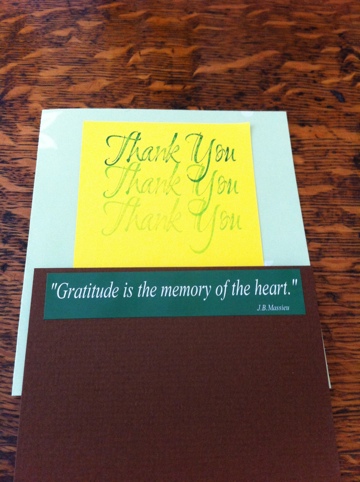
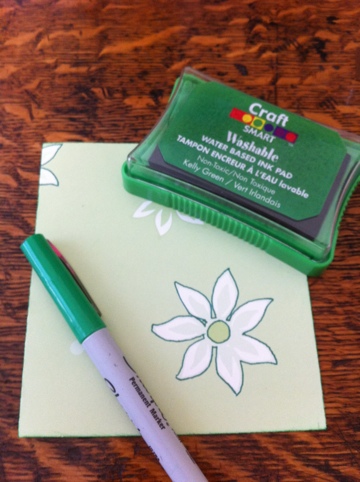
I trimmed down the cardstock so the brown was a small outline of the sticker and the yellow only showed the three thanks-yous. I laid it out on my card again and decided the flowers and card itself needed a bit more definition. I took my green ink to the outside of the card and my green fine tip sharpie to a few of the flowers that would show.
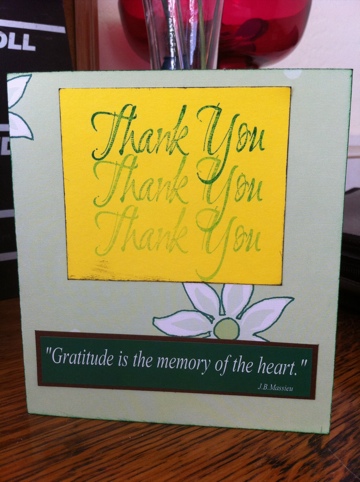
I also took my brown ink to the edges of the yellow cardstock and glued everything down.
Posted on January 26th, 2011 by Sharon
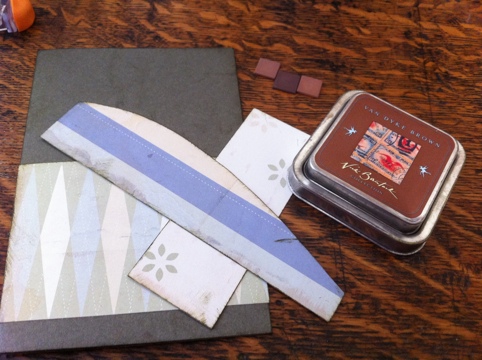
I decided today would be a good day to make a card a man wouldn’t mind receiving. I knew exactly which paper to use but just didn’t know how. Here’s what I started with:

I’ve been tent happy lately so I cut the green cardstock (on the far left) into the shape and orientation of a traditional greeting card. I decided to use the scrap with the curve today too and layer up the other papers.
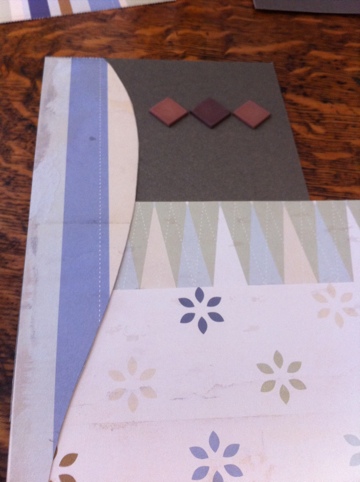
Once all the papers were cut down to the right size, I took my brown ink and distressed the edges and surface of all the papers including the card.
Here’s the card ready to go out!
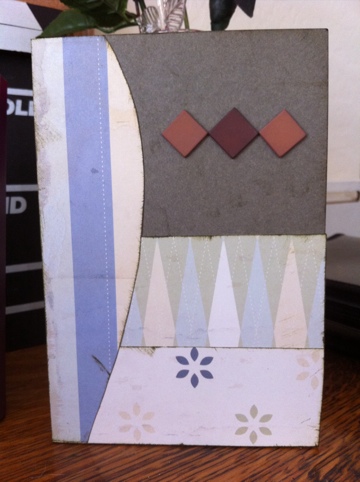
Check out this Earth Tone Greeting Card among others on Etsy.
Posted on January 25th, 2011 by Sharon
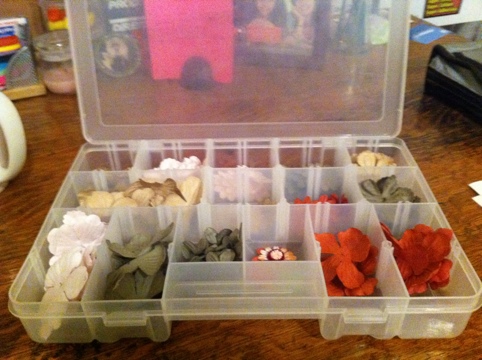
I made this card with thoughts of a girl friend of mine who has the flu. I was given a nice scrapbooking set with lots of matching embellishments and thought this would be a good time to bring them out. Here’s the collection of flowers…
and the paper and stickers I wanted to use.
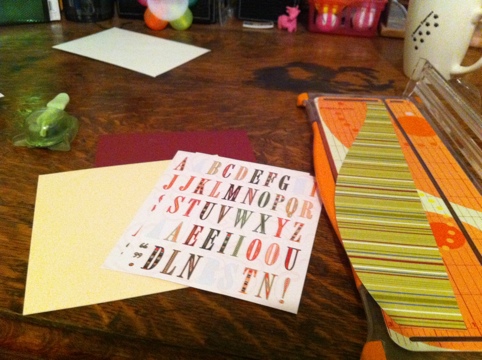
I started by cutting a piece of burgundy cardstock and folding it into a tent card. The green striped paper already had that curve in it so I trimmed it down to the width of the card, curve facing up. For the wording, I started with “soon” and stuck the stickers down onto a cream colored cardstock that would then go onto the striped paper. I decided then that I would matte all of the words onto the cardstock and line them up on the right of the card with a flower in the upper left hand corner. I remembered I had matching buttons so I pulled out a cream colored one for the center of an olive green flower. Here’s a shot of things coming together:
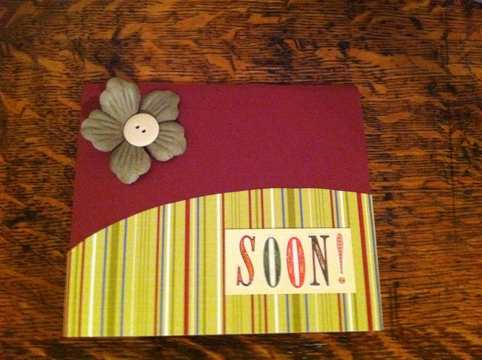
Here’s the final product:
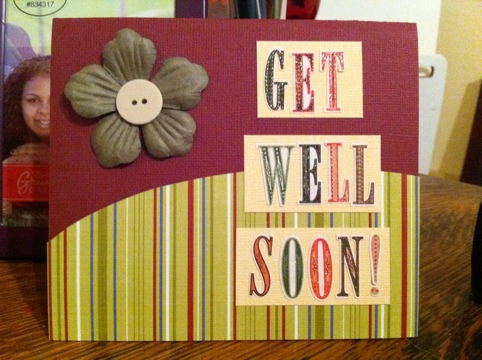
Feel better soon, W!
Purchase this card as part of a set here: Get Well Soon Set.
Posted on January 24th, 2011 by Sharon
I went shopping yesterday and got a some new stamps so I really wanted to try them out. I precut a piece of white cardstock to use and pulled out my new stamps and favorite colors.

It took me a little while to figure out what I wanted to do, but I decided to make a thinking of you card with roses as the background. I also decided to use blues and purples because I got a new color today called Deep Lagoon. I started with that color, stamped three times before inking with a different color and repeated the process with two other colors (four total).

I wanted to use my new color on the font as well, and it worked out that the center of the card was mostly faded colors. The alphabet stamp set I bought comes with multiples of lower case letters so you can lay out the word on the acrylic block and stamp once. I realized though that it is a cursive font and would look much better with the letters joined up so I stamped one letter at a time.

Here’s the final result. Nice and simple.

If you would like this card or to make a request, feel free to contact me or leave a comment below.
Posted on January 23rd, 2011 by Sharon
I’m going to let you guys in on a little pillow talk: my husband and I are very happy and the cause of that happiness is each other. That inspired this card:
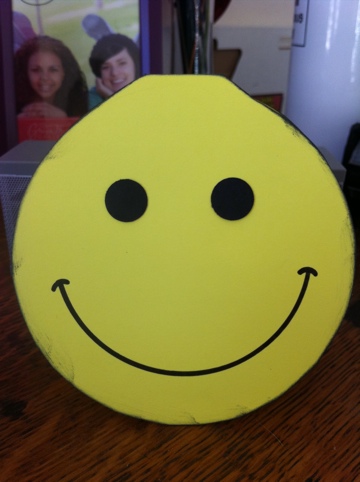
I started with bright yellow paper (Lemon Bazzil basics to be specific), black ink, black markers, and a circle template.
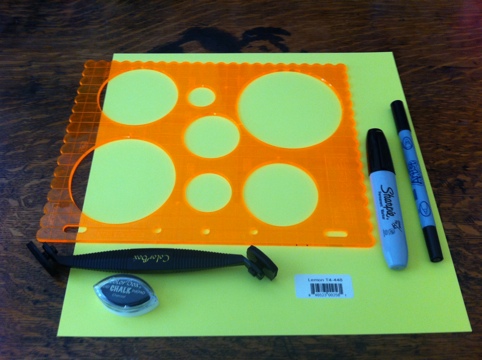
I started with tracing the 4″ circle on one corner of the 12×12 paper and trimmed down the width to be just the right size. I needed to make the length double the circumference so I scored along the top edge, folded the paper over, and trimmed down the length. Next, I cut my circle with the card folded in half but made sure to keep a small part of the folded edge.
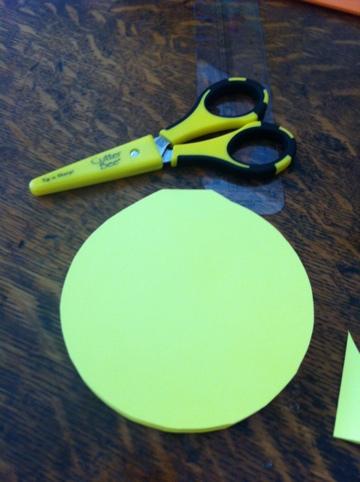
I needed some color next so I inked the edges black and punched a couple of eyes from black cardstock.
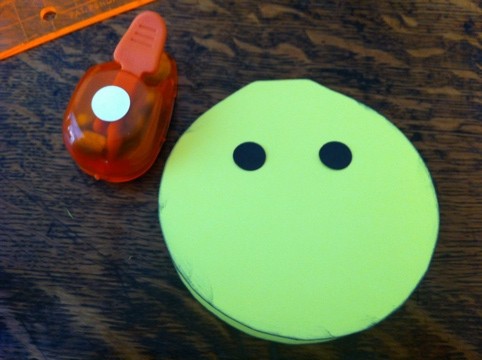
I framed the smiley face with the 3.5″ circle, glued down the eyes, and drew the smile. I was then ready to write.
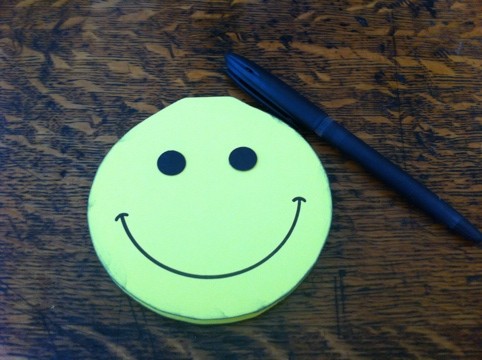
My hubby loved his card and thanked me with lots of hugs and kisses.
Posted on January 22nd, 2011 by Sharon
Sunday was a dear friend’s birthday so I felt the need to make a card for him. I met him June of ’08 at Gangplank playing guitar hero. We’ve been friends ever since so I thought a great way to personalize his birthday card would be to create a paper miniature of a guitar hero guitar. Of course, I have one so here’s a picture of my inspiration:
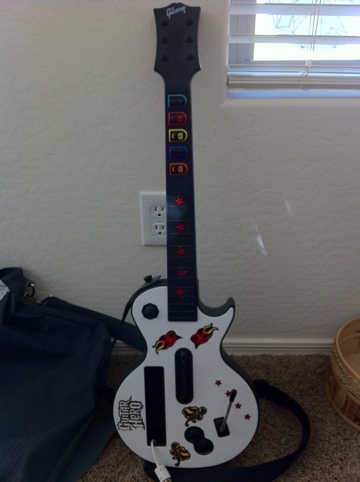
I started by pulling out all the different colors I would need and of course the stickers that came with my guitar hero games.
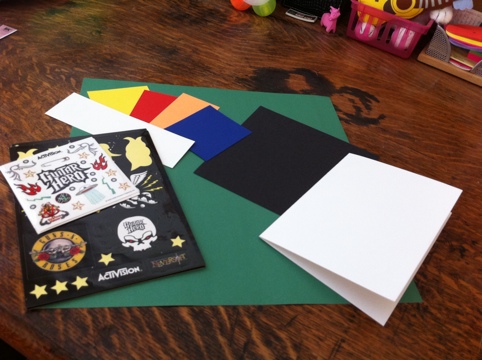
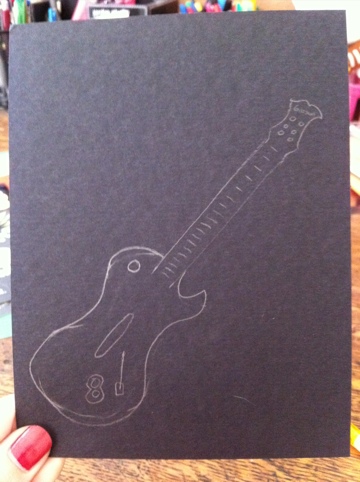
The next thing to do was sketch the guitar shape. I chose to copy the Gibson because the shape was a bit easier and that was the guitar we were playing with two and a half years ago.
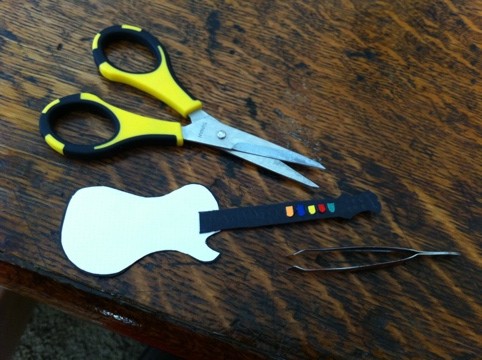
After I was satisfied with my sketch, I very carefully cut it out. I traced the body of the guitar onto white cardstock and trimmed it a bit smaller so there’s a tiny bit of a black outline. I then separated the neck from the body. My next step was to cut out the five color buttons for the neck of the guitar. Very sharp scissors and tweezers made the cutting and gluing much easier. Here is all of those steps glued together.
From there, I needed to finish up the guitar’s face with all the game buttons and stickers.
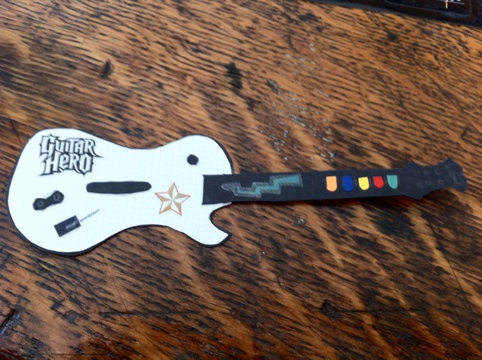
I glued down my paper guitar and chose a fun font from my collection of alphabet stickers for happy birthday. Here’s the final product:
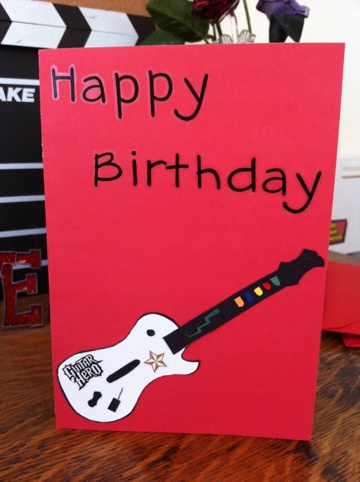
It has been signed, sealed, and delivered and was received with the comment, “Best birthday card. EVER.” I’m pretty proud of it myself!
Posted on January 21st, 2011 by Sharon
I didn’t have an idea when I sat down at my desk today so I grabbed my folders full of stickers and flipped through them. I saw some star stickers left over from a previous project and remembered I still had some of the complementary papers. I pulled out some other stickers with stars on them, the striped paper, and a piece of brown cardstock. I decided that the card would say “you’re a star” but didn’t really have any alpha stickers or rub-ons that matched my color scheme so I also grabbed a stencil with a fun font.
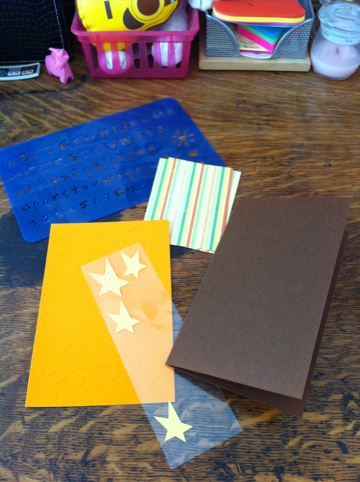
It took me quite a while to figure out how to get the message on the brown cardstock without using some kind of matte on top of the striped paper. I figured out that I had enough stars to put one letter on each. I used an orange fine tip sharpie on the yellow stars and a green one on the orange stars. It’s hard to tell but what looks like a piece of yellow-orange cardstock is really a bright orange sticker sheet. I glued down the striped paper almost like the inset of a door and stuck my lettered star stickers on top of that. I needed to make sure that a message could be written inside the card so I found a scrap of a creamy colored cardstock and glued it to the inside.
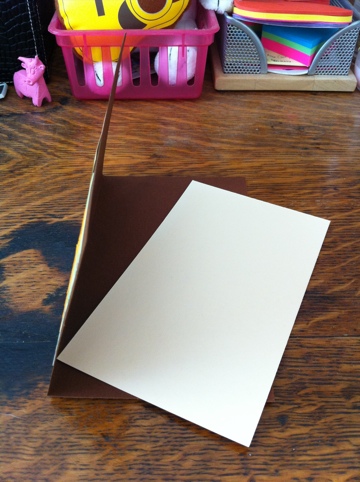
Here’s the final product:
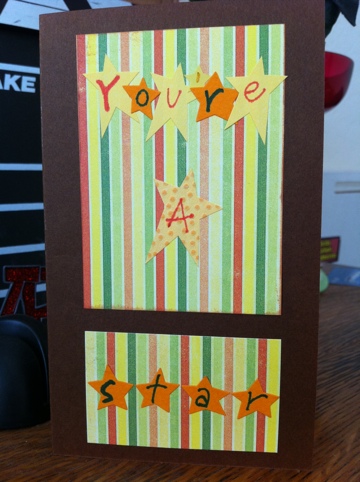
Purchase You’re a Star Greeting Card for the star in your life!
Posted on January 20th, 2011 by Sharon
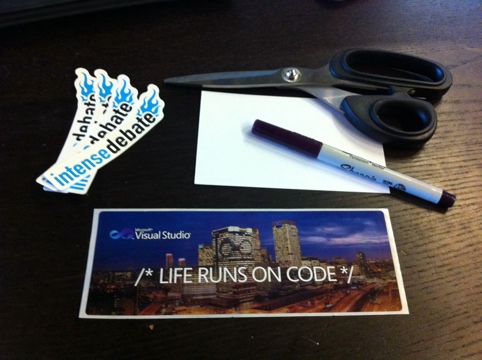
On Wednesdays, I try to spend time at Gangplank. Yesterday was one where I spent most of the day. I know I’m going to be traveling soon so in preparation, I decided to make a card from the supplies and free stuff around the office. Here’s what I found:
I cut down the stickers into just flames and “life runs on” and placed them on the notecard. I also found a sharpie that matched the flame color.
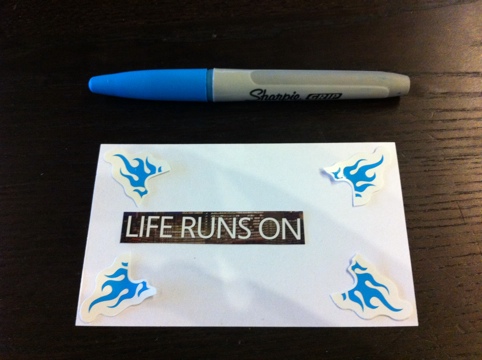
I wrote an ellipses after “life runs on” and wrote “whatever fuels you” on the back. I also drew lines to show it’s a postcard. This is what it looked like:
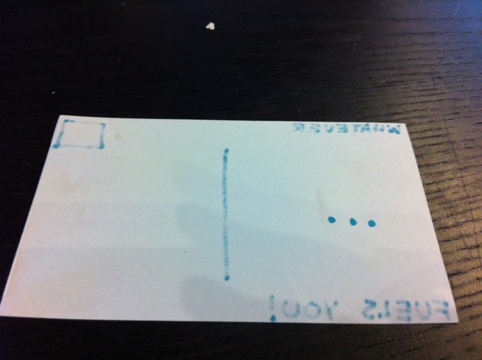
I’m not sure if you can tell but there is some major bleed through from the marker. The solution I came up with is two cards taped together. I also decided to take the blue dots from the “i”s of the flame stickers for my ellipses.
Here’s a shot of everything written and stuck down.
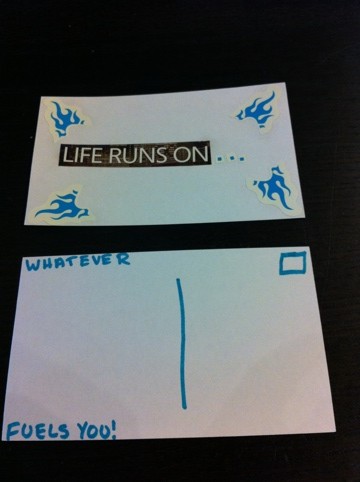
I finished with taping the two sides together.


