Pink & Brown

Today’s card is good for any occasion. The only thing I started with was the paper I knew I wanted to use.

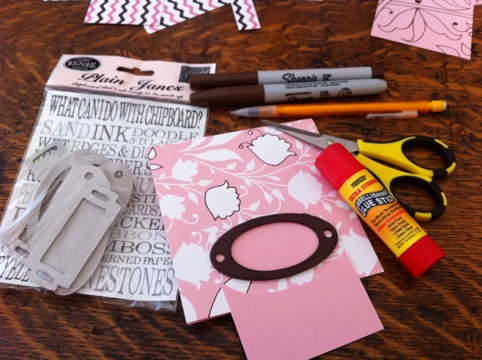
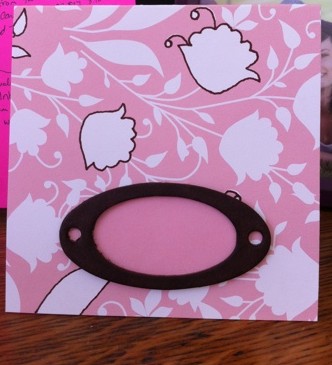
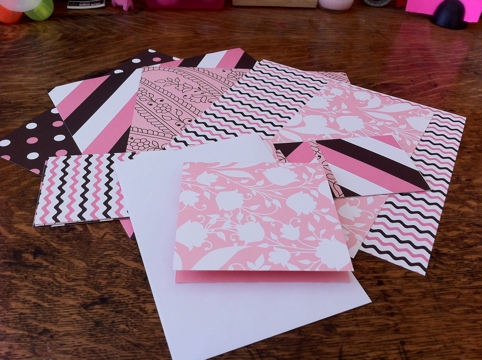
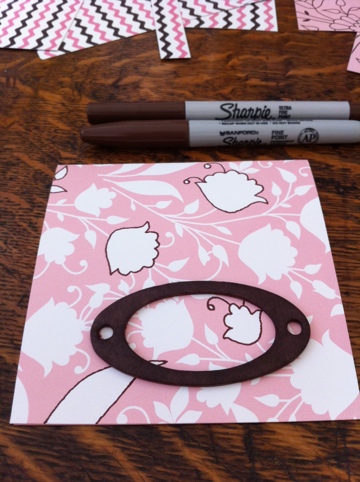
Each paper is two sided with either pink or brown on the opposite side. I chose the light pink flowery print with the light pink on the other side for my card. I had a difficult time trying to figure out which other paper to use so I didn’t. I still like the way brown looks with that pink so I took my brown fine tip sharpie and traced around some of the white flowers. After this, I was sure I didn’t want to use any of the other papers. I opened up my embellishment drawer to see what I could use and my chipboard frames jumped out at me. I pulled out an oval one and colored it brown with my medium point brown sharpie.

To make the card customizable, I took a scrap of my flowery paper and cut it to fit behind the oval, pink facing out. From there I just glued everything down. Here’s a shot of the supplies I used:

And the final product.

Remember, if you have the need for a card, contact me. I’ll help design one personal and unique for that special occasion. Purchase this card as part of the Blank Floral Set.
 

Purple Friendship

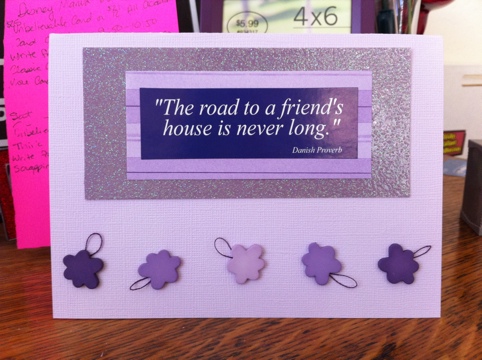
I’ve been feeling very girly lately and going through my stash of scrap paper, I saw I had a lot of great purple scraps just dying to be used. Also, when I pulled out my LBDD beads yesterday, I saw some purple flower embellishments that also needed to see the light. I pulled out a few other purple supplies and got to work.

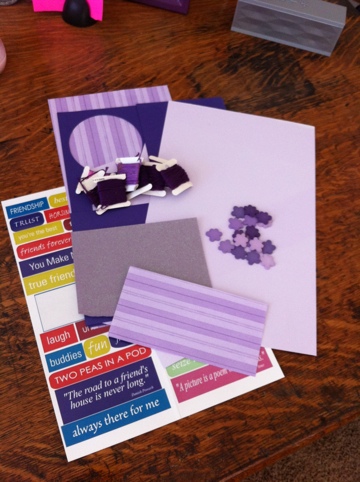
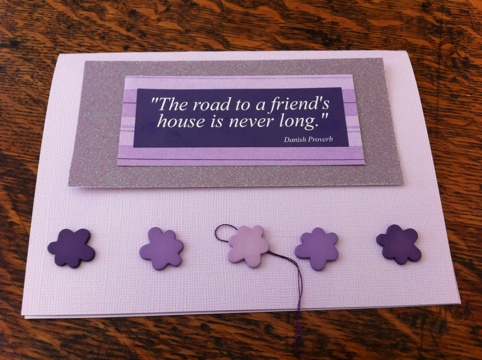
I started by cutting down a scrap sheet of “cool heather” bazzil basics cardstock to fit into a cream colored envelope. I wanted today’s card to be a tent so I used a wide purple sticker with a Danish proverb on it to start with. I stuck that to the striped paper and cut it down to the right size. I next cut down a glittery piece of purple cardstock for a layer under the sticker and stripes. I laid out my matts and my flowers onto the card along with some cross stitch string to see what leaves might look like.

From there it was quick and easy to glue everything down with a glue stick for the paper and glue dots for the string leaves and flower embellishments. Here’s my final product ready for the mail:

Purchase this card as part of the Friendship Set.


Snowman

Today’s card is based on a T-shirt I got for the Christmas craft day. It says “There’s no man like a Snowman” in red velvet letters.

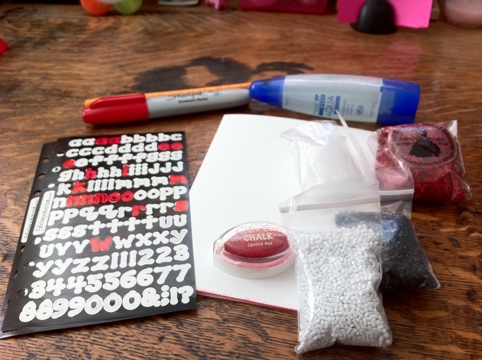
I plan on using a precut piece of white cardstock sized to fit one of the red envelopes I got from the nice hallmark lady, fun white alpha stickers colored red, an orange pen for the carrot nose, and a red ink pad. I also plan on using beads I got a few years ago from a class hosted by little black dress designs at the Creating Keepsakes scrapbook convention. I haven’t used them since that class and think this will be the perfect opportunity.

Here’s a picture of my supplies:

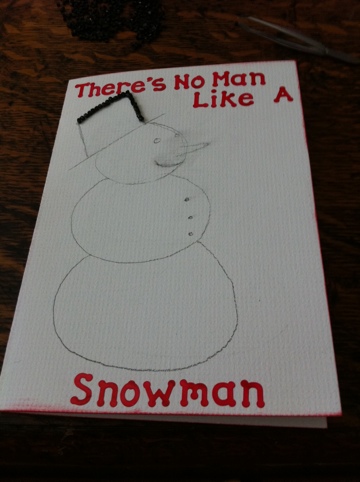
I started by coloring the letter stickers I would need and inking the outside edges of the card while they dried. I laid down the stickers next so I would know exactly how much room I would have for the snowman. Then, I started sketching. It took me a few tries to get it right, but I was finally satisfied and could start gluing.

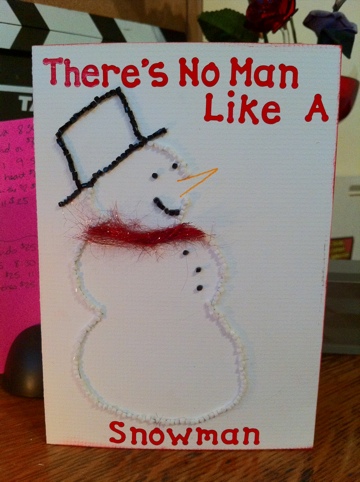
It was rather tedious but I found a rhythm and tweezers helped a lot! Black beads for the top hat, eyes, mouth, and buttons. White beads for the outline. I’m a little bummed I don’t have orange beads for the carrot nose, but it looks ok. The final touch was a bit of red, glittery fibers for the scarf.

In my humble opinion, he turned out great!

Happy Winter!


Penguin

Today’s card was a quick and easy assemble and glue.

I precut a piece of dark green cardstock for the base.

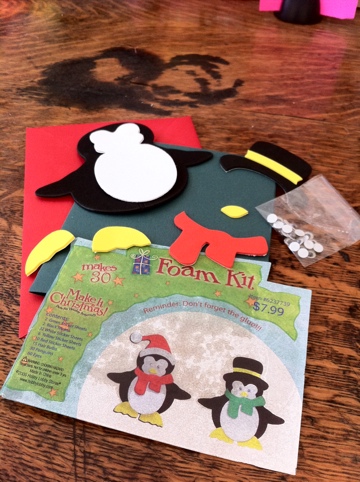
Here are my ingredients:

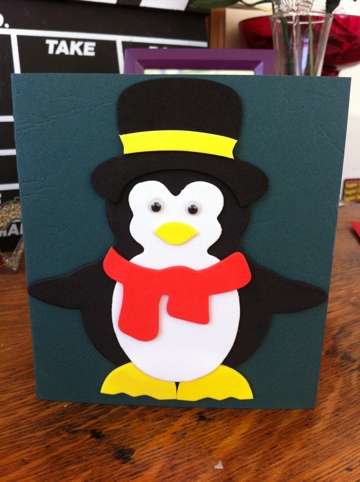
I bought this foam penguin kit for 2009’s Christmas craft day and have lots left over so I thought it would make a cute winter card. Most of the pieces just need to be peeled and stuck. Glue is needed for the googly eyes and to stick the penguin to the card.

Here’s the final product ready to be mailed.

Purchase the Penguin Greeting Card.


Patriotic

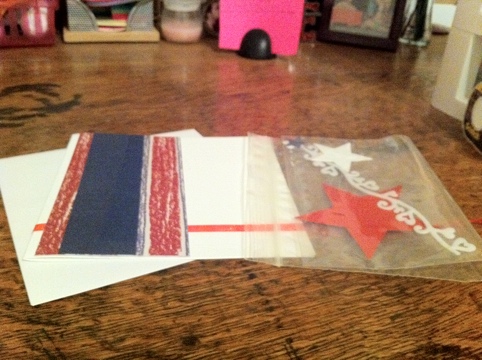
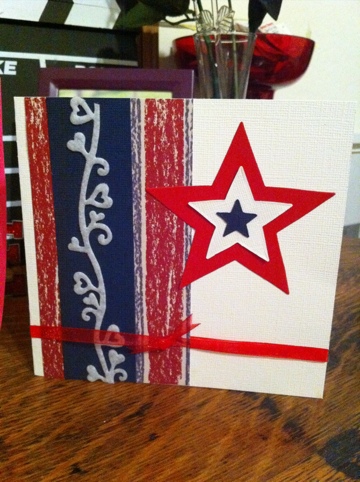
This is another square card with a patriotic theme. It might work well as a thank-you for serving or wishing you a happy Independence day.

The glue is still in good shape, it just needs to be finished up and sized correctly to be fit for mailing.

Before:

After:

Purchase this Patriotic Greeting Card.


Flowery Feminine

I was out with a friend yesterday and got really lucky at a Barnes & Noble. I happened to catch the Hallmark lady removing all the Christmas cards and got a box full of envelopes! It was a great sign that I’m on the right track.

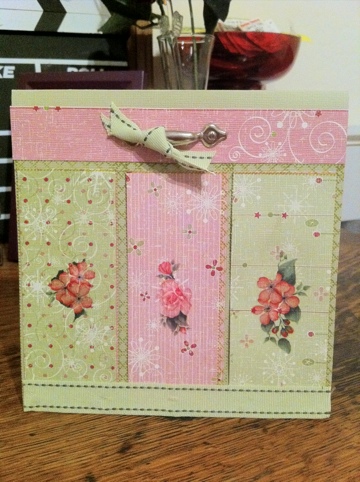
Now this second card is square in shape with some very feminine elements on light green cardstock.

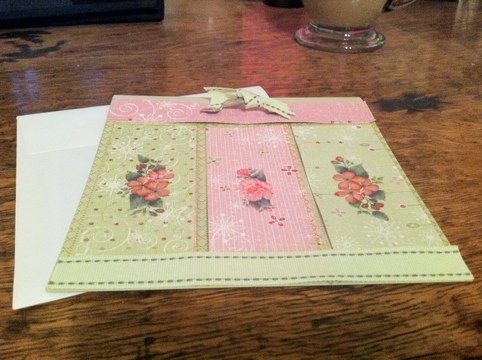
It’s fully assembled but needs some regluing as well as the cardstock being cut down so it will actually fit in the envelope.

Before:

After:


With Sympathy

A while ago I took a card making class at a local scrapbook store. I was able to finish a couple of the cards in that hour or so we had and have since sent them out. I do have three that have been sitting in my desk and seriously need some TLC so I’ll be starting my card-a-day series with those.

With Sympathy

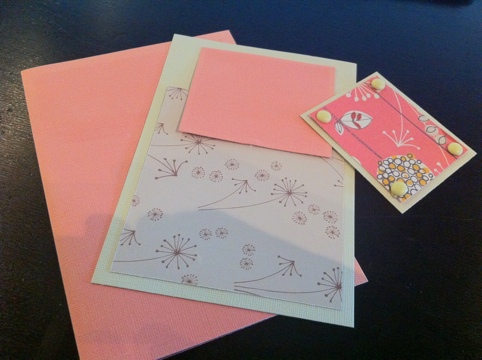
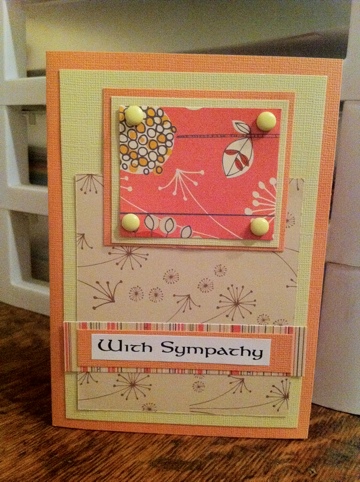
This card has a peach and tan color tone with dandelion elements. “with sympathy” was provided in a nice font for the front of the card. There are multiple layers and brad embellishments. The inside is blank.

Before:

After:

Purchase this card as part of the Get Well Soon Set.


Card-a-day Commitment

Let me start by saying that I’ve never done anything daily. I’m highly motivated to change that and even though there are plenty of “productive” options I can choose, I have chosen a creative one.

Inspired by a sewing blog called New Dress A Day, where the author creates a new dress every day from $1 thrift store finds, I want to create a greeting card a day.

    My goals specifically:

  • Create a new card every day preferably from paper and embellishments I already have
  • Blog about it

The object is not to create 365 cards but to be creative for a few minutes each day. I’ve done the brainstorming and am now announcing my commitment.

If you decide to follow along in my creative adventure, I could certainly use your help. Sending a card is a lost art but everyone enjoys getting mail that isn’t bills or junk. If you fall into either of these categories, I want to hear from you. Maybe there is a unique special occasion coming up and you’d like to send a card, contact me, give me some details, and I’ll design one for you and send it to you. Or, if you like a card I’ve already made, leave a comment, and I’ll send it to you.

So stay tuned for a new card-a-day!


Christmas Craft Day 2010

It’s that time of year again where I bring together some fun Christmas ideas all in one place online and at Gangplank! The third annual Christmas Craft Day is this Saturday, December 11 starting at 10:00 am at Gangplank, which is now located at 250 S Arizona Ave in Chandler, AZ.

Most of my finds this year have been through dedicated craft blogs such as CraftyNest and The Creative Place.

As always, I’ll be providing the needed supplies but whatever you may have will be greatly appreciated.

My focus this year is on paper crafts and craft sticks.

My first idea is silhouettes. There is a projector at Gangplank which we can use to cast shadows on the wall and trace the shape of the head. All we need is large, fun paper; scissors; glue for mounting; and a pencil.

Idea number two comes from How About Orange. It’s a simple paper ornament made from colorful copy paper. I have construction paper and ways to make your own with a spirograph, stamps, or stickers. Other supplies needed are string to hang it, staples, and double sided tape.

I found another great paper ornament idea at The Creative Place that needs 7.5″ by 4″ paper, small brads, a paper cutter, and a hole punch.

The last two ideas use craft sticks. CraftyNest has a great tutorial on giant snowflakes in three different styles. We just need craft sticks, hot glue, a string for hanging, and stuff for decorating. I have paint, glitter, and sequins to get things started.

The last craft is preschool friendly and found in Disney’s Family Fun magazine. It’s a Christmas tree from craft sticks! We just need a fat stick for the trunk and increasingly smaller skinny sticks for the branches. There are the same supplies available for decorating your tree including stars for the tops.

Even if you can’t make it out on Saturday, I hope you find these crafts fun and useful.

Merry Christmas!


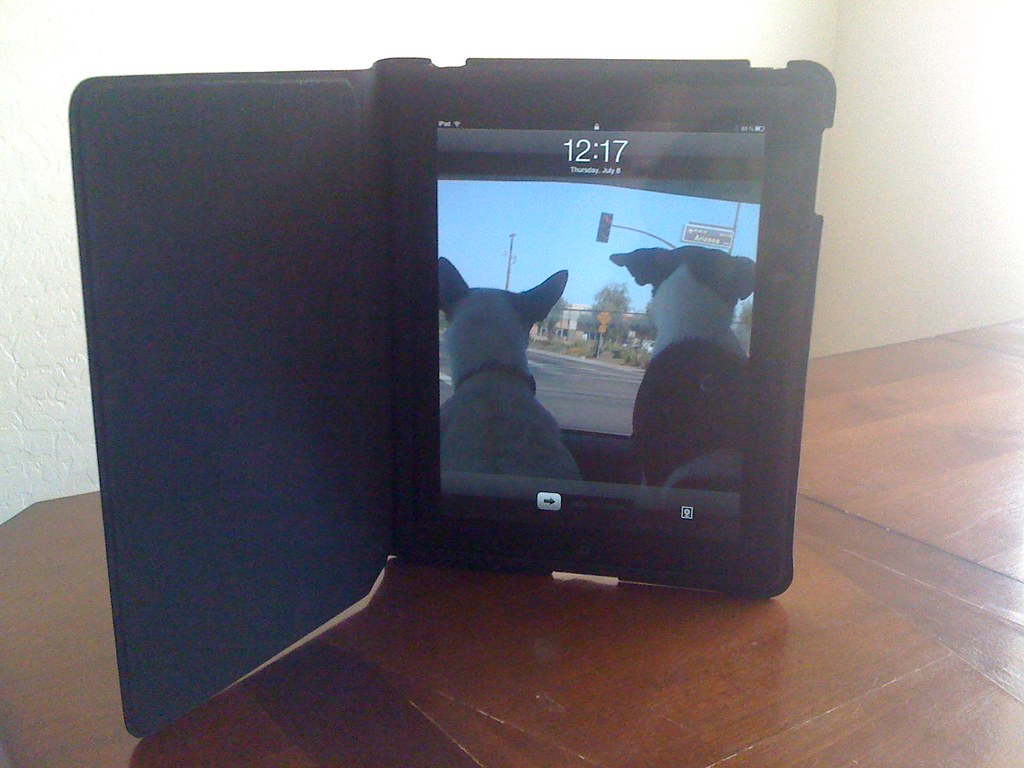
My iPad, My computer


Anyone who knows my husband and I could probably tell you that we are very big Apple fans and almost always have the latest and greatest Apple product. We were a little late to the iPod game but have owned just about every type since the first Nano (which I affectionately named Slim). My husband has owned each generation of iPhone and typically got them on release day with the exception of the latest 4.0 release. We followed a similar trend with iMacs and MacBooks so of course the iPad was a must have.

My husband purchased (on release day once again) a Wifi only 32G iPad and the wonderful black Apple case. I pestered him so much to borrow it that I had my own just a week later. My iPad, Titan, has replaced my need and desire for a typical laptop. The transition from MacBook to iPad has been just flawless. It was made easier with a Mobile Me account and familiarity with iOS. There were a few laptop features that I needed to find app replacements for such as keycahin and documents. I now use mSecure for all my password needs and a mixture of iDisk and Pages for iPad for my documents. I now rely heavily on “the cloud” for access to photos, documents, and links; but I do still have access to a desktop for iTunes and iPhoto syncing. However the latter is less and less necessary with my new camera connection kit. Now I just need to figure out how to get those photos online. I’m sure I will rely on email more and more as a great solution to many problems.

I still have my white MacBook, but it is waiting for some new owner so it can say “Welcome.”