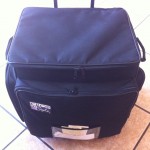
 Today’s post was recommended by my husband. My creative process is very organic as I’ve said before, but my supplies are all in a single rolling scrapbook bag. The only way I can have both is by being highly organized. The most important thing is having the right supplies. My bag is a Crop in Style XXL tote that I picked up at Jo-ann’s fabric. For organizing my 12×12 papers within the large pocket of the bag, I have a Cropper Hopper vertical paper holder and the scrap storage set.
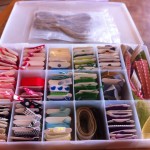
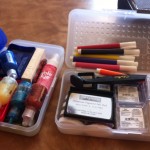 My ribbon is organized by color (as is almost everything else) inside a plastic divided case. It slides in nicely next to the two pencil boxes I use for ink and glitter glue.
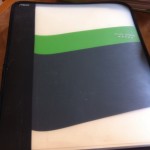
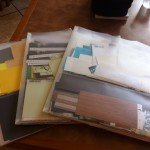
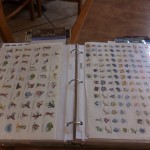 I originally had all my stickers in manila folders within a single folder. I’m using regular sheet protectors and Martha Stewart Home Office secure-top sheet protectors to organize them in a three-ring binder. They were roughly divided by alphabet stickers, words and phrases stickers, and picture and specialty stickers. I also had folders for rub-ons, die cuts and templates, and glue/scrap paper for extra ink and to prevent surfaces from getting sticky.
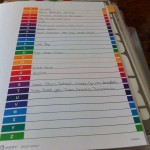 I built an index of these items and have them organized by type. All the alphabet stickers will still be together under “A,” but the other stickers are organized into categories such as butterfly, flower, quote, etc. for extra ease.
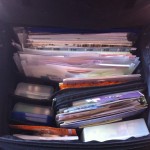
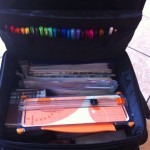 All these items are in the main large pocket as well as Fiskars templates, my spirograph, cutting mat, folders of inspiration, and magazines. I also have a small amount of space for precut cards, small albums, and two zip-up bags that sit on top. My paper cutter sits on top of the papers. Built into the lid of the bag is a pull-out, fold-out piece with loops for markers and pens. I’m sure you’ll notice the pens are organized by color (ROYGBIV FTW!)
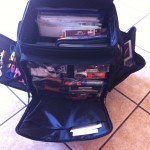
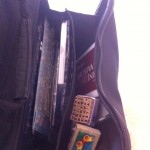 Looking at the bag, you’ll notice there are large zipper pockets on three sides. These are where my tools, stamps, and embellishments are kept. On the right side (again while looking at it) is a mostly open pocket with a single divider. Most of my stamps are the plastic kind that require acrylic blocks so that’s where they’re kept.
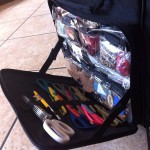 On the left side, there are clear pockets with velcro closures and loops along the side. I use this side to easily see my embellishments and specialty scissors. There’s not a lot of thought to this side since the pockets are clear. I just put things where they fit.
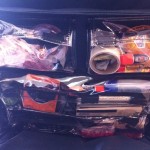 The front pocket received a little bit more thought in organization. It is similar to the left side in the fact that it has clear pockets. My first thought was to make the tools I use most often the easiest to access. Those are the items in the top, right (because I’m right-handed) pocket. For those of you who may be curios, my favorite items are: cutter bee scissors, Elmer’s tape runner, glue dots (two sizes), a ruler, an artist’s eraser, plus a couple of glue sticks. Again, the rest of the pockets are used to hold whatever other tools and embellishments that fit. The large pocket on the front flap holds various items that don’t quite fit anywhere else.
I must reiterate that without my amazing bag, I would not be able to create Handmade by Shay as easily as I do. I hope you enjoyed the insight!
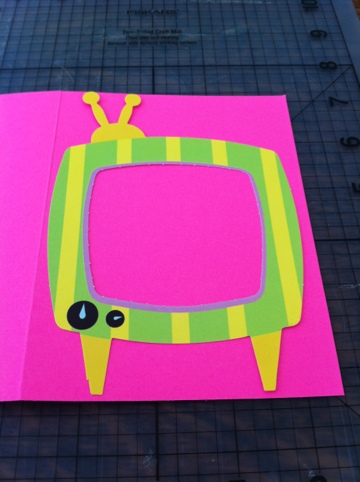
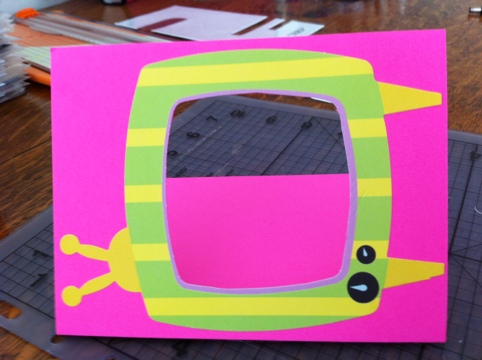
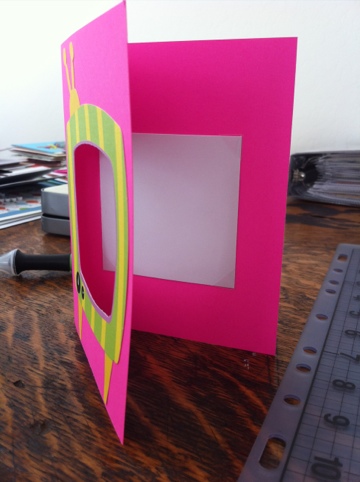
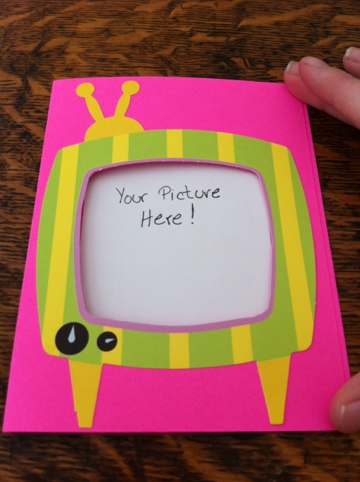
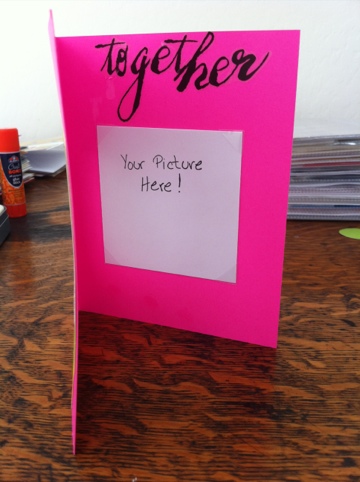
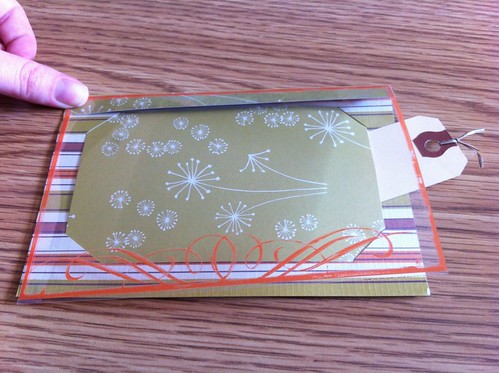 I thought of the design for today’s card during my recent reorganization. I’ve had these small, patterned transparencies for a while and thought they’d make a great front for a card. Since the front of the card is clear, I wanted to make the inside ready for a picture. I also decided to hide a tag for a message behind the spot for a picture. Instead of photo corners this time, I slit the card to slip in the 3×5 piece of cardstock.