Posted on February 6th, 2012 by Sharon
I made this valentine for myself to send this year. I copied the idea from this card:
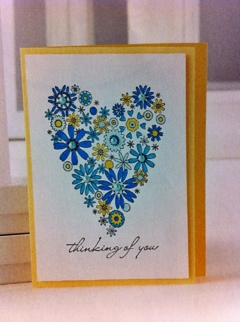
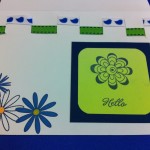
I started with a precut white and blue card, using the blue for the inside. I decided to duplicate the look by making a heart mask that covers most of the front of the card and stamping the flowers in shades of yellow and blue. My message was a circle instead of a line so I hid it inside the heart. Here’s my duplicate:
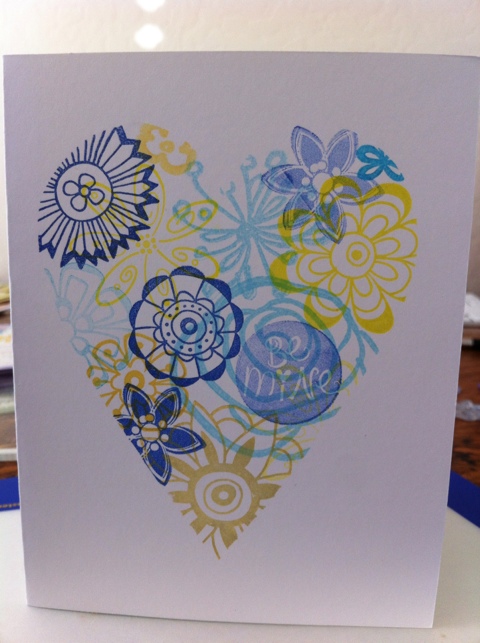
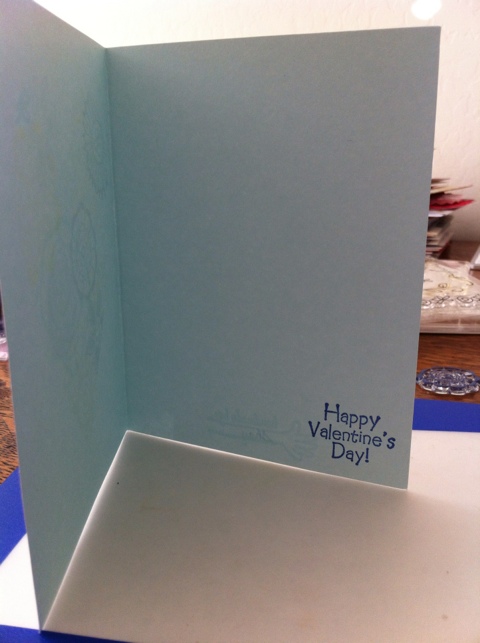
Technical specs: a mask is a term used in graphic design. It basically hides some of the background so let a shape appear. To do that with paper, you use it more like a stencil. I grabbed a sheet of printer paper, hand drew the heart, and cut it out using an exacto knife. I then lined up where I wanted the heart to appear and taped it in place. The last step was to stamp.
Posted on February 5th, 2012 by Sharon
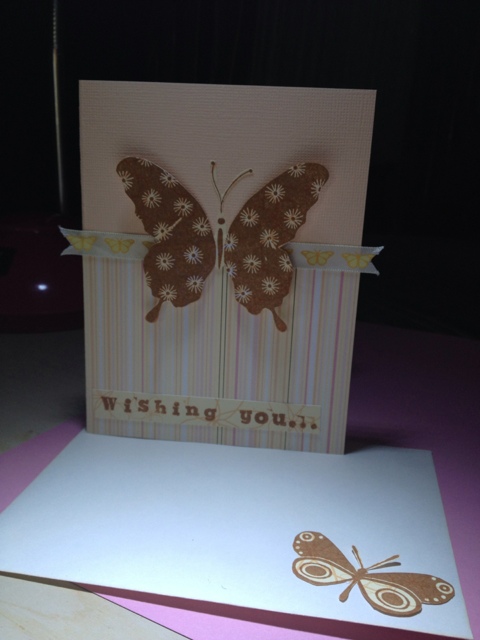
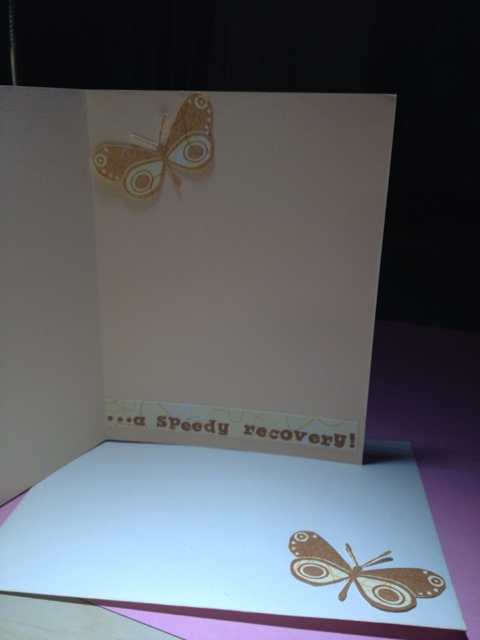
Today’s greeting card is one I made for my Aunt. I heard she was having foot surgery so I thought I’d wish her a speedy recovery. It was very easy to put together after freehand stamping the messages (no guidelines) and cutting out the butterflies by hand.
Posted in
Greeting Card | Tags:
blue,
brown,
butterflies,
get well,
hand cut,
neutral,
patterned,
ribbon,
stamped,
vertical,
yellow |
No Comments »
Posted on February 4th, 2012 by Sharon
Today was full of trial, error, and failure. I had this great idea for a pretty, simple card that didn’t turn out at all. Here are my tries:
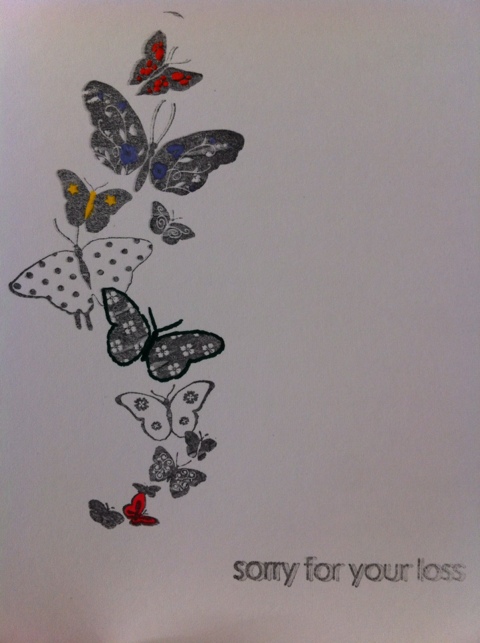
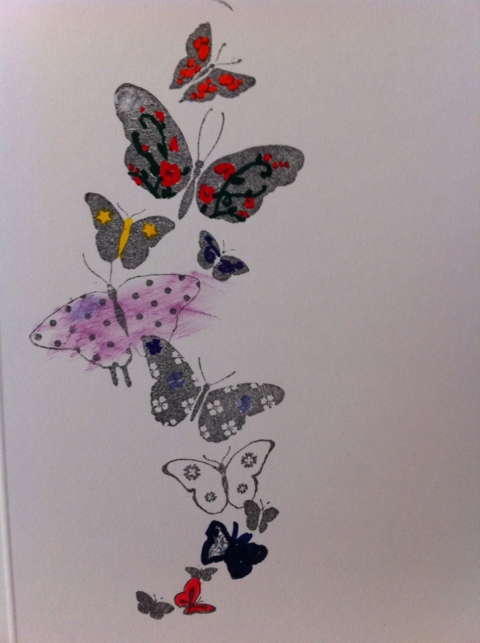
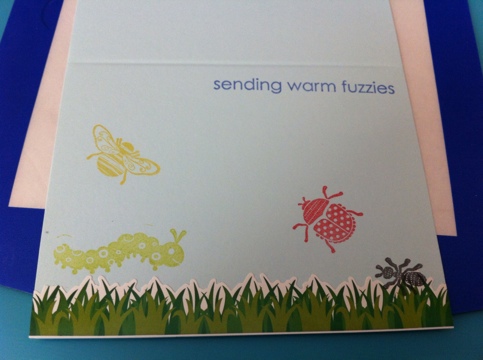
I ended up using stamps from the same collection with different colors, a cute message, and a grass sticker.
Posted in
Greeting Card | Tags:
any occasion,
black,
blank,
blue,
green,
ink,
red,
stamped,
stickers,
tent,
yellow |
No Comments »
Posted on February 3rd, 2012 by Sharon
When I started this card today the only thought I had was to weave some ribbon that I’ve had for a while. This led me to add some flower rub-ons using similar colors. I still had a lot of white space so I decided to stamp another flower and simple message using more blue and green. The final touch was matting the green onto blue and mounting it to the cardstock. I owed a friend of mine a note so I decided to use it for her. My handwriting is bad enough so I added some green lined paper to the inside of the card and wrote in blue ink. I hope she likes it!
Posted on February 2nd, 2012 by Sharon
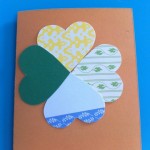
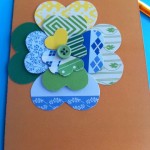
Today’s card was quick and easy using a single stamp, pearl embellishments, and an orange heart. Side by side is the inspiration and my version.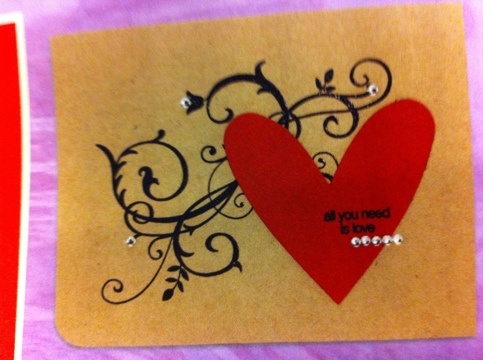
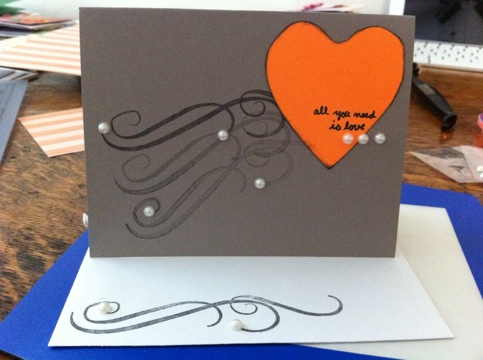
Valentine’s day is around the corner! If you’d like a free handmade card, check out my love and friendship Flickr set then contact me with the card name, your name, and your mailing address.
Thanks!
~Shay
Posted on February 1st, 2012 by Sharon
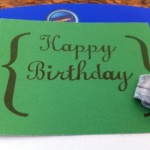
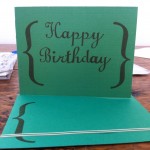
Today’s card is dedicated to my brother who had a birthday on January 26th. Love you, bro!
Stamping tip: To create a straight and centered message, draw pencil lines with a ruler and begin stamping in the middle of the word. Don’t forget to remove the pencil lines when you’re done!
Posted on January 31st, 2012 by Sharon
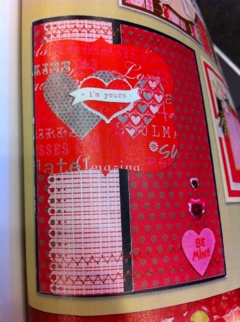
I spent some time the other day flipping through magazines and stealing ideas. Today’s valentine is inspired by this card:
 I started by pulling from my scraps all the different colors I wanted to use: black, red, white, pink, silver. I got lucky when I came across this quote: “Love is the master key that unlocks the gates of happiness.” I knew then that I could finally unwrap this fantastic key to my heart paper. It took me a while to visualize the end product so I started by making the card from black cardstock.
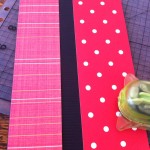 I started trimming my key paper because I knew I wanted to cut out at least one of the keys and use the backside for the upper left square. I also trimmed some red polka dot paper and began lining things up.
I wanted to use the scalloped edge so I trimmed down and inked the quote square.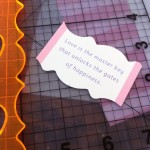
I also cut out silver hearts, a key, and trimmed and inked the key background block.
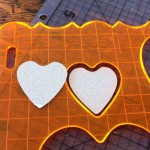
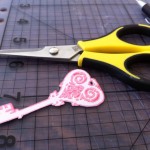
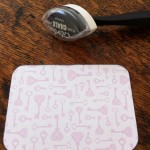
I laid everything out on the card and realized I needed a bit more silver. I pulled out some silver glitter tape and saw that some of it was already punched perfectly for this card! I was finally ready to glue things down.
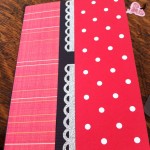
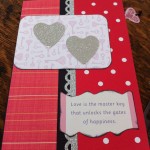
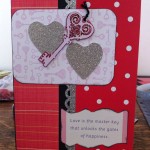
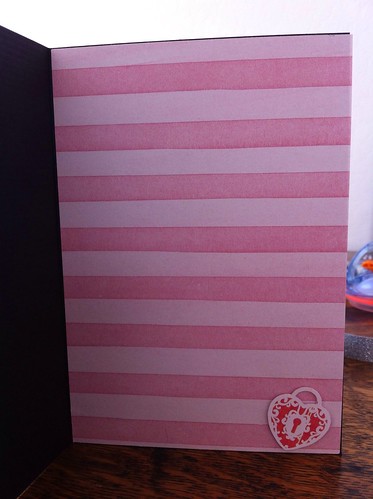
For the inside of the card, I added pink lined paper for easy writing and a little lock for the key.
Don’t forget about my free valentine offer. If you’d like to send a valentine, comment on which one you’d like and contact me with your name and address.
Cheers! ~Shay
Posted in
Greeting Card | Tags:
black,
blank,
glitter,
hand cut,
ink,
love,
patterned,
pink,
red,
silver,
vertical,
white |
Comments Off on Love, the Master Key
Posted on January 30th, 2012 by Sharon
This is another design experiment. I wanted a more masculine valentine’s card but liked the design of this one.
Here’s the example and step-by-step photos:
And the final product:
Posted on January 29th, 2012 by Sharon
*This post was written on January 2 before I had access to the blog.*
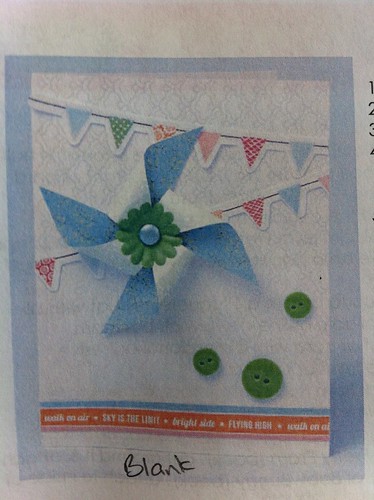
I’m keeping things quick and easy this week with another card from my SEI kit. Here’s the example:
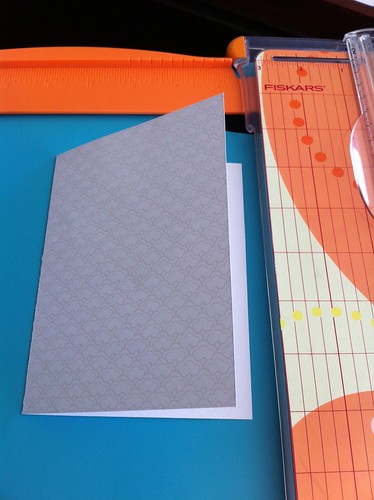
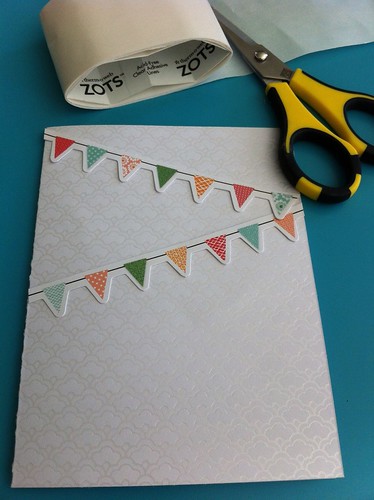
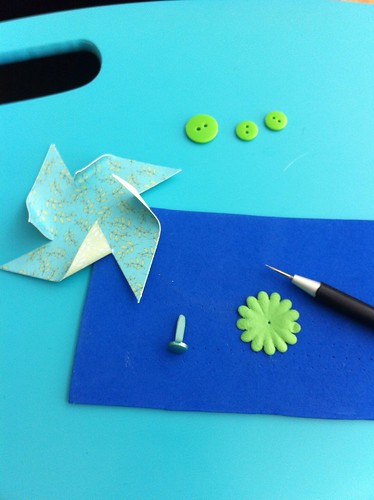
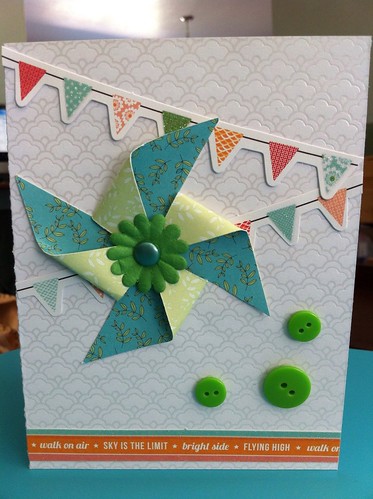
I thought it was another great card for the new year because the sky really is the limit when it comes to creativity and imagination. I also really like the design because I am totally looking forward to spring and nicer weather. The flags and pinwheel really remind me of that. Here are the photos of my steps:
Technical specs: to create the pinwheel, start with a square piece of cardstock. Make cuts at the corners toward the center on all four corners. The piece I used was 2.5″ square so I made my cuts 1″ long using my paper cutter. After you’ve made the cuts, bend one part of the corner and secure in the center. I used glue dots before poking the brad (and flower) through.
Here’s my final product:
Here’s to blue skies and unlimited creativity!
~Shay
Posted on January 28th, 2012 by Sharon
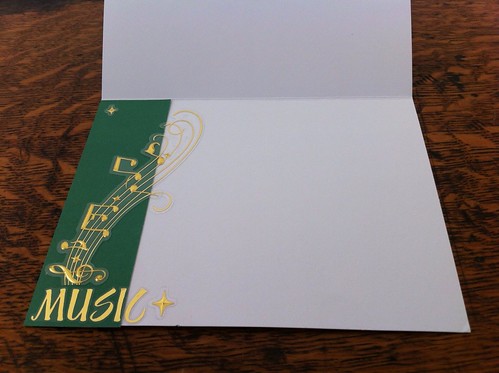
I’ve had these music stickers for a while and with the thoughts of Valentine’s Day I finally found a good use for them.

