Posted on January 27th, 2012 by Sharon
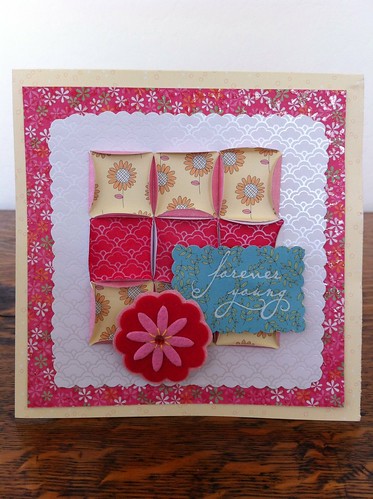
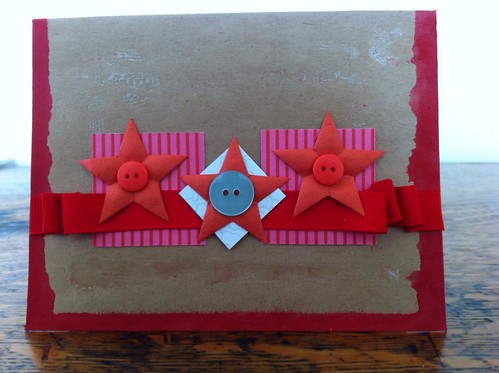
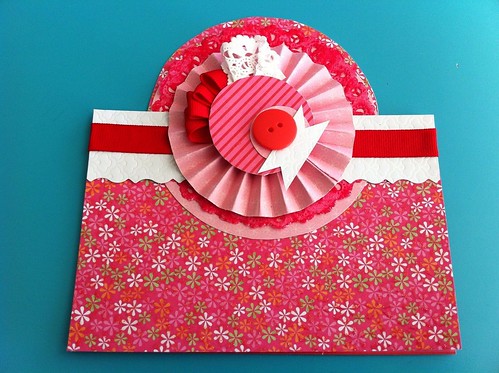
At the beginning of the month, I got in the mail my January SEI kit. I decided to use the design ideas with different papers. It’s an experiment that only worked out so-so on this card.

Posted in
Greeting Card | Tags:
any occasion,
blank,
glitter,
ink,
patterned,
pink,
purple,
red,
ribbon,
square,
stamped,
tent |
Comments Off on You’re Sweet
Posted on January 26th, 2012 by Sharon
Posted in
Greeting Card | Tags:
blue,
brown,
buttons,
glitter,
green,
ink,
orange,
pink,
red,
rub ons,
stars,
stripes,
tent,
vertical,
white,
yellow |
Comments Off on Catching Up
Posted on January 25th, 2012 by Sharon
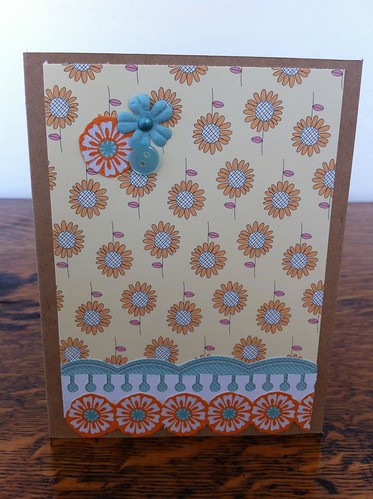
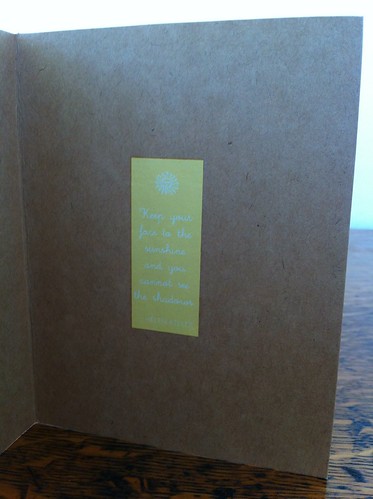
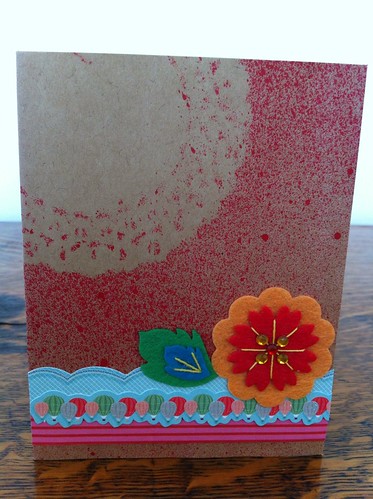
Today’s card looks like a valentine but is great for anyone who needs a little encouragement.
Posted on January 24th, 2012 by Sharon
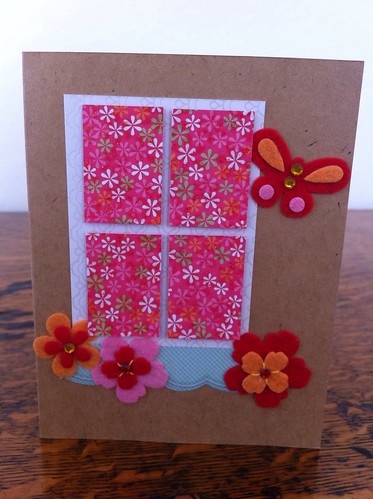
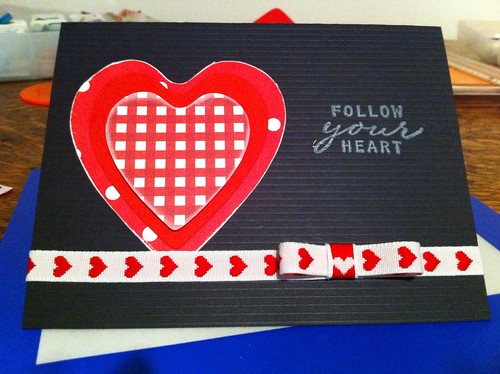
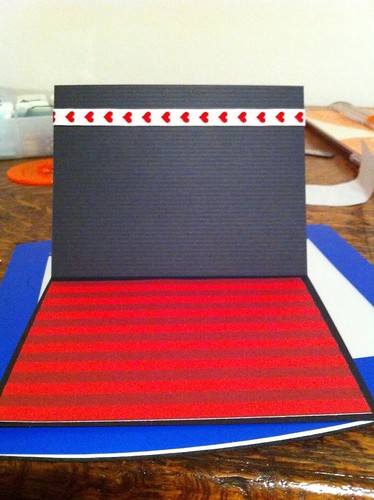
Do you remember when you were a kid around Valentine’s day? You decorated shoe boxes and bought those cheesy valentines for your classmates. Remember the person who got the ones with candy? Some kids didn’t really enjoy it but were forced to participate. I was definitely not one of those. This year, I would love to capture that child-like excitement and anticipation by hand-making valentines to give directly or to give to you to share with the person you would like to have as a valentine! If there’s someone you’d like to give a valentine to this year,
contact me with your name and mailing address. To choose which card to send, leave a comment on that post. I made a few last year so follow the links to check those out. Today’s love-inspired card is from the same SEI kit and must be hand-delivered. I hope you spread the love and joy with me!
~Shay
Last Year’s Valentines:
Posted on January 23rd, 2012 by Sharon
Hey, everybody. As I hope you saw, I plan on renewing my commitment to being crafty. I’ve been working hard on getting pictures updated and cards made. If you would like to order a card, simply contact me with the card’s name and your email address. For easier browsing, I’ve put all my cards up on my flickr organized into sets by topic. If you’d like a custom card and want other design ideas, please check out the Handmade by Shay set. For anyone actually reading, I’d love to get some feedback. Why do you read Handmade by Shay? Are you a friend or family member? Do you like the design ideas and content? Also, which blog format do you like to see? Do you like mostly photos, video, or the in depth photos and directions? Please, take a minute and let me know what you think in the comments below!
Thanks,
~Shay
Posted on January 21st, 2012 by Sharon
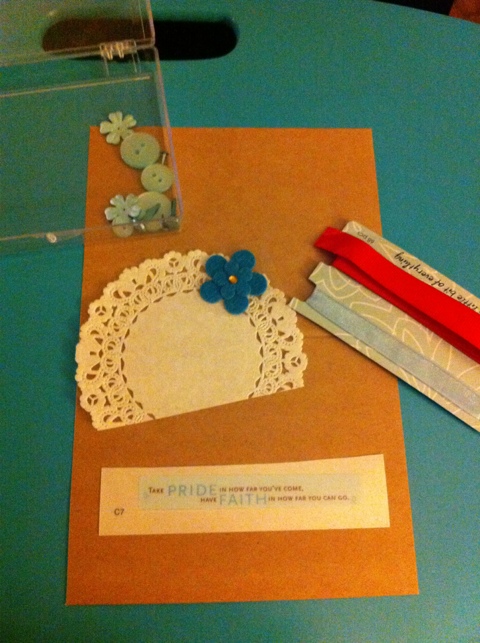
Today is the first day of the rest of your life. Wait, I think I’ve heard that somewhere. Oh well, it’s true because I plan on renewing my commitment to card-a-day. I plan on tweaking it a bit but keeping up with my “Handmade by Shay” theme. I’d like to do a little more scrapbooking and experiment with other crafty or creative things. I decided to start out easy by putting together a card that was prepped months ago. It’s from one of my SEI club kits so it started out pretty easy. Here are the pieces I started with:
Here is my finished product:
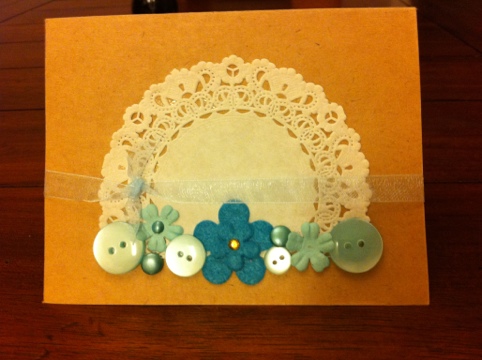
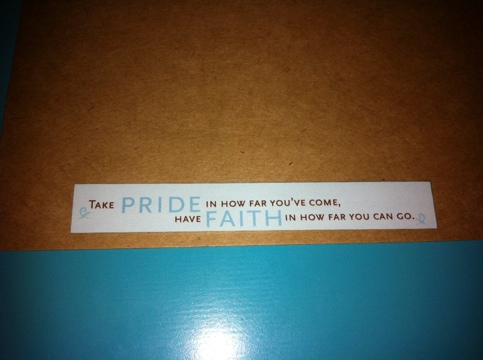
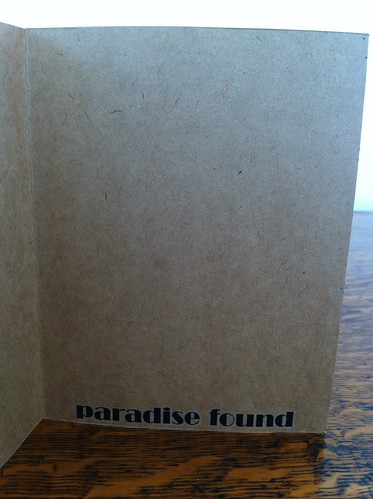
I only needed scissors to trim the ribbon, some double sided tape for the doily, glue dots for the buttons and flowers, a paper piercer for the brads, and a rub-on stick for the quote on the inside. I thought it was a great quote for the first of the year so take pride in how far you’ve come, and have faith in how far you can go. Wishing you a happy and creative 2012!
~Shay
Posted in
Greeting Card | Tags:
any occasion,
blank,
blue,
brads,
brown,
buttons,
doily,
flowers,
ribbon,
tent,
white |
Comments Off on Commitment Renewed
Posted on August 15th, 2011 by Sharon
Last week I took a card tricks class at my nearest Michael’s craft store. It was $25 to take the class but does not include the needed supplies. With the syllabus and receipt, you do at least get 10% off your purchase. All of that only matters if you are learning something new or want to duplicate the example cards exactly. I had a special situation because I was the only one in the class and the instructor came in just for me. It was a two hour class and she let me use the classroom’s supplies and leftovers. Here are the three cards I had time to make.
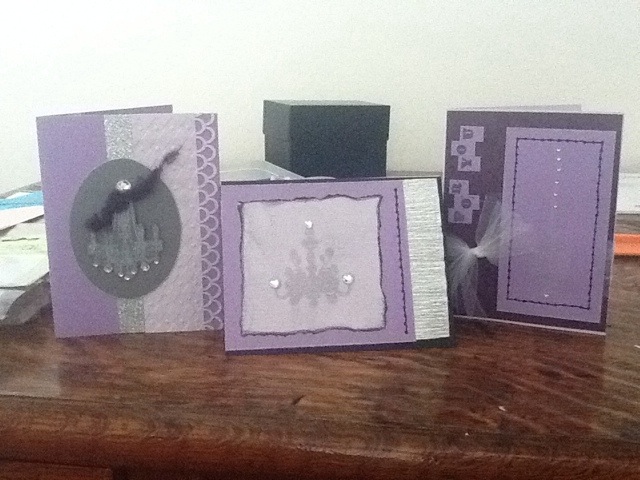
The tricks and tools that the class showcased was two different types of embossing, paper piecing, faux stitching, tearing, and water-mark ink. Some embellishments I had never used before were the glitter tape, rhinestones, and glitter shapes. One trick I learned that I’d like to share with you is the faux stitching. All you need is a paper piercer and fine tip marker. Once you decide where you want your stitching to be, evenly poke holes along that path. In the class, I just did straight lines around the edges and used a ruler. If your eye and hand is good enough, you could probably even faux stitch wording. Once your paper is pierced, take your fine tipped pen and apply the ink to the first hole. Let it soak in the hole for just a moment then draw a straight line (for straight stitching) to the next hole. Again, hold it for a moment for the hole to soak up the ink and draw your next line. The more smooth the lines the more like actual sewing it should look! If you like this set of Chandelier Notecards, click the link to buy them. Also, look up a Michael’s near you to find a class that suits your crafting needs!
Posted in
Greeting Card | Tags:
any occasion,
black,
blank,
embossed,
fibers,
glitter,
grey,
ink,
purple,
Set,
silver,
stamped,
tent,
vertical |
No Comments »
Posted on August 12th, 2011 by Sharon
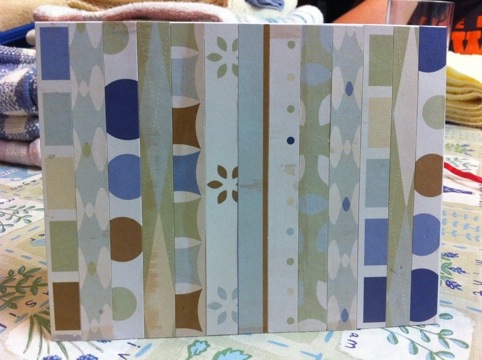
I’m slowly dwindling my supply from the earth-toned scrap pack and decided to use some of the scraps. I started with a premade 6.5″ by 5″ card and glued half inch strips of patterned paper. I really love the way it turned out!
Posted on August 11th, 2011 by Sharon
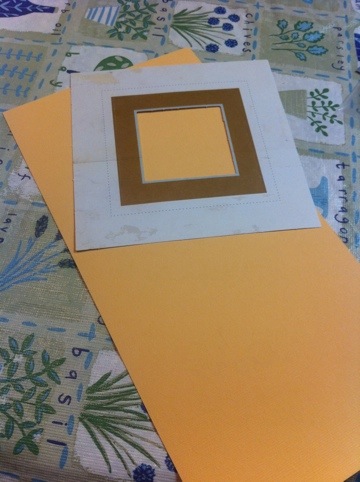
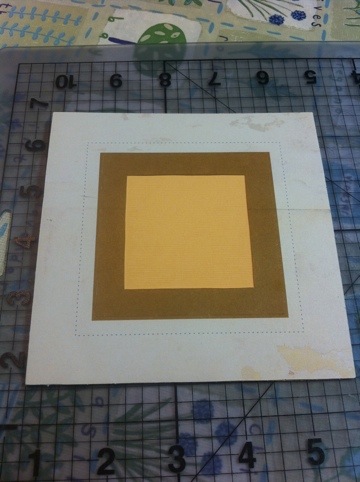
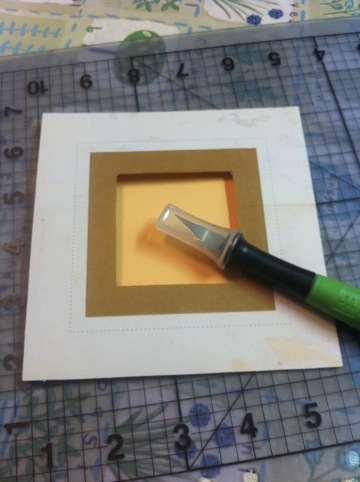
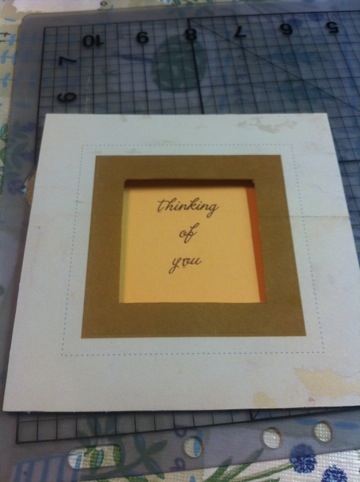
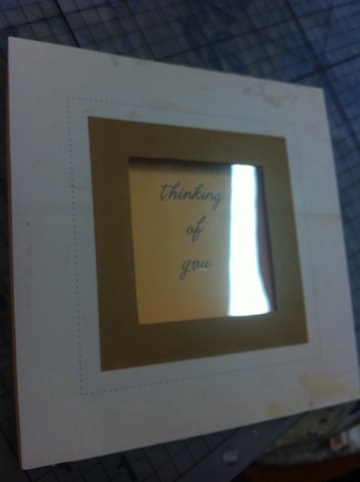
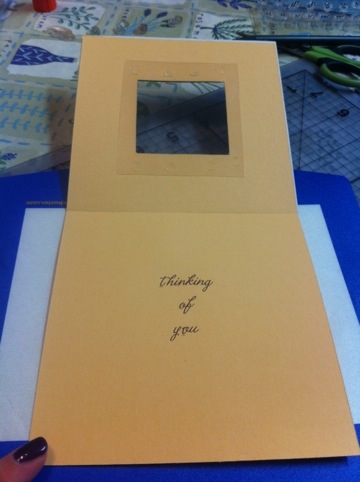
I started today’s card with a die cut frame and cream-colored cardstock. I decided to make another window card with a transparency instead of vellum and the message “thinking of you” peeking through.
Posted on August 10th, 2011 by Sharon
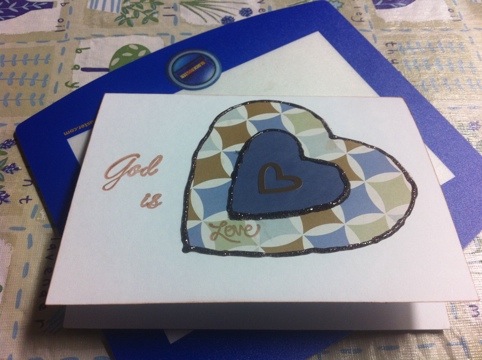
I recently spent some time with my aunt and wanted to leave some of my cards with her. This is the first one I made. I decided to use the heart I initially made for yesterday’s card and add the message: God is love.
